
Related Manuals for Fanstel ST2118-TV

Summary of Contents for Fanstel ST2118-TV
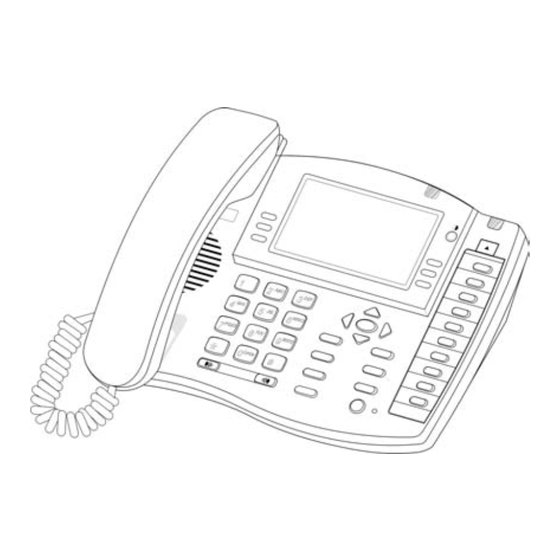
- Page 1 Screen Telephone For Vertical TeleVantage PBX OWNER’S MANUAL MODEL ST2118-TV 505-33TV...
-
Page 2: Table Of Contents
Table of Contents SETTING UP AND INSTALLING YOUR PHONE..........1 Introduction....................... 1 Important Safety Instructions................1 Parts Checklist....................2 Installation ......................3 Connecting Handset ..................3 Powered through Cord Adapter................ 4 Line Powered from DC Sources in Equipment Closet ........4 Setting Up Telephone.................. - Page 3 Caller ID Display..................... 15 Viewing the Caller ID List ................15 Calling Back a Number From the Caller ID List ..........15 Deleting a Call From the Caller ID List ............16 Unavailable and Private Call ................16 IN CASE OF DIFFICULTY................. 17 Resetting Your Telephone's Programming ............
-
Page 4: Setting Up And Installing Your Phone
Setting Up and Installing Your Phone Introduction Congratulations on the purchase of your new telephone. It has been manufactured to very high quality standards for convenient and reliable service. This telephone will operate according to the preloaded scripts. Please use the interactive menu and soft buttons to access features provided by your PBX system. -
Page 5: Parts Checklist
13. Avoid using a telephone during an electrical storm. There may be a remote risk of electric shock and/or hearing damage from lightning. 14. Do not use the telephone near a gas leak even to report the leak. Parts Checklist Remember to save your sales receipt in case you ever need warranty service. -
Page 6: Installation
Message light - Visual message waiting indicator. ◑ button – to adjust LCD contrast. Soft buttons Soft buttons In Use – steady light as line in use indicator. - to review upward from the oldest caller ID record. - to move curser left during programming. - to move curser right during programming. -
Page 7: Powered Through Cord Adapter
Powered through Cord Adapter You can use the cord adapter to connect AC adapter power to telephone through the line cord. Connect the AC adapter to an electrical wall outlet. Connect the AC adapter plug to the DC jack of the cord adapter. -
Page 8: Setting Extension Number And Name
If you made a mistake during telephone set up procedures, lift and replace the handset on the cradle. Set up procedure is terminated and idle state screen will be displayed. Setting Extension Number and Name To sep up extension number and name: Use Save to End Press the Menu button, then press Enter or 1 button. -
Page 9: Entering Outside Line Access Code
Entering Outside Line Access Code The outside line access code is dialed prior to any number over 6 digits stored in the directory, memory buttons, or the caller ID memory. A stored number with 6 or fewer digits is considered an inside number. outside line access code is not dialed for an Use Save To End inside call. -
Page 10: Selecting Audio Path
Selecting Audio Path To default setting for the audio path is Use Save to End speakerphone. This phone connects audio path to speakerphone automatically when / Enter To Select receiving an intercom call or when Dial button 1= Speaker is pressed. To change default audio path: 2= Headset Press the Menu button followed by the 6 button. -
Page 11: Adjusting The Display Contrast
Adjusting the Display Contrast The display can be adjusted to suit the light level of your room and your viewing preference. To make the contrast of the display lighter or darker, press the ◑ button to the right of the screen until the desired contrast is reached. Adjusting Handset Receiver Volume The normal setting for handset receiver volume is 6, if you need to adjust the handset receiver volume:... -
Page 12: Using The Telephone
Using the Telephone This telephone is preloaded with scripts to access many TeleVantage features. An end user can follow voice prompts from TeleVantage and/or prompts on LCD display to access TeleVantage features. Please refer to your TeleVantage manual for detailed description of using TeleVantage features. -
Page 13: Call Duration Timer And Real Time Clock
Call Duration Timer and Real Time Clock When you answer a call or make a call, the call duration timer is displayed at the upper right corner of LCD display. The call duration timer indicates the duration this telephone is in use. -
Page 14: Redialing
Redialing When you press the Redial button, a list of Redial list previously dialed number is displayed. The most recently dialed number is displayed on the top of list. / Enter To Select 480-948-4928 You press the button and the button to 555-1234 move the highlighted line up and down,... -
Page 15: Telephone Directory
Use Save to End displayed in turn. When the desired character is displayed, Fanstel C you can enter the next character. If you have to use the same button to enter the next character, press the ►... -
Page 16: Using The Keypad To Enter A Name
Use the keypad to input the first Use Save to End character of the name. The number and letters on each telephone button are Fanstel Corp displayed in turn. When the desired character is displayed, you can enter the next character. -
Page 17: Dialing Telephone Numbers From The Directory
You can also press the appropriate 480-948-4928 keypad button one or more times to reach the first character of the name for Fanstel which you are searching. For example, by pressing 5, 5 (two times), the first record with a name starting with “K” is displayed. -
Page 18: Caller Id Display
Caller ID Display Important Note: When a new call comes in, you must let your phone ring at least 2 full times in order for the Caller ID information to be displayed. When you receive a call, the phone number and name of caller appears on the display with the day and time the call was received and is then stored in the Call Memory as shown. -
Page 19: Deleting A Call From The Caller Id List
Deleting a Call From the Caller ID List To delete a caller ID record in the memory, press the Delete button when the record is displayed. The record is permanently erased. To delete all entries in caller ID log, press and hold the delete button for 5 seconds when one of the caller ID records is displayed. -
Page 20: In Case Of Difficulty
In Case of Difficulty Resetting Your Telephone's Programming Electrostatic or power surge (e.g., from lightning) may cause the phone to lock up. There are two ways to reset this phone. Basic reset • Disconnect the telephone line cord from the phone. •... -
Page 21: Limited Warranty
To receive a caller's information, turn off the Call Forwarding feature. Important Note: Make sure you have followed all the instructions in this booklet. If you continue to have problems, call the FANSTEL Product Service Center at (480) 948-4928 (800) 556-0007 Limited Warranty This warranty applies only to products purchased and used in the United States. -
Page 22: What This Warranty Does Not Cover
incidental or consequential damages. Some states do not allow limitations on how long an implied warranty lasts or the exclusion or limitation of incidental or consequential damages, so the above exclusions or limitations may not apply to you. What This Warranty Does Not Cover This warranty does not cover defects resulting from accidents, damage while in-transit to or from our Product Service Center, alterations, unauthorized repair, failure to follow instructions, misuse, use outside the United States and Canada, fire, flood, and acts of... -
Page 23: Repair Instructions
Repair Instructions If it is determined that your telephone equipment is malfunctioning, the FCC requires that it not be used and that it be unplugged from the modular outlet until the problem has been corrected. Repairs to the telephone equipment can only be made by the manufacturer or its authorized agents or by others who may be authorized by the FCC.
Need help?
Do you have a question about the ST2118-TV and is the answer not in the manual?
Questions and answers