Epson SC-S30600 Technical Manual
Hide thumbs
Also See for SC-S30600:
- Service manual (313 pages) ,
- User manual (110 pages) ,
- Setup manual (53 pages)
Table of Contents
Advertisement
Epson En
ngineering
Eps
The
e aim of th
his guide is
S30
0610 to ge
t all best a
EEE-TP-T
TG-12-019
g Europe
Tec
chnic
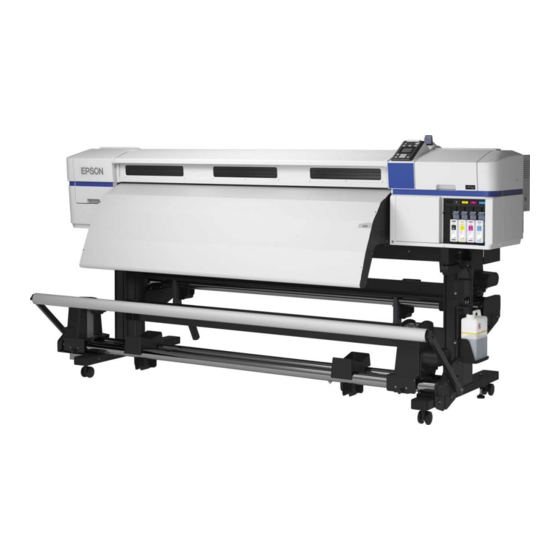
son
SC
C-S3
In
s to assist
you with
advantage
e on using
th
RevA – 12
2
July 20
cal G
uide
3060
troducti
on
successfu
ully setting
g this print
ter and ge
12
for
00/6
610
0
g up the Su
ureColor S
et the best
t print qua
S30600 &
ality
Advertisement
Table of Contents


Need help?
Do you have a question about the SC-S30600 and is the answer not in the manual?
Questions and answers