Advertisement
Quick Links
SE RVICE MANUAL
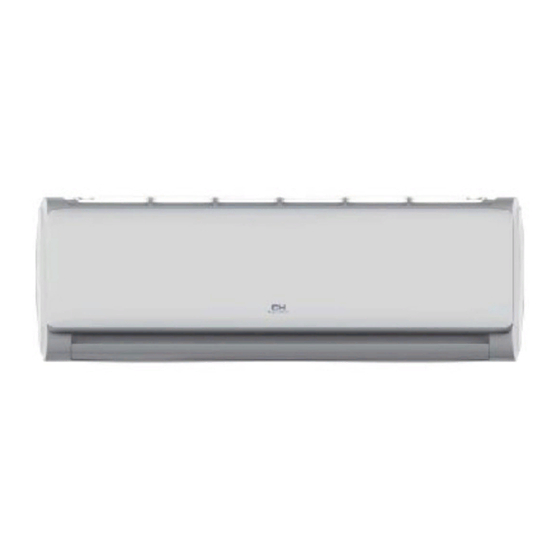
Wall Mounted Type
DC Inverter
Model No.
CH-S24FHCP
WARNING
This servic e informatio n is designed for experience d repai r technician s only and is not designe d for use by the genera l public.
It doe s not contai n warning s or caution s to advise non-technic al individuals of potentia l dangers in attemptin g to servic e a product.
Product s powered by electricit y shoul d be service d or repaire d only by experience d professiona l technicia ns. Any attemp t to service or
Repai r the produc t or product s deal t with in this servic e infor mation by anyone else could result in seriou s injury or death
Version V1
Date 2017-1 -24
Advertisement

Related Manuals for Cooper & Hunter CH-S24FHCP


Summary of Contents for Cooper & Hunter CH-S24FHCP
- Page 1 Wall Mounted Type DC Inverter Model No. CH-S24FHCP WARNING This servic e informatio n is designed for experience d repai r technician s only and is not designe d for use by the genera l public. It doe s not contai n warning s or caution s to advise non-technic al individuals of potentia l dangers in attemptin g to servic e a product.
- Page 2 ...
- Page 3 Introduction 1. Introduction 1.1 Model name explanation Apply toT1; 220~240V50HZ/1ph DC inverter Indoor units Version number 50T Platform Platform of indoor units: T (T platform) Nominal cooling capacity (24000BTU/h) Type of indoor unit model:S (wall mounted) Domestic air conditioner...
- Page 4 ...
- Page 5 ...
- Page 6 ...
- Page 7 ...
- Page 8 ...
- Page 9 ...
- Page 10 ...
-
Page 11: Sensors List
Specifications TECHNICAL SPECIFICATIONS-PARTS cooling heating o l f Air flow rate(high) m³/h 1100 1050/975/900 Speed(Hi/Mid/Lo) 1100/1000/900 Type ML fin- 7HI-HX tube Heat exchanger c t i Removable/Washable/Mildew Proof Air filter Microcomputer Control Temperature control l l o Note: the data are based on the conditions shown in the table below Conversation formulae n i l Kcal/h= KW×860... - Page 12 ...
-
Page 13: Printed Circuit Board Connector Wiring Diagram
Functions and control 6.Printed circuit board connector wiring diagram Connectors PCB(1) (Control PCB) For T3HVI-24 1) CN9 Connector for fan motor 2) CN6 Connector for heat exchanger thermistor and Room temperature thermistor 3) CN5 Connector for UP&DOWN STEP motor 4) CN11,CN10 Connector for L&R STEP motor 5) CN21 Connector for power N wire 6) CN52 Connector for power L 7) CN7 Connector for display board... - Page 14 ...
- Page 15 ...
- Page 16 ...
- Page 17 ...
- Page 18 ...
- Page 19 ...
- Page 20 ...
- Page 21 ...
- Page 22 ...
- Page 23 ...
- Page 24 ...
- Page 25 ...
- Page 26 ...
- Page 27 ...
- Page 28 ...
-
Page 29: Service Diagnosis
Service diagnosis 10. Service Diagnosis 10.1 Caution for Diagnosis The operation lamp flashes when any of the following errors is detected. 1. When a protection device of the indoor or outdoor unit is activated or when the thermistor malfunctions, disabling equipment operation. 2. - Page 30 ...
- Page 31 ...
- Page 32 ...
- Page 33 ...
- Page 34 ...
- Page 35 ...
- Page 36 ...
- Page 37 ...
- Page 38 ...
- Page 39 ...
- Page 40 ...
- Page 41 ...
- Page 42 ...
- Page 43 ...
- Page 44 ...
- Page 45 ...
- Page 46 ...
- Page 47 ...
-
Page 48: Removal Procedure
REMOVAL PROCEDURE Wall Mounted Type DC Inverter T-Series SERIES:50T WARNING This service information is designed for experienced repair technicians only and is not designed for use by the general public. It does not contain warnings or cautions to advise non-technical individuals of potential dangers in attempting to service a product. Products powered by electricity should be serviced or repaired only by experienced professional technicians. -
Page 49: Removal Of Front Panel
Removal Procedure Removal of front panel Indoor unit Step Procedure Points 1.Features 2.Remove the front panel Hold the front panel by the tabs on the both sides and lift it Domestic air conditioner... - Page 50 Removal Procedure Step Procedure Points Loosen the screw and lift Loosen the screw up the casing cover Loosen the screw and lift up the control box cover Loosen the screw Domestic air conditioner...
- Page 51 Removal Procedure Remove the air filters and horizontal flap Step Procedure Points Pull the Harness out of the control box and then release the pivots on both sides of the unit to remove the front panel Remove the air filters Lift an air filter upwards slightly and then pull it out downwards...
- Page 52 Removal Procedure Remove the casing Step Procedure Points Release the screw covers(3EA) Loosen the marked Screw (7EA) Domestic air conditioner...
- Page 53 Removal Procedure Step Procedure Points Holes 4EA When assembling, install the front Release the marked grille horizontally hooks (4EA) and then so as not to stuff Pull the front grille out the flap inside. Horizontally and When assembling, remove it make sure the four hooks are caught properly.
- Page 54 Removal Procedure Release stepping motor and control box Step Procedure Points Hooks (3EA) Release the top cover of the control box hooks then remove it. Loosen screws (2EA) Pull the Harness out of the PCB unit and then Loosen control Harness: Box screws (2EA) .
- Page 55 Removal Procedure Release stepping motor and control box Step Procedure Points Loosen the stepping motor screws (2EA), and then Release the stepping motor Domestic air conditioner...
- Page 56 Removal Procedure Removal of Heat Exchanger Step Procedure Points Loosen the marked screws(2EA) Loosen the Screws (2EA) Pull mounting plate and heat exchanger bracket from Hook of the base frame then release them. Domestic air conditioner...
- Page 57 Removal Procedure Step Procedure Points Release the fixture plate from the base frame hook and remove it. Domestic air conditioner...
- Page 58 Removal Procedure Step Procedure Points Loosen the marked screws (7EA). And then Remove the heat exchanger Remove Fan Motor Loosen the marked screws(4EA) and release the cover of fan motor Domestic air conditioner...
- Page 59 Removal Procedure Step Procedure Points Loosen the marked screw (2EA) of fan motor up bracket and remove it Screw of fan rotor Screw of Fan Motor up bracket Loosen the marked screw (1EA) of fan motor and remove fan motor ove it Fan motor bracket(UP) Fan motor assy...
- Page 60 Removal Procedure Step Procedure Points Lift up the right part of the fan and remove it Remove horizontal louver and fan motor bracket Every blade go round and round, then move Domestic air conditioner...
- Page 61 Removal Procedure Remove fan motor bracket and fan bearing Step Procedure Points Pull the hook of fan motor bracket and upward remove it Pull the hook of bearing bracket and upward remove it Domestic air conditioner...
- Page 62 Removal Procedure Remove frame work board Step Procedure Points Loosen the marked screw of frame work board Screw of frame work board Pull the hook of frame work board, remove it Domestic air conditioner...
- Page 63 Removal Procedure Remove drain pipe and drain pipe stem Step Procedure Points Loosen the marked screw of drain pipe and then remove it Pull the drain pipe stem from base frame and the remove it Domestic air conditioner...
Need help?
Do you have a question about the CH-S24FHCP and is the answer not in the manual?
Questions and answers