Do you have a question about the Quantium 110 and is the answer not in the manual?
Questions and answers
Grzegorz Janota
August 1, 2025
jak przestawic cenę
1 comments:
Mr. Anderson
September 7, 2025
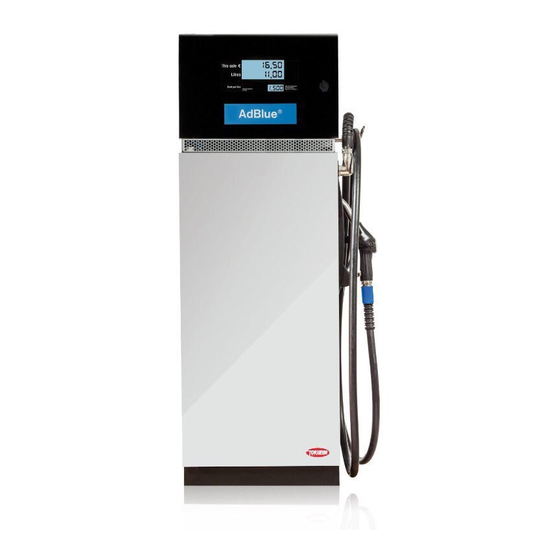
To change the price on a Tokheim 110:
1. Use the User Access Keypad (UAK) to place the dispenser in Stand-alone Mode. 2. Enter the unit prices directly using the keypad.
Alternatively:
1. Use the UAK to place the dispenser in Self-Service Mode. 2. Reprogram the console for the new dispenser. 3. The unit prices will be communicated automatically to the dispenser.
After updating, verify that the unit prices are correct for each new dispenser.


Need help?
Do you have a question about the Quantium 110 and is the answer not in the manual?
Questions and answers
jak przestawic cenę
To change the price on a Tokheim 110:
1. Use the User Access Keypad (UAK) to place the dispenser in Stand-alone Mode.
2. Enter the unit prices directly using the keypad.
Alternatively:
1. Use the UAK to place the dispenser in Self-Service Mode.
2. Reprogram the console for the new dispenser.
3. The unit prices will be communicated automatically to the dispenser.
After updating, verify that the unit prices are correct for each new dispenser.
This answer is automatically generated
How can remove code error C0080?