Advertisement
Quick Links
Advertisement

Related Manuals for Eiki AH-A25010


Summary of Contents for Eiki AH-A25010
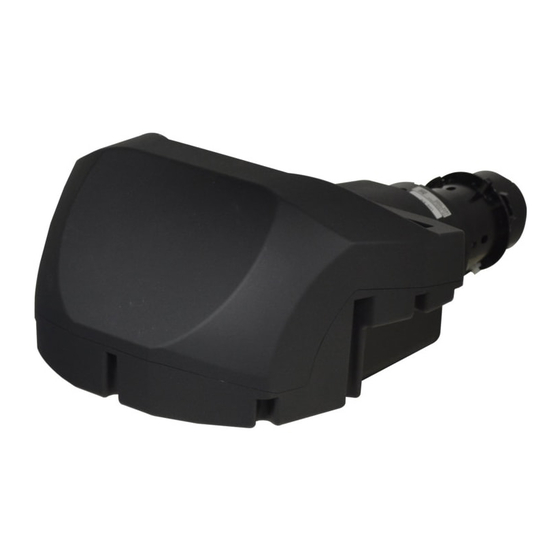
- Page 1 Installation Guide UST Lens AH-A25010 (A16)
-
Page 2: Getting Started
UST Lens — Installation Guide Getting Started Packing Checklist Carefully unpack and check that the following items are included: Accessories in the box Item Photo Part Name Quantity Tools AH-A25010 BORESIGHT ADJUSTING TOOL EXTENDER L-SHAPE TOOL MOUNT BRACKET SUPPORTER BRACKET... -
Page 3: System Requirement
UST Lens — Installation Guide Item Photo Part Name Quantity Tools SUPPORTER ⊕ 2 screw SCREW M3 *L8 driver 2.5 Allen key/ SCREW M3 *L8 Allen wrench SCREW M6 5 Allen key/ *L22 Allen wrench WASHER M3- 3.7 x 0.8 x 18 WASHER M6- 6.7 x 1 x 16 System Requirement... -
Page 4: Installation
UST Lens — Installation Guide Installation Summary of UST Lens Installation 1. Enter the UST mode 2. Remove the Non-UST lens 3. Remove the non-UST lens boresight 4. Install the UST lens boresight 5. Install the bracket to the lens 6. - Page 5 UST Lens — Installation Guide 3. The projector automatically goes power off. Note: • When the projector enters the UST mode, the brightness will decrease until the UST mode setting process is complete. 4. Disconnect the AC power cord. 2. Remove the Non-UST lens If you use non-UST lens, remove the non-UST lens from the projector.
- Page 6 UST Lens — Installation Guide 3. Disconnect the lens cable from the UST lens boresight connector. 4. Install the UST lens boresight 1. Install the UST lens boresight module into the lens mount. 2. Fasten three screws on the plate to secure the UST lens boresight module in place.
- Page 7 UST Lens — Installation Guide 3. Connect the lens cable to the UST lens boresight connector. Important: The boresight module needs to be adjusted before assembling it to the unit. See [7. Adjust the boresight gear]. Note: • Ensure the lens cable is not wrapped or pinched when securing the boresight module.
- Page 8 UST Lens — Installation Guide 6. Install the supporter to the projector 1. Using 2.5 Allen key/Allen wrench , fasten the hex-head screw M3 x 8 (1 pc) and washer 3.7 x 0.8 x18 (1 pc) to pre-lock the supporter bracket M3 x 8 screws W/SF...
- Page 9 UST Lens — Installation Guide 4. Adjust three projector feet (adjusters) counter-clockwise by 5 turns to increase the space for the table top installation. GAP = 1.5~2mm 7. Adjust the boresight gear To complete image adjustment, use the L-shape tool and make sure the Boresight extender is properly installed.
- Page 10 UST Lens — Installation Guide 2. Follow the recommended adjustment range to adjust the boresight gears according to the different projector orientation. Orientation Table Top 3 + 1/4 Portrait (L) 6 + 3/4 10 + 3/4 Portrait (R) 5 + 1/4 10 + 3/4 Ceiling Mount 10 + 2/4...
- Page 11 UST Lens — Installation Guide 8. Install the UST lens 1. Install the Boresight extender. 2. Install the A16 lens. 3. Rotate the lens clockwise to lock the lens in place. Note: • When installing the UST lens, make sure the label TOP is on the lens assembly is facing up.
- Page 12 UST Lens — Installation Guide 9. Before adjusting boresight 1. Connect the AC power cord and set the power switch to ON. 2. Observe the following guidelines before turning on the projector: • Ensure the lens is properly installed into the projector. •...
- Page 13 UST Lens — Installation Guide 2. Adjust the floating focus and back focus until the center of the screen is clear. Note: • “ZOOM” button on the remote control is for “BFL” adjustment. • ”FOCUS” button on the remote control is for “floating focus” adjustment. 3. Adjust the boresight until position on the screen is clear.
- Page 14 UST Lens — Installation Guide 6. After the image adjustment is complete, using 2.5 Allen key/Allen wrench , fasten the hex head screws M3 x 8 (2 pcs) and M3.7 x 0.8 washers (2 pcs) to secure the mount bracket to the supporter bracket Supporter...
- Page 15 UST Lens — Installation Guide 11. Remove the UST lens 1. Press the Release button. 2. Rotate the lens counter-clockwise to disengage it from the lens mount. Then remove the lens out of the lens mount. 12. Back to the normal mode 1.
Need help?
Do you have a question about the AH-A25010 and is the answer not in the manual?
Questions and answers