Sign In
Upload
Download
Table of Contents
Contents
Add to my manuals
Delete from my manuals
Share
URL of this page:
HTML Link:
Bookmark this page
Add
Manual will be automatically added to "My Manuals"
Print this page
×
Bookmark added
×
Added to my manuals
Manuals
Brands
Caliber Manuals
Car Receiver
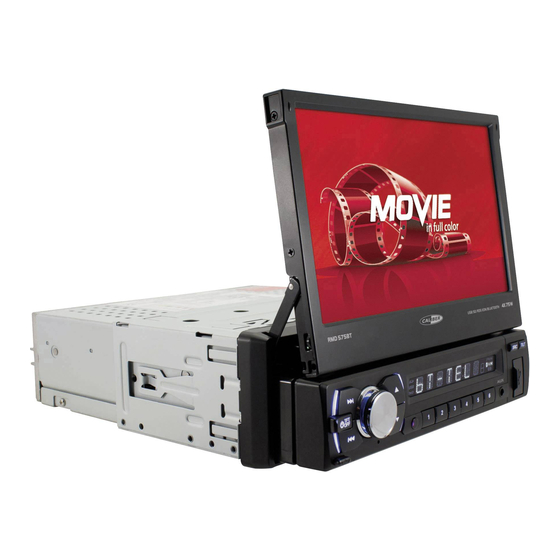
RDD 575BT
Manual
Caliber RDD 575BT Manual
Hide thumbs
1
2
3
4
5
6
7
8
9
10
11
12
13
14
15
16
17
18
19
20
Table Of Contents
21
page
of
21
Go
/
21
Contents
Table of Contents
Bookmarks
Table of Contents
Tools for Installation
Before You Install
Wiring Diagram
Specifications
Basic Operation
Radio Operation
DVD/VCD/CD Operation
Bluetooth Operation
Call Record
Reject Call
Other Operations
Infrared Remote Control
Maintenance
Advertisement
Quick Links
1
Tools for Installation
2
Wiring Diagram
Download this manual
RDD 575BT / RDN 575BT MANUAL
ENGLISH
Table of
Contents
Previous
Page
Next
Page
1
2
3
4
5
Advertisement
Table of Contents
Need help?
Do you have a question about the RDD 575BT and is the answer not in the manual?
Ask a question
Questions and answers
Related Manuals for Caliber RDD 575BT
Car Receiver Caliber RDD883BT Operating Instructions Manual
Dvd/vcd/cd/mp3/usb/sd/mmc player fm/am tuner (24 pages)
Car Receiver Caliber RDD570BT Instruction Manual
Dvd/mp3/mpeg4/usb/sd/mmc/wma player with fm tuner (51 pages)
Car Receiver Caliber RDD570BT Quick Start Manual
(16 pages)
Car Receiver Caliber RDD401BT User Manual
Dvd/vcd/cd/mp3/usb/sd/mmc player fm/am tuner (28 pages)
Car Receiver Caliber RDD401BT Instruction Manual
(9 pages)
Car Receiver Caliber RDD770 Quick Start Manual
(12 pages)
Car Receiver Caliber RDD771BT Quick Start Manual
(4 pages)
Car Receiver Caliber RDD 571BT Instruction Manual
(34 pages)
Car Receiver Caliber RDD 788 User Manual
Car multimedia dvd/vcd/mp3 player (28 pages)
Car Receiver Caliber RDD 788BT User Manual
Car multimedia dvd/vcd/mp3 player (29 pages)
Car Receiver Caliber RDD 57IBT User Manual
(31 pages)
Car Receiver Caliber RDD 772BTi Operating Instructions Manual
Dvd/vcd/cd/mp3/usb/sd/mmc player bluetooth, with fm/mw tuner (29 pages)
Car Receiver Caliber RDD 772BTi Quick Start Manual
(40 pages)
Car Receiver Caliber RDD773 Quick Start Manual
(12 pages)
Car Receiver Caliber RDN 893BT Full Manual
(26 pages)
Car Receiver Caliber RDN 575BT Manual
(21 pages)
This manual is also suitable for:
Rdn 575bt
Table of Contents
Print
Rename the bookmark
Delete bookmark?
Delete from my manuals?
Login
Sign In
OR
Sign in with Facebook
Sign in with Google
Upload manual
Upload from disk
Upload from URL


Need help?
Do you have a question about the RDD 575BT and is the answer not in the manual?
Questions and answers