Sign In
Upload
Download
Table of Contents
Contents
Add to my manuals
Delete from my manuals
Share
URL of this page:
HTML Link:
Bookmark this page
Add
Manual will be automatically added to "My Manuals"
Print this page
×
Bookmark added
×
Added to my manuals
Manuals
Brands
Zte Manuals
Projector
SPRO
Quick start manual
Zte Spro Quick Start Manual
Hide thumbs
Also See for Spro
:
Quick start manual
(37 pages)
,
User manual
(121 pages)
1
2
3
4
5
6
7
8
9
10
11
12
13
14
15
16
17
18
19
20
21
22
23
24
25
26
27
28
29
30
31
32
33
34
35
36
37
38
39
Table Of Contents
40
page
of
40
Go
/
40
Contents
Table of Contents
Bookmarks
Table of Contents
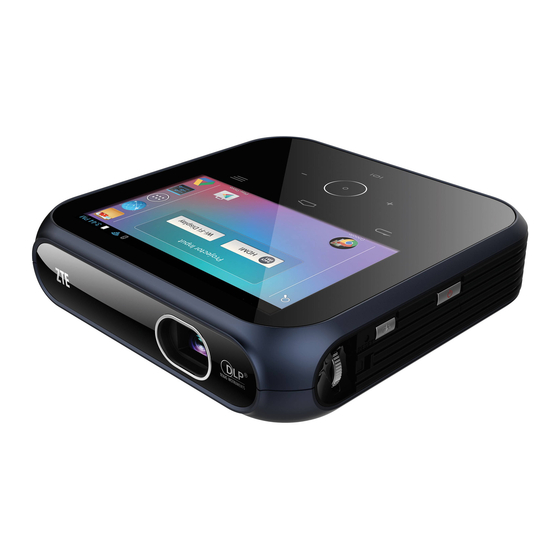
Getting to Know Your Spro
Installing the Microsdhc™ Card (Not Included)
Charging the Battery
Powering On/Off Your Spro
Restarting Your Spro
Waking up Your Spro
Turning On/Off the Projector
Using the Touch Screen
Projecting a File Saved in Your Spro
Projecting an HDMI Source
Projecting a File Saved in Your USB Device
Projecting a Source on Your Phone (Wi-Fi Display)
Using Power Bank
Connecting to Your Computer Via Usb
For Your Safety
Fcc Compliance
Electrical Safety
Advertisement
Quick Links
1
Getting to Know Your Spro
2
Charging the Battery
3
Turning On/Off the Projector
4
Projecting an Hdmi Source
5
Projecting a Source on Your Phone (Wi-Fi Display)
6
Connecting to Your Computer Via Usb
Download this manual
See also:
User Manual
WiFi Ufi
MF97W
Quick Start Guide
1
Table of
Contents
Previous
Page
Next
Page
1
2
3
4
5
Advertisement
Table of Contents
Need help?
Do you have a question about the Spro and is the answer not in the manual?
Ask a question
Questions and answers
Related Manuals for Zte Spro
Projector ZTE Spro User Manual
(121 pages)
Projector Zte SPRO Quick Start Manual
(37 pages)
Projector zte Sprint LivePro Get Started
Combination mobile hotspot, projector, and android tablet (25 pages)
Projector Zte Sprint LivePro User Manual
(88 pages)
Projector Zte Spro 2 User Manual
Smart projector (43 pages)
Projector Zte Spro 2 User Manual
(128 pages)
Projector Zte Spro2 User Manual
(109 pages)
Projector Zte Spro2 Quick Start Manual
(65 pages)
Projector Zte MF97G User Manual
(126 pages)
Projector Zte MF97V User Manual
Spro 2 (138 pages)
Projector Zte MF97B T Series User Manual
(34 pages)
Projector Zte MF97B User Manual
(33 pages)
Projector Zte MF97V User Manual
(33 pages)
This manual is also suitable for:
Mf97w
Table of Contents
Print
Rename the bookmark
Delete bookmark?
Delete from my manuals?
Login
Sign In
OR
Sign in with Facebook
Sign in with Google
Upload manual
Upload from disk
Upload from URL


Need help?
Do you have a question about the Spro and is the answer not in the manual?
Questions and answers