Sign In
Upload
Download
Table of Contents
Contents
Add to my manuals
Delete from my manuals
Share
URL of this page:
HTML Link:
Bookmark this page
Add
Manual will be automatically added to "My Manuals"
Print this page
×
Bookmark added
×
Added to my manuals
Manuals
Brands
Oki Manuals
Printer
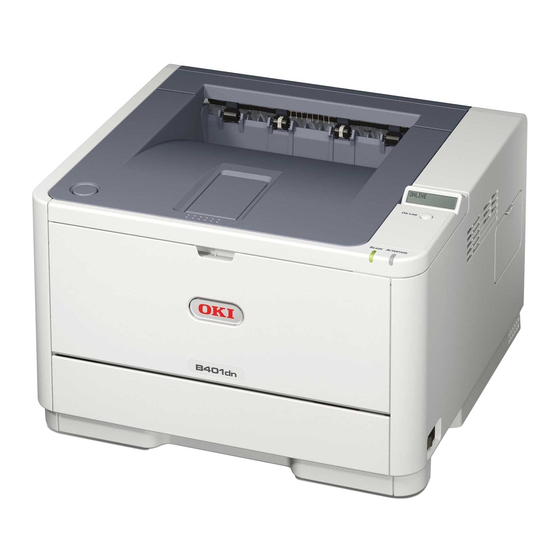
B401
User manual
Oki B401 User Manual
Hide thumbs
Also See for B401
:
Setup manual
(2 pages)
,
Maintenance manual
(184 pages)
1
2
Table Of Contents
3
4
5
6
7
8
9
10
11
12
13
14
15
16
17
18
19
20
21
22
23
24
25
26
27
28
29
30
31
32
33
34
35
36
37
38
39
40
41
42
43
44
45
46
47
48
49
50
51
52
53
54
55
56
57
58
59
60
61
62
63
64
65
66
67
68
69
70
71
72
73
74
75
76
77
78
79
80
81
82
83
84
85
86
87
88
89
90
91
92
93
94
95
96
97
98
99
100
101
102
103
104
105
106
107
108
109
110
111
112
113
114
115
116
117
118
119
120
121
122
123
124
125
126
127
128
129
130
131
132
133
134
135
136
137
138
page
of
138
Go
/
138
Contents
Table of Contents
Troubleshooting
Bookmarks
Table of Contents
Copyright Information
Trademark Information
Table of Contents
Introduction
Printer Features
About this Manual
Abbreviations Used
Printer Components
Front View
Interior View
Rear View
Operator Panels
B401/B411 Operator Panel
LED Indicators
Lcd
Online Button
Changing Language
Configuration Tool
Using the Configuration Tool
Menu Functions
Printing Menu Settings
Using the Configuration Tool
Using the Online Button
B431 Operator Panel
Panel Elements
Menu Functions
Printing Menu Settings
Paper Recommendations
Paper and Envelope Types
Transparencies and Adhesive Labels
Postcards
Installing Paper
Paper Tray
Automatic Feed Sequence
Multi Purpose Tray (B431)
Manual Feed Tray (B401/B411)
Paper Exit Paths
Setting the Paper Feed, Size and Media
B401/B411
B431
Interfaces
Printer Drivers
Operation
Printer Settings in Windows
Printing Preferences in Windows Applications
PCL Emulation
PS Emulation (B431)
Layout Tab
Setting from Windows Control Panel
Printer Settings in Macintosh
Auto Versus Manual Duplex Printing
Auto Duplexing: Models B411 and B431
Manual Duplexing: Model B401/B411
Manual Duplexing: Model B431
Duplex Printing
Image Drum Life
Overlays and Macros (Windows Only)
What Are Overlays and Macros
Creating Postscript Overlays
Creating the Overlay Image
Create and Download the Project
Test Printing the Overlay
Defining Overlays
Printing with Postscript Overlays
Creating PCL Overlays
Creating the Overlay Image
Create and Download Macros
Test Printing the Macro
Defining Overlays
Printing with PCL Overlays
B401/B411
B431
Print Button
Status and Error Messages
Paper Jams
Troubleshooting
Input Jam
Feed Jam or Exit Jam
Print Quality Problems
Paper Feed Problems
Software Problems
Hardware Problems
Options
Options Order Numbers
Installation Procedure
Specifications
General
Advertisement
Quick Links
1
Configuration Tool
Download this manual
See also:
Maintenance Manual
B401/B411/B431/431dn+
User's Guide
1 > B401/B411/B431
59104601
my.okidata.com
Table of
Contents
Previous
Page
Next
Page
1
2
3
4
5
Advertisement
Table of Contents
Need help?
Do you have a question about the B401 and is the answer not in the manual?
Ask a question
Questions and answers
Related Manuals for Oki B401
Printer Oki B431L6 Maintenance Manual
(184 pages)
Printer Oki B401dn Setup Manual
Setup guide (2 pages)
Printer Oki B411d User Manual
B411 b431 user guide - fr can (157 pages)
Printer Oki B411d Guía Del Usuario
B411 b431 user guide - span (154 pages)
Printer Oki B411dn Manual Do Usuário
B411 b431 user guide - br port (151 pages)
Printer Oki B411d User Manual
Oki b411d: user guide (138 pages)
All in One Printer Oki B411 User Manual
Oki printer (138 pages)
Printer Oki B4100 Setup Manual
B411 b431 setup guide (english, fran栩s, espa?ol, portugu鱩 (40 pages)
Printer Oki B411d Safety Information Manual
Safety, warranty and regulatory information (32 pages)
Printer Oki B411d Specifications
Oki b411d: specifications (4 pages)
Printer Oki B411dn Quick Start Manual
B411/b431 hardware poster (2 pages)
Printer Oki B4000 Series Brochure & Specs
Mono printer (6 pages)
Printer Oki B4400 Specifications
Mono printers (2 pages)
Printer Oki B401dn User Manual
User guide (87 pages)
Printer Oki B401d Maintenance Manual
(184 pages)
Printer Oki B412dn User Manual
(638 pages)
This manual is also suitable for:
B411
B431dn+
B431
Table of Contents
Print
Rename the bookmark
Delete bookmark?
Delete from my manuals?
Login
Sign In
OR
Sign in with Facebook
Sign in with Google
Upload manual
Upload from disk
Upload from URL


Need help?
Do you have a question about the B401 and is the answer not in the manual?
Questions and answers