Advertisement
Available languages
Available languages
Quick Links
Bouwbeschrijving
Assembly instructions
Notice de montage
Bauanleitung
LET OP ! Deze bouwdoos
van een radiobestuurd
vliegtuig is geen speelgoed.
WARNING ! This R/C kit and
the model you will build is
not a toy.
ATTENTION ! Ce kit R/C d'un
avion n'est pas un jouet.
ACHTUNG ! Dieser Bausatz
von ferngesteurte model
ist kein Spielzeug.
Advertisement

Subscribe to Our Youtube Channel
Related Manuals for protech MIRAGE 2000-5


Summary of Contents for protech MIRAGE 2000-5
-
Page 1: Assembly Instructions
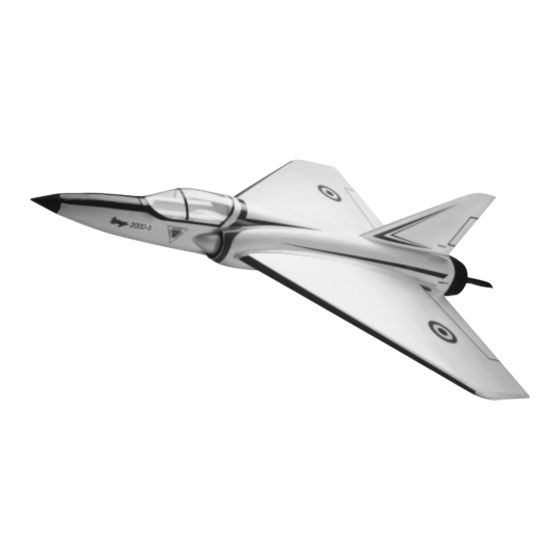
Bouwbeschrijving Assembly instructions Notice de montage Bauanleitung LET OP ! Deze bouwdoos van een radiobestuurd vliegtuig is geen speelgoed. WARNING ! This R/C kit and the model you will build is not a toy. ATTENTION ! Ce kit R/C d’un avion n’est pas un jouet. - Page 2 Modelgegevens : Model specifications Spanwijdte : 530 mm Wingspan: 530 mm Lengte : 580 mm Length: 680 mm Vleugeloppervlak : 10 dm2 Wing area: 10 dm2 Gewicht: 400 - 450 g Weight: 400-450 g Vleugelprofiel : Clark Y Airfoil: Clark Y Motor : Type 400 (6V) Motor:...
- Page 3 Montage: (zie foto’s pagina 8 ) 1. Snij de voorgevormde cockpit uit en schuur of snijd eventueel de zijkanten tot een juiste pasvorm op de romp bekomen wordt. Vooraan kan eventueel een gat worden gemaakt om de vliegaccu te koelen. 2.
-
Page 4: First Flight
Assembly: (pictures page 8) 1. Cut the vacuum-formed canopy out of the plastic. Sand or cut the edges so it fits perfect over the fuselage. You can make a small hole on front of the canopy as a battery cooling intake. 2. -
Page 5: Premier Vol
Assemblage: (voir égallement les images à la page 8) 1. Découpez le canopy pré-formé de la planche. Poncer ou découper les bavures de celui-ci afin qu’il s’ajuste parfaitement au fuselage. Vous pouvez également faire une petite ouverture sur l’avant du canopy afin de pouvoir refroidir la batterie. 2. - Page 6 Bau: (Bilder Pagina 8) 1. Die vorgeformte Kabinenhaube ausschneiden und die Seitenkanten schmirgeln oder unter Umständen schneiden, bis die richtige Passform auf dem Rumpf erreicht ist. Zuvor kann unter Umständen ein Loch gemacht werden, um den Flugakku zu kühlen. 2. Den Styropor hinten im Batteriefach entfernen, um den Durchgang des Flugakku zu ermöglichen. Die Position des Akku kann im Nachhinein in Abhängigkeit vom Schwerpunkt bestimmt werden.
- Page 7 Finish - Mirage...
- Page 8 Mirage -...
- Page 9 1-2 mm © Copyright PROTECH 2000 - Mirage...
Need help?
Do you have a question about the MIRAGE 2000-5 and is the answer not in the manual?
Questions and answers