Advertisement
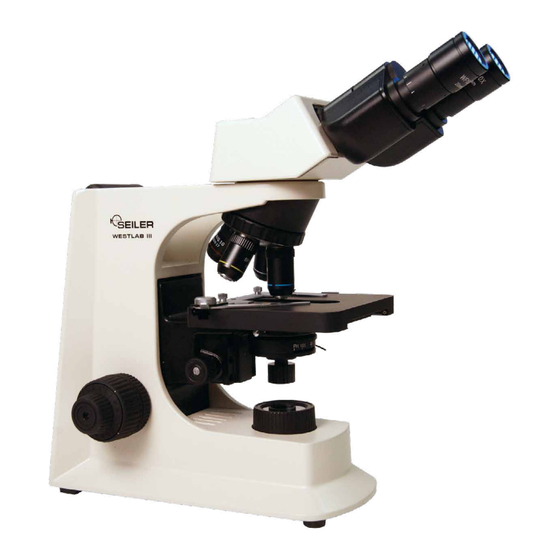
westlab iii
COMPOUND MICROSCOPE
USER'S MANUAL
This document is property of Seiler Instrument & Mfg. Co., Inc. No part of this manual should be
reproduced or transmitted without the expressed written consent being obtained. All the figures
appearing in this manual are for illustration purposed only and may vary according to the version of the
device purchased. The information contained in this manual is subject to change without notice. Please
contact Seiler whenever additional information is needed. This device is restricted to the sale and the use
by authorized and trained personnel.
- 1 -
Advertisement
Table of Contents

Related Manuals for Seiler Westlab III


Summary of Contents for Seiler Westlab III
- Page 1 COMPOUND MICROSCOPE USER’S MANUAL This document is property of Seiler Instrument & Mfg. Co., Inc. No part of this manual should be reproduced or transmitted without the expressed written consent being obtained. All the figures appearing in this manual are for illustration purposed only and may vary according to the version of the device purchased.
-
Page 2: Table Of Contents
Table of Contents PARTS NAME ..............................5 SPECIFICATIONS ...............................6 INSTALLATION ..............................7 OPERATION ...............................8 IMAGE COLLECTION ............................9 MAINTENANCE ............................9-10 TROUBLESHOOTING ............................11 WARRANTIES ............................12-13 - 2 -... - Page 3 We are here to serve you! If you have any questions regarding Seiler’s products or services, please feel free to contact us. Toll-Free: 800.489.2282 Local: 314.968.2282 Fax: 314.968.3601 www.seilerinst.com Register your product warranty online: http://www.seilermicro.com/warranty-registration/ - 3 -...
- Page 4 To Our Valued Professionals, On behalf of the Seiler Medical Division, I would like to thank you for your recent purchase. We stand by our products and are thrilled that when choosing one of the most important aspects of your practice, you chose us.
-
Page 5: Parts Name
Parts Name 1. Eyepiece 2. Objective 3. Clamp 4. Mechanical Stage 5. Condenser 6. Light Collector 7. Main Body 8. Seidentopf Binocular Head (Trinocular Head) 9. Power Input Fuse A. Diopter Adjustment Ring B. Nose Piece C. Clamp Handle D. Handle of Iris Aperture Diaphragm E. -
Page 6: Specifications
specifications 2.3 The other specification 2.3.1 Mechanical tube length: 160mm 2.3.2 Conjugate distance: Finite 195mm Infinite 2.3.3 Head: Seidentopf binocular or trinocular, inclined 30º, rotatable 360º Interpupillary adjustable distance is 50-75mm Diopter adjustable range ±5, Anti-fungal systems 2.3.4 Nosepiece: Quadplex nosepiece 2.3.5 Mechanical Stage: Size 145mm X 140mm X-Y travel 76mm X 52mm 2.3.6 Focusing systems: Coaxial coarse and fine focusing knobs... -
Page 7: Installation
Installation Please clean the operation desk before installation. Take the microscope out of the carton and put it on the desk. Make sure the supply voltage meets the instru- ment’s requirement and the power switch is off. Installation Instruction Fig.: 1. -
Page 8: Operation
OPERATION 4.1 Bright field operation process instruction - 8 -... -
Page 9: Image Collection
image collection 5.1 Installing Connect the C-mount with CCD camera or connect camera with camera adapter, then connect it with c-mount, finally put it into microscope. 5.2 Using First get a clear image from eyepiece, then pull out lever on the side of trinocular head, and collect image with camera. - Page 10 6.3 Replacement Bulb 6.3.1 Turn off power, and pull out plug. 6.3.2 Wait until the bulb becomes cool. 6.3.3 Lay aside the microscope reliably, unscrew the knurled thumb screw of the lamp housing cover on the underside of the base. 6.3.4 Pull over the lamp housing cover.
-
Page 11: Troubleshooting
TROUBLESHOOTING - 11 -... -
Page 12: Warranties
Except as set forth in this Three (3) Year International Warranty, Seiler Instrument Company (“SIC”) hereby warrants that each Seiler microscope product manufactured and/or sold by SIC shall be free from defects in materials and workmanship under normal use and service for three years. International Warranty includes mechanics, optics, and hardware (such as casters, knobs, tension band). -
Page 13: Warranties
Except as set forth in this Limited Lifetime Warranty, Seiler Instrument Company (“SIC”) hereby warrants that each Seiler microscope product manufactured and/or sold by SIC shall be free from defects in materials and workmanship under normal use and service for the life of the product. Lifetime Warranty includes mechanics, optics, hardware (such as casters, knobs, tension band). - Page 14 3433 Tree Court Industrial Blvd. St. Louis, MO 63122 Toll-Free: 800-489-2282 Local: 314-968-2282 Fax: 314-968-3601 Email: micro@seilerinst.com Web: www.seilermicro.com - 1 4 - Version April 2017...
Need help?
Do you have a question about the Westlab III and is the answer not in the manual?
Questions and answers