
Subscribe to Our Youtube Channel
Related Manuals for Parrot DISCO


Summary of Contents for Parrot DISCO
- Page 1 USER GUIDE GUIDA UTENTE GUIDE UTILISATEUR HANDLEIDING GUÍA DEL USUARIO GUIA DO USUÁRIO دليل المس ـ ـتخدم المختصر BENUTZERHANDBUCH...
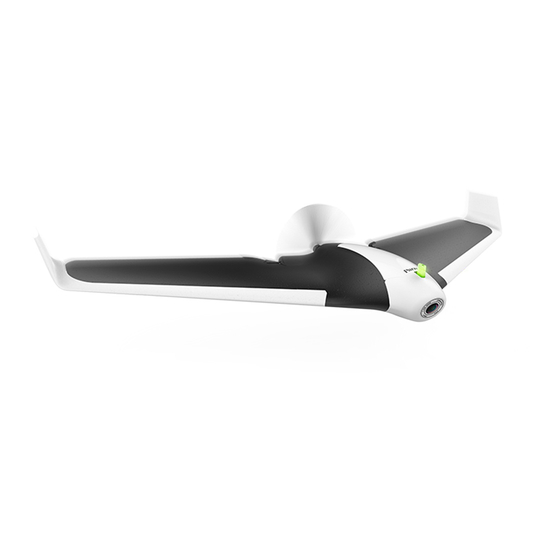
- Page 3 PRESENTATION OF THE PARROT DISCO CHUCK AUTOPILOT UNIT GENERAL RC remote port Flap Battery connector Servomotor Servomotor connectors Propeller Flap Servomotor Cowling Fisheye camera On/off button, warning light and pitot tube Micro USB port Central engine connector...
-
Page 4: Before Getting Started
FreeFlight Pro application to your smartphone or tablet. CHARGING THE PARROT DISCO’S BATTERY The battery must be disconnected from the Parrot Disco. 1. Select the plug for your country and put it on the charger. 2. Connect the cable to the charger. -
Page 5: Pre-Flight Checks
Do not fly the Parrot Disco at night. Do not fly the Parrot Disco over an urban area or in certain places in the public domain (for example: train stations, airports, etc.). - Page 6 2. Press the Parrot Disco’s On/off button. > The button flashes red and green once the GPS is connected. 3. Press the Parrot Skycontroller 2’s ON/OFF button to turn it on. 4. Wait until the warning light is a steady green.
-
Page 7: Control Screen
Parrot Skycon- troller 2’s battery level > Le Parrot Disco décolle. Il s’élève à 50 mètres d’altitude puis effectue des cercles de 60 mètres de diamètre. Vous pouvez alors le piloter. Circular landing Note : Pour arrêter le moteur du Parrot Disco, appuyez à... - Page 8 FreeFlight Pro. AUTOPILOT You must create and load your flight plan before taking off. This mode allows you to securely fly the Parrot Disco. During flight, the Parrot Disco maintains its speed and maintains its altitude. PRELOADING A MAP 1.
-
Page 9: Photos And Videos
Manual mode offers no piloting assistance for the Parrot Disco. Confi- To stop recording, press the button. gure the channels of your RC remote for the Parrot Disco. To do this, To record a new video, press again. refer to the manual for your RC remote. -
Page 10: Return Home
Parrot Skycontroller 2 or on the FreeFlight Pro appli- cation. 10 m > The Parrot Disco sets its altitude to 50 meters, comes back to- wards its starting position and makes 60-meter diameter circles 50 m above this position. - Page 11 To retrieve photos and/or videos from the FreeFlight Pro applica- performs a circular landing. tion: 1. Turn on your Parrot Disco and connect it via Wi-Fi to your smart- phone. TURNING OFF THE PARROT DISCO 2. On your smartphone, launch the FreeFlight Pro application and go to Menu >...
-
Page 12: Warning Light Indications
SPARE PARTS format. 2. Go to the Parrot Disco’s support page on www.parrot.com and You can buy spare parts for the Parrot Disco from our online store : download the update file available in .plf format. www.parrot.com. 3. Copy this file to the root of your micro USB flash drive. -
Page 13: Technical Specifications
• AC Wi-Fi, 2 dual band antennae (2.4 and 5 GHz), multiple inputs • Input: 100-240V, 50h-60Hz, 1.2A and outputs • Output: Max 12.6Vdc, 3.5A • Up to 2km of range with the Parrot Skycontroller and the Parrot • Maximum altitude: 2000m above sea level Skycontroller 2. • Operating range: 0°C-40°C... -
Page 14: Accessories And Spare Parts
(5150-5250MHz). Do not use this device near liquids. Do not place the Parrot Disco on water or on a wet surface as this Parrot DRONES, 174 quai de Jemmapes, 75010 Paris, France, hereby declares that it is solely res- could cause irreparable damage.
Need help?
Do you have a question about the DISCO and is the answer not in the manual?
Questions and answers