Table of Contents
Advertisement
Quick Links
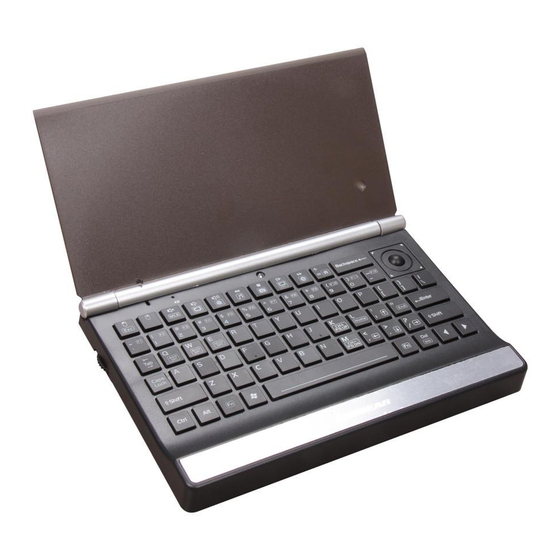
Iogear RF 2.4G Keyboard User's Manual
Thank you for your purchase of our iogear RF 2.4G Keyboard. For your own
safety and convenience, please read this manual thoroughly before using this
product. After you have read this manual, please keep it in a place for
reference when necessary.
Contents in the package
These following items are included in the package. Please make sure all items
are complete when open the package at first time. If there is any item missing
or damaged, please contact the reseller where the product was purchased or
our support center.
Iogear RF 2.4G Keyboard x 1
Manual x 1
USB receiver x1
AA Alkaline batteries x2
Installation Procedure
A. Setting up the Dongle Receiver
1. Plug the dongle receiver into an available USB port.
2. Wait for operating system to install drivers for the dongle receiver, keyboard
and mouse.
B. Setting up the Keyboard and Mouse
1. Open the keyboard's battery compartment cover and insert the two pieces
of AA Alkaline batteries. Make sure they are properly installed.
2. Open the top cover, the power will be turned on automatically.
3. Usually the keyboard and mouse have bound in the factory, and it can be
used after inserting batteries. If the keyboard and mouse cannot be
recognized from system, please follow steps below.
4. Press the ID button of receiver and the LED light will start to blink.
5. Press the RESET button of keyboard and the LED light will stop blinking.
6. If the keyboard and mouse cannot be connected after setting, please
repeat the steps 4~6 to reset the ID button.
Battery Low
1
Advertisement
Table of Contents

Related Manuals for IOGear GKM571R


Summary of Contents for IOGear GKM571R
- Page 1 Iogear RF 2.4G Keyboard User’s Manual Thank you for your purchase of our iogear RF 2.4G Keyboard. For your own safety and convenience, please read this manual thoroughly before using this product. After you have read this manual, please keep it in a place for reference when necessary.
-
Page 2: Warranty Information
4. You may need to reset the keyboard connection status after replacing new batteries for the keyboard. Attention ATEN Technology Inc., dba Iogear and its respective distributors and resellers are not responsible for any malfunction, damage or personal injury incurs which are caused by: Any malfunction, damage or personal injury caused by the malfunctioning or damage of the user’s personal computer or misuse of this product. - Page 3 Front View Power Switch Battery Indicate Mouse Keys Light Sensor Trackball Scroll Wheel Trackball Resolution Media Center Keys...
-
Page 4: Hot Key Functions
Back View Backlight Switch RF Signal Reset Button Hot Key Functions Function Function mouse left Fn+Q 400DPI mouse right Fn+W 800DPI mute Fn+E 1200DPI Volume Fn+J Page Up decrease Volume Fn+K increase Pre-Track Fn+L Home ↑ Stop Fn+; Play/Pause Fn+’ Next-Track Fn+N Page Down... -
Page 5: Product Features
increase Fn+Pre-Track My Music Fn+Stop My Picture Fn+Play/Pause Record TV Fn+Next-Track Fn+ + Home Product Features Palm size cordless mini keyboard with trackball Mouse Function and Mouse right, left button &scroll wheel functions. Stylish blue LED backlight keys. Automatically backlight adjust. Connect your HTPC to control Windows Media Center friendly. - Page 6 Power Consumption DC 5V ± 5%, Safety Approval FCC Class B, CE Operation System Windows 2000 / XP / XP x64 / Vista x86 x64 /7 x86 x64 Accessory USB Receiver FCC Statement on CLASS B This equipment has been tested and found to comply with the limits foe a Class B digital device, pursuant to part 15 of the FCC Rules.
Need help?
Do you have a question about the GKM571R and is the answer not in the manual?
Questions and answers