Advertisement
Advertisement
Table of Contents

Related Manuals for Center 342


Summary of Contents for Center 342
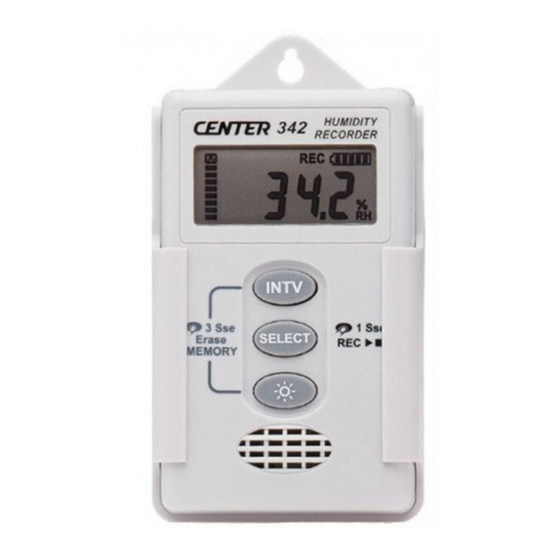
- Page 1 HUMIDITY RECORDER INTV 3 Sec 1 Sec Erase SELECT MEMORY SE-342...
-
Page 2: Table Of Contents
CONTENT Page I. SAFETY INFORMATION --------------------- 1 II. FEATURE ----------------------------------------- 1 III. GENERAL SPECIFICATION ---------------- 2 IV. NAME AND FUNCTION ---------------------- 3 V. OPERATION INSTRUCTIONS 5.1 Setup ----------------------------------------- 5 5.2 Record Temperature--------------------- 7 5.3 Erase Memory ----------------------------- 8 5.4 Download Memory ----------------------- 8 5.5 Replace Battery --------------------------- 9 VI. -
Page 3: Safety Information
Humidity Recorder SAFETY INFORMATION • Read the following safety information carefully before attempting to operate or service the meter. • Only qualified personnel should perform repairs or servicing not covered in this manual. • Periodically wipe the case with a dry cloth. Do not use abrasives or solvents on this instrument. -
Page 4: General Specification
Humidity Recorder III. GENERAL SPECIFICATION Measurement Range: -30°C to 70°C ( -22°F to 158°F); 0% to 100% RH Accuracy: ±0.4°C+(TEMP - 25°C)x0.03; ±3% RH (20% to 80%) Resolution: 0.1°C / 0.1°F; 0.1% RH Data Logger: 32,000 Records Storage Condition: -30°C to 70°C; 5% to 95% RH Operating Condition: -30°C to 70°C;... -
Page 5: Name And Function
Humidity Recorder IV. NAME AND FUNCTION 1.5V X 2 SIZE AAA / IEC LR03 INTV PLEASE READ MANUAL FOR SAFET 3 Sec 1 Sec Erase SELECT MEMORY LCD Display Select Button ○ ○ INTV Setup Button Back Light Button ○ ○... - Page 6 Humidity Recorder Communication Recording Record Interval Symbol Status Symbol Battery Status Memory Temperature Status Unit ° ° RH Indication Display Temperature Reading PLEASE READ MANUAL FOR SAFET RS-232 Jack ○ Slip Proof Rubber ○ Infrared RS232 Port ○...
-
Page 7: Operation Instructions
Humidity Recorder V. OPERATION INSTRUCTIONS 5.1 Setup Date And Time Setup: 1. Hold buttons simultaneously for 3 INTV SELECT seconds to enter date and time setup mode. 2. Press to select year, month, day, hour and INTV minute setup. 3. Press to set value on year, month, day, hour SELECT and minute. - Page 8 Humidity Recorder Setup Recording Interval and Temperature Unit: 1. Press and hold for 2 seconds to recording INTV interval setup mode.(P-1) 2. Press to select record interval. Options are SELECT 1,2,5,10,15,20,30 seconds and 1,2,5,10,20,30,60 minutes. 3. Press to finish record interval setup and go to INTV temperature unit setup mode.
-
Page 9: Record Temperature
Humidity Recorder 5.2 Temperature Recording 1. Press and hold SELECT 1 second to start recording and LCD will display INTV “REC”. 3 Sec 1 Sec Erase MEMORY 2. To stop recording, press and hold for 1 SELECT second again. The “REC” symbol will disappear. 3. -
Page 10: Erase Memory
5.4 Download Data 1. Dock recorder communication base and connect the RS-232 cable to PC. INTV 3 Sec 1 Sec Erase SELECT MEMORY 2. Run the SE-342 software, LCD will display “RS-232” to indicate the linking status. Data Logger: 64,000 Records... -
Page 11: Replace Battery
Humidity Recorder 3. Click “DataLogger” from SE-342 menu to download data. Note: 1. Refer to page 10(6.1) about installing SE-342 software. 2. Refer to page 11(6.2) about software introduction. 5.5 Replace Battery 1. Please stop data recording before replacing battery. -
Page 12: Software
SE-342. • Installation : 1. We recommend closing all other applications before installing the TestLink SE-342 software. 2. Insert the setup CD disc to CD-ROM drive and the installation program should start automatically. 3. If installation dose not start automatically, choose the start button on the Taskbar and select Run. -
Page 13: Introduction
Humidity Recorder 6.2 Introduction • Main Screen Main menu Tool menu DataLogger window Data Set List Data List Graph Max/Min/Avg display • Main Menu File : Open - Open files saved previously from the disk. Save - Save the data to the disk. Print - Print the data (graph or list). - Page 14 Humidity Recorder View : Open LCD display window. Window : Arrange windows Help : On line help. • DataLogger When you have the Temperature Recorder connected to PC. Start SE342 software and select "DataLogger" from main menu or click from tool bar to load recorded data from the logger.
- Page 15 Humidity Recorder bar. Memory Status Erase Data Adjust Time Select Interval Select Unit Note: After you select interval or unit , you have to click OK button to make this change valid. • Tutorial Quick Start (1) Recording real time data from PC. 1.Put the Temperature Recorder on the Communication Base, and connect it to a PC serial port with the SE-120 cable.
- Page 16 Humidity Recorder (2) How to save the recorded real time data to a file ? 1. Select the window you want to save by click it, then choose File|Save from main menu or click from the tool bar. 2. There will be a save dialog window for you to assign the file name and file type to save.
- Page 17 3. Start SE342 program. 4. Choose Data Logger from main menu or click from tool bar. 5. Refer to Page 12 for more information about recording Data. • For more operation instruction, please refer to the online help while executing SE-342.
- Page 18 CENTER TECHNOLOGY CORP. 4 / F NO. 415, Jung-Jeng Rd., 238 Shu-Lin, Taipei, Taiwan E-Mail : center@centertek.com http : / / www.centertek.com 342-01...
Need help?
Do you have a question about the 342 and is the answer not in the manual?
Questions and answers