Table of Contents
Advertisement
User Manual
Autoclave
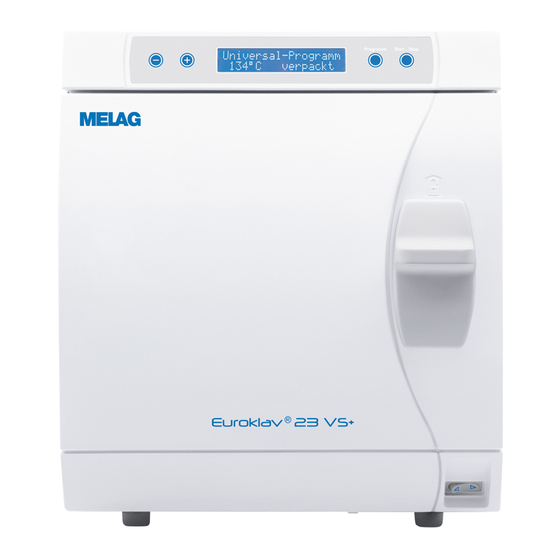
Euroklav
Euroklav
as of software version 4.06
Dear doctor,
We thank you for your confidence demonstrated by the purchase of this autoclave.
Since 1951, MELAG began as a medium-sized family-run enterprise to specialise in the manufacture of
sterilization equipment for medical practices. In the meantime our company has grown into one of the
world's leading producers of sterilization equipment. Verification of it success has been the sale of
more than 450,000 MELAG units worldwide, attesting to the high quality of our sterilizers, which are
exclusively made in Germany.
This autoclave has also been manufactured and tested according to the most stringent quality criteria.
Nevertheless, please read the User Manual carefully before the initial start-up of the device. The long-
term serviceability and the retention of value of your autoclave depend primarily on the careful
preparation of the instruments and the regular maintenance of the device.
MELAG - General Management and employees
®
23 VS+
®
29 VS+
Advertisement
Table of Contents


Need help?
Do you have a question about the EuroKlav 23 VS Plus and is the answer not in the manual?
Questions and answers