Table of Contents
Advertisement
Philips Speech Processing
Safety regulations require that the set be restored to its original
condition and that parts which are identical with those specified
be used.
Published by BK 2007 PSP Service Department
Copyright Philips Austria GmbH, Speech Processing. All rights reserved.
Subject to technical modifications.
- 1 / 26-
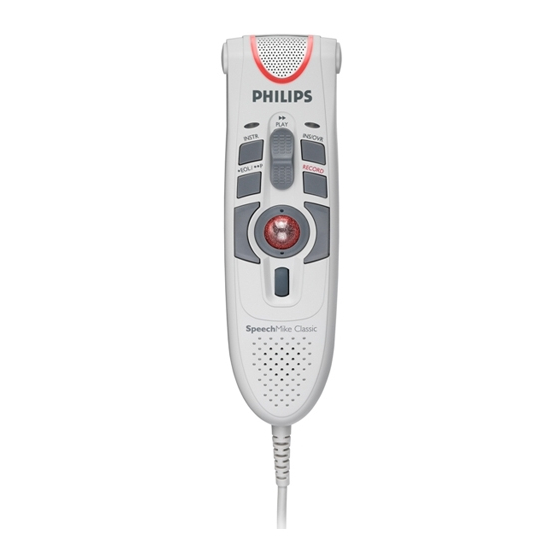
SpeechMike II
LFH5260,5262
LFH5270,5272
LFH5274,5276
LFH5282,5284
GB 5122 991 73611
Advertisement
Table of Contents


Need help?
Do you have a question about the SpeechMike II LFH5260 and is the answer not in the manual?
Questions and answers