Dometic RH440LDC Instructions For Use Manual
Minibar
Hide thumbs
Also See for RH440LDC:
- Installation and operating manual (24 pages) ,
- Installation and operating manual (24 pages)

Related Manuals for Dometic RH440LDC


Summary of Contents for Dometic RH440LDC
- Page 1 RH440LDC RH440LGC CL440 LDC CL440 LGC CL460 LDC CL460 LGC COMPRESSOR - REFRIGERATOR INSTRUCTION FOR USE / INSTALLATION INSTRUCTION English...
-
Page 2: Table Of Contents
INTRODUCTION FOR YOUR SAFETY 2.1 General safety 2.2 Operating the device safely 2.3 Operating the device safely with 220-240V WARRANTY AND CUSTOMER SERVICE INSTALLATION 4.1 The Purpose of this Manual 4.2 Tools/Materials Required 4.3 Unpacking 4.4 Cleaning 4.5 Installation 4.6 Securing 4.7 Connecting the Device to the Electricity Supply 4.8 Changing the Sliding Hinge... -
Page 3: Introduction
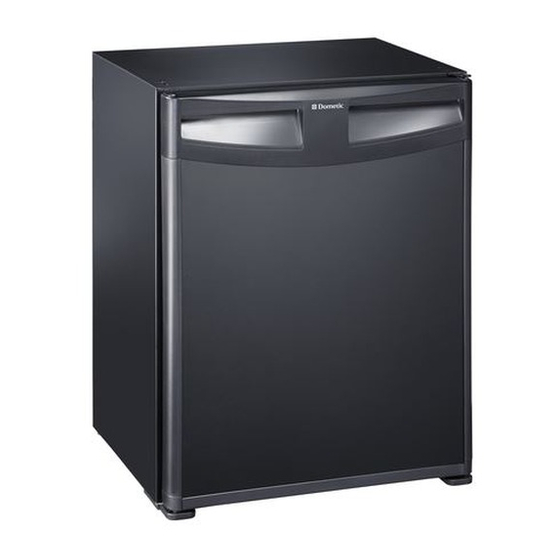
INTRODUCTION You have made an excellent choice by choosing the Dometic miniBar. We are convinced that you will be satisfied with your new appliance in every way. This miniBar fulfils high quality standards and guarantees an efficient use of resources and energy during its entire working life, i.e. -
Page 4: Warranty And Customer Service
Any damage due to improper use is not covered by the warranty. The warranty does not cover any modifications to the appliance or the use of non-original Dometic parts; the warranty does not apply if the installation and operating instructions are not adhered to and no liability shall be entertained. -
Page 5: Installation
Use a soft cloth, lukewarm water and a mild detergent. Following this, wash out the miniBar using clean water and dry thoroughly. At annual intervals, remove dust from fridge aggregate using a brush or soft cloth. ATTENTION To prevent material damage: Do not use soap or detergents which are harsh, coarse or which contain soda. -
Page 6: Securing
Where a socket outlet is used for the mains connection lead, the outlet must be freely accessible. Securing The miniBar must be screwed onto the cupboard using the lower hinges. 1. Tighten screw. 2. Put on cap. Connecting the Device to the Electricity Supply The device must be connected to a properly earthed socket in line with the relevant valid country regulations. -
Page 7: Changing The Doorhang
Distance to furniture door (A) 1. When closed, the furniture door (A) must not lie against the rest of the surrounding furniture area (distance 1-2mm). 2. There must be a distance of 6-8mm between the furniture door and the miniBar. Changing the Doorhang... -
Page 8: Instruction For Use
INSTRUCTION FOR USE Initial Operation The device must be plugged into a properly earthed socket. The miniBar achieves its operating temperature after several hours. Temperature Control The miniBar is fitted with an electronic temperature control. The thermostat control min. button is situated in the inside rear area. max. -
Page 9: Interior Light
To obtain spare electronic boards please contact your Dometic Service Centre. Environmental Advice miniBars manufactured by Dometic are free from CFCs / HCFCs and fluorinated hydrocarbons.Cyclopentane, which does not damage the ozone layer, is used as propellant for the insulation made from PU-foam. -
Page 10: Disposal
Dometic refrigerators bear this symbol trical and electronic equipment. on the data plate to be found in the It is not permitted that this product be interior of the unit. -
Page 11: Technical Data
Technical Data RH440LGC RH440LDC CL440LGC CL440LDC CL460LGC CL460LDC Model Iron coated with Iron coated with Iron coated with Panel Class Class Class plastic plastic plastic Gross volune (L) Usable capacity (L) 35.5 34.5 1 (Fresh food 1 (Fresh food 1 (Fresh food... - Page 12 Suites 2207-2211,22/F,Tower1, 2461 1386 Fax: (+852)2466 5553 www.dometic.com Subject to change without notice. 54-193-MAM01B...