
Subscribe to Our Youtube Channel
Related Manuals for J-Tech Digital ProAV JTECH-SMX44


Summary of Contents for J-Tech Digital ProAV JTECH-SMX44
- Page 1 -TECH DIGITAL Explore The High DefinitionWorld Website: www.jtechdigital.com Hot Line: 1-888-610-2818[US] USER MANUAL J-Tech Digital® ProAV® Seamless 4x4 HDMI Matrix Switch and Four Picture Multiviewer RoHS...
- Page 2 Seamless 4x4 HDMI Matrix Switch and Four Picture Multiviewer Operating Instructions Dear Customer Thank you for purchasing this product. For optimum performance and safety, please read these instructions carefully before connecting, operating or adjusting this product. Please keep this manual for future reference. JTECH-SMX44 offers solutions for digital entertainment center, HDTV retail and show site, HDTV, STB, DVD and projector factory, noise, space and security concerns, data center control, information distribution, conference room presentation, school and corporate training...
- Page 3 TABLE OF CONTENTS Specifications Package Contents Panel Descriptions Connecting and Operating Typical Application Control via Remote Control via RS232 IP Control Maintenance Product Service Trouble Shooting Warranty SPECIFICATIONS Operating Temperature Range 0 to +35°C (32 to +95°F) Operating Humidity Range 5 to 90 % RH (no condensation) Input Video Signal 0.5-1.0 volts p-p...
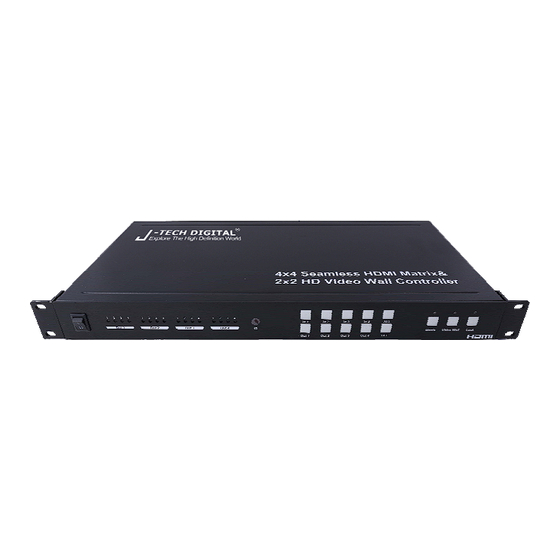
- Page 4 PANEL DESCRIPTIONS ① Power on/off. ② These LED indicates the status of each output selection. ③ IR receive window. ④ Input button IN1~4: choose the desired input port from ports 1~4. ⑤ Output button OUT1~4: choose the desired output port from ports 1~4. ⑥...
- Page 5 CONNECTING AND OPERATING 1. Connect source devices to input ports of JTECH-SMX44 2. Connect HDMI output port to TV or other HDMI sink devices. 3. Optional: connect RS232 cable from PC RS232 port . 4. Optional: connect an Ethernet cable from the TCP/IP port on the matrix to a local area network.
- Page 6 1. Control via remote ① Power on/off. ② Matrix mode button. ③ Video wall mode button. ④ Output button: Output 1/Output 2/Output 3/ Output 4. ⑤ PTP button: Output 1 display input 1, Output 2 display input 2, Output 3 display input 3, Output 4 display input 4.
- Page 7 2. Control via RS232 1) Switch setting ① Matrix mode: select the input port for output 1~4. ② Video wall mode: all the four output will show the different part of the same input source. ③ ON: Factory defaults setting is all output is on, the button is green. Click “out1, out2, out3, out4”, it will turn off, the button will turn red.
- Page 8 the border line will decrease in vertical direction the border line will increase in vertical direction the border line will decrease in horizontal direction the border line will increase in horizontal direction 3) IP setting Click OK button to set IP address for LAN control (for example: 192.168.1.111). 4) Control command format If user want to write his own control software, below are data format and baud rate setting.
- Page 9 5) RS232 command send(hex) feedback(hex) description length start index parameters 0x00 0x77 0x31 0x30 OUTPUT1->INPUT1 0x01 0x77 0x31 0x31 OUTPUT1->INPUT2 0x02 0x77 0x31 0x32 OUTPUT1->INPUT3 0x03 0x77 0x31 0x33 OUTPUT1->INPUT4 0x10 0x77 0x32 0x30 OUTPUT2->INPUT1 0x11 0x77 0x32 0x31 OUTPUT2->INPUT2 0x12 0x77 0x32...
- Page 10 2).Click “Web Browser” button. A web browser will be shown. The default password is "0000000000", input the password and login. The device controller page will be displayed. MAINTENANCE Clean this unit with a soft, dry cloth. Never use alcohol, paint thinner of benzine to clean this unit.
- Page 11 EDID data has been from the display device successfully, at least press ”EDID copy button” for 3 seconds, The EDID will be reset to the default setting. WARRANTY Free lifetime technical support from the manufacture and free 1 Year Manufacturer Warranty from J-Tech Digital.
Need help?
Do you have a question about the ProAV JTECH-SMX44 and is the answer not in the manual?
Questions and answers