Advertisement
Advertisement
Table of Contents

Related Manuals for Conair Easy Care 5000


Summary of Contents for Conair Easy Care 5000
- Page 1 Easy Care 5000 Fabric Steamer Model CGS28BA...
-
Page 2: Important Safety Instructions
Do not place on any heat-sensitive surface and always allow to cool before storing away. • Do not use any attachments other than those supplied by Conair Australia Pty Ltd. • Use this appliance only for its intended use as described in this... - Page 3 • This appliance is not intended for commercial use. • Never drop or insert any object into an opening or hose. • Do not use if unit has been dropped or damaged. • Do not use outdoors or operate where aerosol (spray) products are being used or where oxygen is being administered.
- Page 4 • Before unit is turned on, the hose must be extended, and then place it in the hook. • Do not place the steam nozzle directly onto any surface or on the appliance power cord while it is hot or plugged in. •...
-
Page 5: Getting To Know Your Steamer
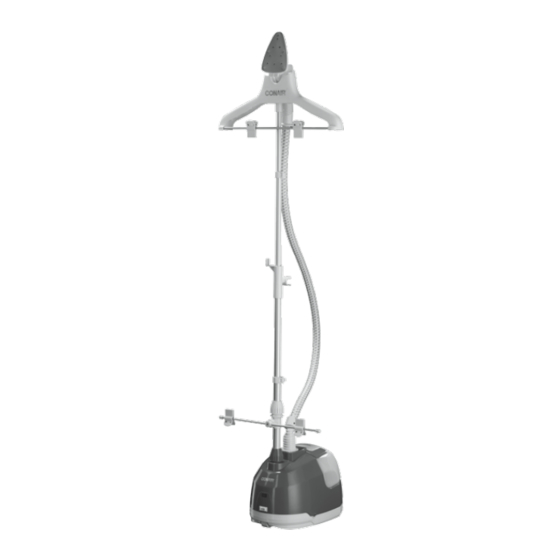
GETTING TO KNOW YOUR STEAMER 30% more steam* with a unique nano-silver ceramic coated nozzle 360˚ rotating hanger spins for convenient Up to 100min of steaming access continuous steam Cool touch handle with easy-grip control Adjustable telescopic pole collapses for easy Duo pant clip system, storage specially designed to... - Page 6 STEAMER ASSEMBLY The garment steamer comes in several parts: 1. Telescopic pole 2. Extendable telescopic pole 3. One metal rod with pant clip system 4. Two grooved plastic connectors (one is attached to the base of the steamer and the other is attached to the metal rod with pant clip system) 5.
- Page 7 Assembling the Telescopic Pole, Pant Clip System and 360° Rotatable Hanger Step.1 Loose the existing grooved plastic connector from the base of the steamer (Fig.A) Step.2 Insert telescopic pole, marked ‘1’ (with open hole facing down) into the connector and receptacle in base of the steamer (Fig.B). Slide the pole into the base of the steamer and twist into place, and then push the pole down as far as it can go, until it clicks into place.
- Page 8 Step.4 Tightly screw the grooved connector.(Fig.C) Step.5 Insert the round plastic connector with hook onto the top of the pole on the garment steamer. (Fig.D) Push the round plastic connector down the pole until it cannot be pushed down any further. Step.6 Take the extendable telescopic pole, marked ‘2’...
- Page 9 Step.7 Place the extendable telescopic pole (with open hole facing down) into the top of the round plastic connector already on the garment steamer. Align the pole and then lightly push down into place. (Fig.G) (Fig.G) Step.8 Place the rotatable hanger with pant clip system over the top of the pole.
- Page 10 The telescopic pole, hanger and duo pant clip system should now be in place. You are now ready to attach the hose and nozzle to the steamer.Attaching the Steamer Hose To attach the steamer hose, insert the bottom of the steamer hose into the base of the garment steamer.
-
Page 11: Connecting The Attachments
USING THE PANT CLIP SYSTEM This garment steamer includes a duo pant clip system for holding pants taut for faster and more effective steaming. (Fig.L) The bottom clips can be adjusted by loosening the knob on the metal rod and the height can also be adjusted by simply sliding the metal rod up or down the telescopic pole, depending on the length of the pants. - Page 12 To attach the 2-in-1 lint and bristle brush to the nozzle, simply align the bottom of the attachment with the bottom of the nozzle. Push the top of the attachment forward until it clicks into place. The 2-in1 lint and bristle bush should then be attached to the nozzle and is now ready to use.
-
Page 13: Filling The Water Container
WHAT IS THE NANO-SILVER CERAMIC COATING ON THE NOZZLE AND HOW DOES IT WORK? The nozzle on this steamer has a lightweight stainless steel surface that is coated with ceramic and nano-silver. The nano-silver ceramic coating works in two ways: 1. -
Page 14: Operating The Steamer
with the handle and turn upside down. 2. Unscrew the valve and spring assembly cap in the centre of the container. 3. Fill water container by holding the container under a source of cold water. Only use clean water for filling the steamer. In hard water areas, we recommend the use of distilled water. -
Page 15: How To Steam
NB – THIS SETTING IS A VERY POWERFUL, ADVANCED SETTING. TAKE EXTRA CARE WHEN USING THIS STEAM SETTING. This setting provides 80 minutes of continuous steam. Switch the on/off switch on the base of the steamer to the required setting. When using the: I. - Page 16 1. Grasp the nozzle with the steam jets facing away from you. 2. Begin at the bottom of the garment to allow the steam to rise and remove wrinkles from the inside and outside of the fabric. NB – Some garments are best steamed on the underside of the material.
-
Page 17: Cleaning, Storing And Maintenance
back into the base of the steamer. The gurgling will stop when the excess moisture inside the nozzle and hose has had a chance to flow back into the base of the steamer. If you steam with the hose upside down, condensation will collect inside the hose. - Page 18 over the storage hook e) place the middle round section of the hanger into the clip on the front of the storage hook. Decalcification of Your Steamer If the appliance begins to produce steam more slowly than usual, stops producing steam and then starts again, you may need to decalcify your steamer.
-
Page 19: Troubleshooting
TROUBLE SHOOTING PROBLEM POSSIBLE CAUSE SOLUTION Steamer fails to heat Steamer is not Plug into power outlet plugged in and switch product on No steam Water level is Switch product off and refill water container Water drips from Condensation in Hold the nozzle and nozzle hose... -
Page 20: Limited One-Year Warranty
Conair website www.conairaustralia.com.au To make a warranty claim you must retain your proof of purchase.
Need help?
Do you have a question about the Easy Care 5000 and is the answer not in the manual?
Questions and answers