
Related Manuals for Vax UCNBAWP1


Summary of Contents for Vax UCNBAWP1
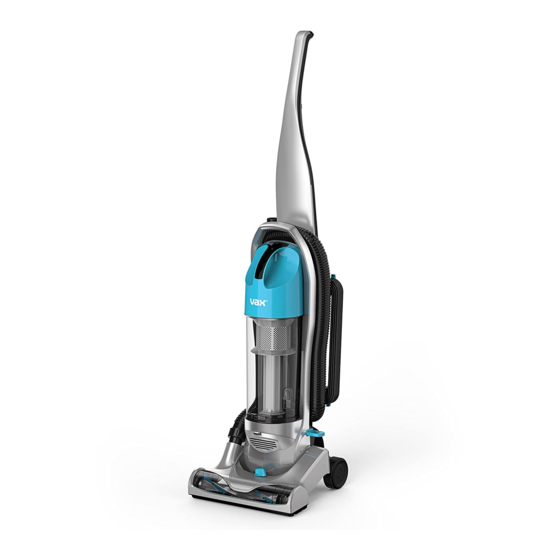
- Page 1 PowerNano CYCLONIC BAGLESS UPRIGHT VACUUM LET’S GET STARTED. UCNBAWP1 UCNBAWH1 UCNBAWC1...
- Page 2 Let’s talk safety This vacuum cleaner is intended for household use only and NOT for commercial or industrial use. • Only use the vacuum cleaner indoors on dry surfaces and keep Basic the area you’re cleaning well lit. safety • Keep fingers, hair and loose clothing from moving parts and precautions openings whilst using the vacuum cleaner.
- Page 3 Any cleaning or maintenance of your vacuum cleaner should not be made by children without supervision and ensure they don’t play with the vacuum cleaner. Only Vax recommend tools should be used with this vacuum cleaner. • Don’t vacuum up any flammable or combustible materials (lighter fluid, petrol, kerosene etc.) or use the vacuum cleaner in an area with explosive vapours...
- Page 4 Maintaining your carpets and hard floors will ensure they keep their appearance for longer and Vax will help you take good care of them. Taking care of your Power Nano Also inside this guide are instructions on maintaining your new machine, so that it’s always ready...
- Page 5 Contents Included with your machine Let’s talk safety All Models Getting to know your machine Hard Floor Tool Getting started Extension Hose 1.5m Using your machine Crevice Tool Taking care of your machine Extension Tube Let’s talk technical Accessory Hose Accessories Power Nano What to do if it goes wrong...
-
Page 6: Technical Specification
Dusting Brush (Type 10) 1-1-134394-00 1-1-134426-00 Voltage 220-240V Wattage 850W Belt Kit (Type 25) Soft Dusting Brush 1-1-134411-00 1-9-136097-00 Weight 5.25kg Crevice Tool (Type 16) Mattress Tool 1-1-134427-00 1-9-136098-00 Subject to technical change without notice. To purchase consumables and accessories, please visit vax.co.uk... -
Page 7: Before You Begin Cleaning
Getting started PLEASE READ ‘LET’S TALK SAFETY’ AT THE BEGINNING BEFORE USE Before you begin cleaning CAUTION: Always switch off the vacuum cleaner before connecting or disconnecting the hose/attachments or removing and emptying the dirt container. IMPORTANT: The vacuum cleaner is equipped with a thermal cut-out. If for any reason the vacuum cleaner does overheat the thermostat will automatically turn the vacuum cleaner off. -
Page 8: Using Accessories
Using your machine IMPORTANT: Always switch off and unplug the vacuum cleaner before connecting or disconnecting the hose/ attachments, or removing and emptying the dirt container. The accessories can be attached to the extension tube or directly to the hose. When using accessories on the hose/extension tube, raise the height adjuster to the highest setting. -
Page 9: Hard Floor Cleaning
Using your machine Using on the stairs This vacuum cleaner has a constantly rotating brushbar. When cleaning on stairs raise the height adjuster dial to the highest setting. The brushbar must overhang the stair tread. Always take care when cleaning stairs. CAUTION Hold the vacuum cleaner with the brushbar over the tread of the stairs. -
Page 10: Emptying The Dirt Container
Taking care of your machine IMPORTANT: The motor is equipped with a thermal cut-out. If for any reason the machine should overheat, the thermostat will automatically turn the machine off. Switch off and unplug the vacuum cleaner. Check the machine for blockages and clean the filters. Filters require cleaning at least every 3 months (depending on the level of use). - Page 11 Taking care of your machine Cleaning the separator Lift the Tap the separator Using a soft brush Line up the tabs on The separator separator out over a bin to remove clean any dirt/debris the separator with will sit between of the dirt any dirt/debris.
- Page 12 Taking care of your machine Storing the extension hose on the vacuum cleaner (optional) Remove the hose end from the Attach the accessory hose hose to machine connector. to the extension hose. Wrap the hose around Bring the hose over and Insert the hose into the hose the hose guide.
-
Page 13: Removing Debris From The Brushbar
Let’s talk technical IMPORTANT: Unplug and switch off the vacuum cleaner before performing maintenance or troubleshooting checks. Removing debris from the brushbar Using a pair of scissors, remove any threads or hair caught around the brushbar. Removing a blockage from the hose Remove the hose end from the Lift the clip under Pull the latch out and... -
Page 14: Replacing The Belt
Let’s talk technical Replacing the belt Lie the vacuum cleaner on its Lift to remove the Lift to remove the back exposing the brushbar. brushbar cover. brushbar. Remove and Use a cross head screwdriver dispose of the old belt. to undo the 5 screws. Clean any debris from Place the belt on the Line up the right side of the... - Page 15 Accessories Don’t forget your accessories! Order at: www.vax.co.uk/spares-and-solutions Pro Cleaning Kit (Type 2) 1-1-133326 All our best tools in one kit that makes cleaning your home quicker, easier and with even better results. We’ve taken care of cleaning all of the hard to reach...
- Page 16 What to do if it goes wrong Problem Solution • Check the contents on the back of the box to make sure the part is included with your vacuum cleaner. There is an accessory missing. • The plug may not be fully pushed into the electrical socket. •...
- Page 17 Getting in touch † Registration required. Terms and conditions apply, see vax.co.uk for details. * Calls are charged at the UK local rate. Please make a note of the serial number and model number of the product before calling.
- Page 18 Notes...
- Page 19 Notes...
- Page 20 Local Authority or retailer for recycling advice. © 2016 Vax Limited. All rights reserved. The VAX trade mark and Vax lozenge are the property of Techtronic Floor Care Technology Ltd and are registered in the EU and may be pending or registered in other countries.