
Related Manuals for Vax Air Lift Steerable


Summary of Contents for Vax Air Lift Steerable
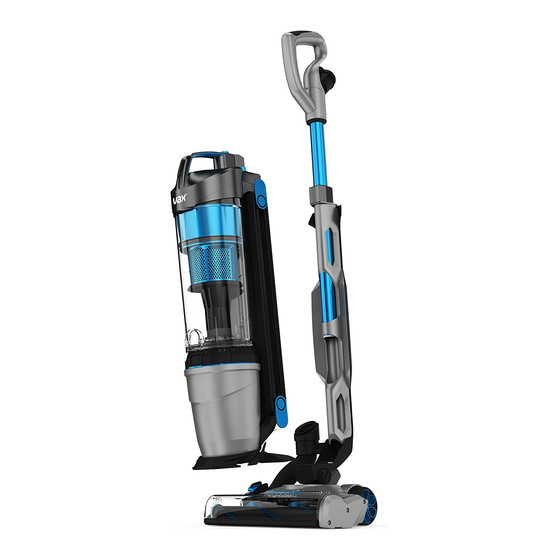
- Page 1 Lift STEERABLE POWERFUL UPRIGHT WITH LIFT OUT CYLINDER LET’S GET STARTED. UCPESHV1 UCPMSHV1 UCUESHV1 UCSUSHV1...
-
Page 2: Safety Guide
• Keep fingers, hair and loose clothing away from moving parts and openings whilst using the machine. • Only VAX recommended accessories/tools should be used with the machine, use of non-branded accessories/tools will invalidate your warranty. • Always switch off and unplug the machine before performing maintenance or troubleshooting checks. - Page 3 • Don’t vacuum up hot coals, cigarette butts, matches or smoking hot burning items or use in an area where there may be harmful fluids (chlorine, bleach, and ammonia drain cleaner). • Don’t attempt to remove blockages with sharp objects as this may cause damage to the machine.
- Page 4 WARRANTY & TECHNICAL WARRANTY If a VAX machine is used in the way it is intended and it breaks down within the guarantee period, it’s our responsibility to repair or replace it. Here’s what isn’t covered: • Functional parts, tools and accessories after 12 months that may suffer premature failure due to every day wear and tear.
- Page 5 CONTENTS Included with your Lift Steerable Lift Steerable Pet Safety guide 2 - 3 Standard tools Warranty & technical 3-in-1 Tool (Crevice, Dusting and Upholstery Tool) Getting in touch TurboTool Getting to know your machine Lift Steerable Pet Max Standard tools, plus Getting started Fur ‘n’...
-
Page 6: Getting In Touch
Maintaining your carpets and hard floors will ensure they keep their appearance for longer. You’ve chosen the carpets and hard floors for your home for a reason and Vax will help you take good care of them. -
Page 7: Getting To Know Your Machine
Extension tube Power On/Off button Brushbar On/Off button Quick release cord hook 3-in-1 tool storage clip Quick release cord hook Wand release Hose holder TECHNICAL SPECIFICATION VAX Air Lift Steerable Series Voltage 220-240V Wattage Full product: 850W Lift-out: 750W Frequency 50Hz... -
Page 8: Getting Started
GETTING STARTED PLEASE READ THE SAFETY PRECAUTIONS ON PAGES 2 & 3 BEFORE USE. IMPORTANT: Always switch off the machine before connecting or disconnecting the lift-out/hose/accessories or removing and emptying the dirt container. Assembly Slide the handle with the Place the 3-in-1 tool onto extension tube into the the storage clip. -
Page 9: Using Your Machine
USING YOUR MACHINE Using your machine with the lift-out attached CAUTION: The brushbar constantly rotates when switched on. Never use on one spot for an extended period of time as the brushbar may damage the floor surface. The brushbar should be ON for carpets and OFF for hard floors. Turn the quick release Clip the cord into the cord Plug the machine into the... - Page 10 USING YOUR MACHINE Using your machine with the lift-out detached IMPORTANT: Hold the lift-out by the carry handle at all times when the lift-out is being used on stairs and cleaning high areas. LIFT-OUT ON/OFF Hold the carry handle and Lift and remove the lift-out Press the hose end clip Press the On/Off button...
- Page 11 USING YOUR MACHINE Using the accessories IMPORTANT: Always switch off the machine before connecting or disconnecting the lift-out/hose/accessories. The tools can be used with the lift-out either attached or detached from the main unit. For easier cleaning detach the lift-out for stair and above floor cleaning.
- Page 12 USING YOUR MACHINE Using the handle and hose for hard to reach areas IMPORTANT: Always switch off the machine before connecting or disconnecting the handle. Remove the handle from the main unit, attach to the hose and attach the chosen accessory.
-
Page 13: Maintenance And Cleaning
MAINTENANCE & CLEANING IMPORTANT: Always switch off and unplug the machine before performing maintenance or troubleshooting checks. Switch the machine off before connecting or disconnecting the lift-out, hose and accessories or before emptying the dirt container. The motor is equipped with a thermal cut-out. If for any reason the machine should overheat, the thermostat will automatically turn the machine off. - Page 14 MAINTENANCE & CLEANING Cleaning the separator Push the dirt container lid Pull the pre-motor filter Lift and remove the Refit the separator making release clip upwards to tab and remove the filter. separator out of the dirt sure that the semi circular open the container lid.
- Page 15 MAINTENANCE & CLEANING Resetting/removing obstructions from the brushbar ON/OFF If the brushbar has been Press the On/Off button Lie the machine on Plug the machine into the obstructed, the brushbar to switch the machine off. its back and remove the mains and switch on.
- Page 16 MAINTENANCE & CLEANING Cleaning the brushbar Using a crosshead Pull to remove the Lift and separate the Pull to remove the belt screwdriver, remove the 3 brushbar location plate. brushbar side cover. cover. screws from the belt cover Remove the belt. on the side of the floorhead.
- Page 17 MAINTENANCE & CLEANING Removing dirt/debris from the TurboTool CAUTION: To reduce the risk of injury remove the tool from the machine before performing maintenance or troubleshooting. Always ensure the machine is switched off and unplugged before doing so. Open the TurboTool by Pull open the bottom Refit the bottom cover, insert removing the 2 screws with...
-
Page 18: What To Do If It Goes Wrong
WHAT TO DO IF IT GOES WRONG WARNING: Always switch off and unplug the machine before performing any maintenance or troubleshooting checks. There is an accessory missing • Check the contents on the box to make sure the part is definitely included with your machine. Why does the machine have no power? •... - Page 20 GET IN TOUCH info@vax.co.uk vax.co.uk...
Need help?
Do you have a question about the Air Lift Steerable and is the answer not in the manual?
Questions and answers
Can’t refit the brush bar location plate
To refit the brushbar location plate on a Vax Air Lift Steerable, follow these steps:
1. Position the brushbar back into place.
2. Attach the brushbar location plate over the brushbar.
3. Secure the plate by aligning it properly.
4. Refit the belt cover and tighten the screws using a crosshead screwdriver.
Ensure the brushbar and housing are free from debris before refitting.
This answer is automatically generated