Sign In
Upload
Download
Table of Contents
Contents
Add to my manuals
Delete from my manuals
Share
URL of this page:
HTML Link:
Bookmark this page
Add
Manual will be automatically added to "My Manuals"
Print this page
×
Bookmark added
×
Added to my manuals
Manuals
Brands
Polaris Manuals
Offroad Vehicle
OUTLAW 110 2017
Owner's manual for maintenance and safety
Polaris OUTLAW 110 2017 Owner's Manual For Maintenance And Safety
Hide thumbs
1
2
3
4
5
6
Table Of Contents
7
8
9
10
11
12
13
14
15
16
17
18
19
20
21
22
23
24
25
26
27
28
29
30
31
32
33
34
35
36
37
38
39
40
41
42
43
44
45
46
47
48
49
50
51
52
53
54
55
56
57
58
59
60
61
62
63
64
65
66
67
68
69
70
71
72
73
74
75
76
77
78
79
80
81
82
83
84
85
86
87
88
89
90
91
92
93
94
95
96
97
98
99
100
101
102
103
104
105
106
107
108
109
110
111
112
113
114
115
116
117
118
119
120
121
122
123
124
125
126
127
128
129
130
131
132
133
134
135
136
137
138
139
140
141
142
143
144
145
146
147
148
149
150
151
152
153
154
155
156
157
158
159
160
161
162
163
164
165
166
167
168
169
170
171
172
173
174
175
176
177
178
179
180
181
182
183
184
185
186
187
188
189
190
191
192
193
page
of
193
Go
/
193
Contents
Table of Contents
Troubleshooting
Bookmarks
Table of Contents
Table of Contents
Introduction
Safety
Safety Training
Riding Gear
Equipment Modifications
Safety Warnings
Youth Section
Know Your ATV
Know Your ATV
Pre-Ride Check
Riding Rules
Riding Rules
Adult Section
Vehicle Identification Numbers
Features and Controls
Main Key Switch
Features and Controls
Throttle Lever
Shift Lever
Operation
Safe Operation Practices
Starting the Engine
Stopping the Engine
Driving Procedure
Making Turns
Driving on Slippery Surfaces
Driving Uphill
Turning Around on a Hill
Driving over Obstacles
Driving through Water
Hauling Cargo
Emission Control Systems
Noise Emission Control System
Crankcase Emission Control System
Emission Control Systems
Maintenance
Lubrication Guide
Engine Oil
Engine Oil Check
Engine Oil Change
Transmission Oil Check
Outlaw
Spark Plugs
Vehicle Immersion
Cvt Drying
Spark Arrester
Speed Control System
Throttle Cable Adjustment
Brake Lever Travel
Toe Alignment
Steering Inspection
Camber and Caster
Shock Spring Adjustment
Drive Chain
Drive Chain Slack
Air Filter
Handlebar Adjustment
Wheel Installation
Transporting the Atv
Specifications
POLARIS Products
Troubleshooting
Warranty
Limited Warranty
Maintenance Log
Maintenance Log
Index
Advertisement
Quick Links
1
Maintenance
2
Lubrication Guide
3
Engine Oil Change
4
Specifications
5
Troubleshooting
Download this manual
Owner's Manual for Maintenance and Safety
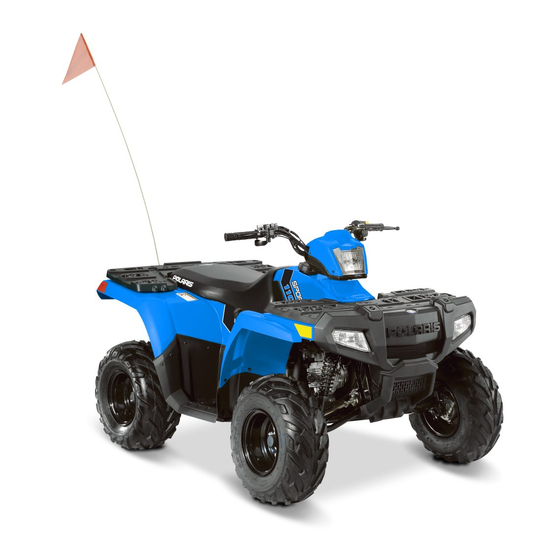
OUTLAW 110
SPORTSMAN 110
Read this manual carefully. It contains important safety information.
Adult supervision is required at all times.
Operation is prohibited for anyone under age 10.
Table of
Contents
Previous
Page
Next
Page
1
2
3
4
5
Advertisement
Table of Contents
Need help?
Do you have a question about the OUTLAW 110 2017 and is the answer not in the manual?
Ask a question
Questions and answers
Related Manuals for Polaris OUTLAW 110 2017
Offroad Vehicle Polaris Outlaw 110 2022 Owner's Manual
(211 pages)
Offroad Vehicle Polaris OUTLAW 110 2018 Owner's Manual For Maintenance And Safety
(199 pages)
Offroad Vehicle Polaris OUTLAW 110 2021 Owner's Manual For Maintenance And Safety
(209 pages)
Offroad Vehicle Polaris 120 Owner's Manual For Maintenance And Safety
Polaris 2006 snowmobile owner's manual (99 pages)
Offroad Vehicle Polaris 1999 Sportsman 400 Service Manual
(505 pages)
Offroad Vehicle Polaris Magnum 2x4 Service Manual
Polaris atv and light utility vehicle service manual (634 pages)
Offroad Vehicle Polaris Sportsman 850 Owner's Manual
(167 pages)
Offroad Vehicle Polaris Scrambler 1000 Owner's Manual
2017 (167 pages)
Offroad Vehicle Polaris Ranger 1000 Diesel Owner's Manual
(121 pages)
Offroad Vehicle Polaris Sportsman 850 Service Manual
(510 pages)
Offroad Vehicle Polaris Offroad Vehicle Owner's Manual
1998 atv (157 pages)
Offroad Vehicle Polaris RANGER 1000 2020 Owner's Manual For Maintenance And Safety
(177 pages)
Offroad Vehicle Polaris RANGER 1000 2020 Service Manual
(610 pages)
Offroad Vehicle Polaris RANGER XP 900 2018-2019 Service Manual
(561 pages)
Offroad Vehicle Polaris General 1000 2023 Owner's Manual
(151 pages)
Offroad Vehicle Polaris RANGER 1000 2023 Owner's Manual
(171 pages)
This manual is also suitable for:
Sportsman 110 2017
Table of Contents
Save PDF
Print
Rename the bookmark
Delete bookmark?
Delete from my manuals?
Login
Sign In
OR
Sign in with Facebook
Sign in with Google
Upload manual
Upload from disk
Upload from URL


Need help?
Do you have a question about the OUTLAW 110 2017 and is the answer not in the manual?
Questions and answers