Table of Contents
Advertisement
Advertisement
Table of Contents
Troubleshooting

Related Manuals for AEG KKK884500


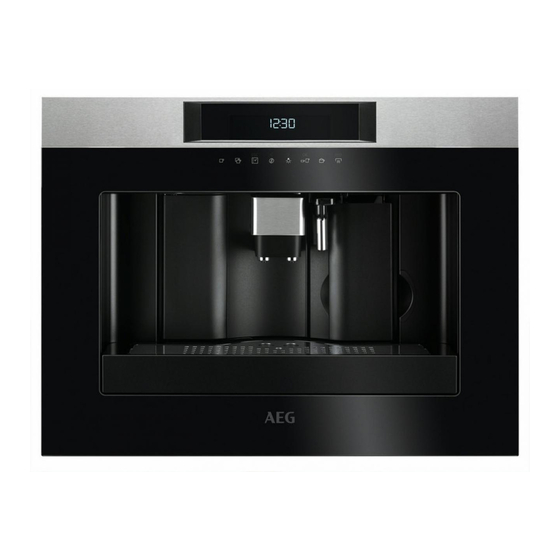
Summary of Contents for AEG KKK884500
- Page 1 KKK884500 EN User manual Automatic coffee maker KKE884500 USER MANUAL...
- Page 2 FOR PERFECT RESULTS Thank you for choosing this AEG product. We have created it to give you impeccable per- formance for many years, with innovative technologies that help make life simpler – fea- tures you might not find on ordinary appliances. Please spend a few minutes reading to get the very best from it.
-
Page 3: Table Of Contents
CONTENTS Cleaning the drip tray ............12 Cleaning the water tank ..........13 INTRODUCTION ......... 4 Cleaning the spouts ............13 Symbols used in these instructions .........4 Cleaning the pre-ground coffee funnel ......13 Letters in brackets ............4 Cleaning the inside of the coffee maker ......13 Troubleshooting and repairs ..........4 Cleaning the brewing unit ..........13 Cleaning the milk container ...........13... -
Page 4: Introduction
INTRODUCTION N.B.! Symbols used in these instructions This symbol identifies important advice or information for the Important warnings are identified by these symbols. It is vital user. to respect these warnings. Failure to observe the instructions could result in electric shock, serious injury, burns, fire or dam- Letters in brackets age to the appliance. -
Page 5: Designated Use
stand the hazard involved. Cleaning and user maintenance shall not be made by children unless they are older than 8 and supervised. Keep the appliance and its cord out of the reach of children aged less than 8 years. Appliances can be used by persons with reduced physical, sensory or mental capabilities or lack of experience and knowledge if they have been given supervision or instruction con- cerning use of the appliance in a safe way and understand the hazards involved. -
Page 6: Description
medium cup, large cup, mug) B6. ESC icon to exit the selected mode N.B.! The appliance has a cooling fan. B7-B8. icons to scroll forwards or backwards through the This comes on whenever coffee, steam or hot water is delivered. menu and display the various modes After several minutes, the fan goes off automatically. -
Page 7: Using The Appliance For The First Time
corresponds to the value indicated on the rating plate on the Press the OK icon (B9) (fig. 6) and after a few seconds a little bottom of the appliance. water comes out of the spout. Connect the appliance to an efficiently earthed and correctly in- 5. -
Page 8: Changing The Quantity Of Coffee In The Cup
tion. To choose the required taste, press the icon (B4) (fig. 10) a number of times. The required coffee taste is dis- played. 2. Place 1 cup under the spouts to make 1 coffee or 2 cups for 2 coffees (fig. 13). Lower the spouts as near as possible to the cup for a creamier coffee (fig. -
Page 9: Adjusting The Coffee Mill
• ground coffee function. To change the quantity, proceed as follows: • Extract the machine by pulling it outwards using the han- dles. • Press the icon (B2) to enter the menu. Press the • Lift the central lid, place one measure of pre-ground coffee icons (B7) and (B8) (fig. 2) until “PROGRAM COFFEE” in the funnel, push the appliance in then proceed as de- is displayed. -
Page 10: Making Cappuccino
• Select the required quantity of water by pressing the • The appliance delivers coffee. • The cappuccino is now ready. Sweeten to taste and, if de- icons (B7) and (B8). The progress bar shows the sired, sprinkle the froth with a little cocoa powder. quantity of water selected. NOTE 1: While making cappuccino, the flow of frothed milk or •... -
Page 11: Changing The Quantity Of Coffee
milk selected. bean container is full enough and the waste coffee contain- • Press the OK icon (B9) to confirm (or the ESC icon (B6) to er is completely empty. cancel the operation. • Press the OK icon (B9). • Press the ESC (B6) icon (B6) twice to exit the menu. The type of coffee selected, for example “EXTRA-MILD JUG”, and the number of cups you want to make with the jug are displayed, for example “JUG 4 CUPS”. -
Page 12: Cleaning
• open the service door on the front of the appliance (fig. 26), icons (B7) and (B8) until “PROGRAM JUG” is dis- extract the drip tray (fig. 27) and clean. played. • Empty the waste coffee container and clean thoroughly to • Press the OK icon (B9) and then the icons (B7) and remove all residues left on the bottom. This can be done (B8) until “JUG COFFEE TASTE”... -
Page 13: Cleaning The Water Tank
Cleaning the inside of the coffee maker from the bottom and top as shown in the figure. 1. Check regularly (about once a week) that the inside of the appliance is not dirty. If necessary, remove coffee deposits with the brush (C8) supplied and a sponge. -
Page 14: Cleaning The Coffee Jug
• Press the icon (B2) to enter the menu. “CHOOSE LAN- GUAGE” is displayed. Hole • Press the OK icon (B9). Hole • Press the icons (B7) and (B8) until the required lan- guage is displayed. 3. Remove the frothed milk regulator by pulling it outwards. •... -
Page 15: Setting The Clock
Setting water hardness • Press the ESC icon (B6) to exit. The operating period can be extended if required, making desca- Setting the clock ling less frequent by programming the machine on the basis of the real lime content in the water used. • Press the icon (B2) to enter the menu and then the Proceed as follows: icons (B7) and (B8) until “SET CLOCK”... -
Page 16: Resetting Default Values (Reset)
Resetting default values (reset) N.B.: Use the descaler recommended by the manufac- If you change the original values, the default values can be reset turer only. as follows: Use of other descalers invalidates the guarantee. • Press the icon (B2) to enter the menu and then the Failure to descale the appliance as described also invalidates the icons (B7) and (B8) until “RESET TO DEFAULT”... -
Page 17: Turning The Appliance Off
• Press the OK icon (B9) to confirm. • Press the ESC (B6) icon (B6) once to exit the function or twice to exit the menu. TURNING THE APPLIANCE OFF Each time the appliance is turned off, it performs an automatic rinse cycle which cannot be interrupted. Danger of burns! During rinsing, a little hot water flows from the coffee spouts. Avoid contact with splashes of water. -
Page 18: Displayed Messages
DISPLAYED MESSAGES DISPLAYED MESSAGE POSSIBLE CAUSE REMEDY FILL TANK! The water tank is empty or positioned Fill the tank with water and/or insert it correctly, incorrectly. pushing it as far as it will go. GROUND TOO FINE ADJUST MILL AND The grinding is too fine and the coffee Turn the grinding adjustment knob one click alternating with PRESS OK... -
Page 19: Troubleshooting
TROUBLESHOOTING Below is a list of some of the possible malfunctions. If the problem cannot be resolved as described, contact Custo- mer Services. PROBLEM POSSIBLE CAUSE REMEDY The coffee is not hot The cups were not preheated. Warm the cups by rinsing them with hot water. - Page 20 PROBLEM POSSIBLE CAUSE REMEDY The milk does not come out of the milk The intake tube is not inserted or is in- Insert the intake tube (C4) in the rubber spout (C5). serted incorrectly. washer in the milk container lid (fig. 24). The milk is not well frothed.
- Page 24 www.aeg.com/shop...
Need help?
Do you have a question about the KKK884500 and is the answer not in the manual?
Questions and answers
Where do you put the coffee in the machine
For pre-ground coffee, place it in the funnel (A21). For coffee beans, fill the bean container.
This answer is automatically generated