Advertisement
Advertisement
Table of Contents

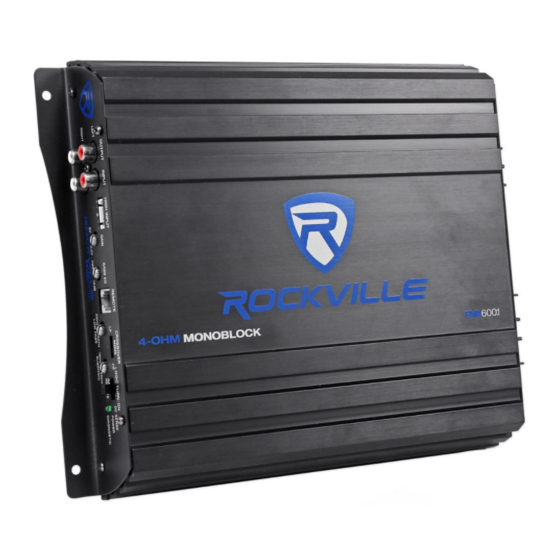
Summary of Contents for Rockville RVA600.1
- Page 1 RVA600.1 4 OHM MONOBLOCK...
- Page 2 We have spared no expense in designing these amplifiers, creating the most rugged, reliable, powerful and best performing amplifiers. In fact we are so sure of the quality we backup every RVA600.1 amplifier with one year warranty which exemplifies our commitment to the end user. (See enclosed warranty card for details.) Please read this installation guide carefully for proper use of your RVA600.1 amplifier.
- Page 3 POWER AND PROTECTION CIRCUITRY: The RVA600.1 features our unique IC controlled protection circuitry. This sophisticated circuit constantly monitors the heat sink internal temperature and various voltages, adjusting the amp automatically and protecting it from dangerous conditions. The 2 LED’s located on the side of the amplifier provide indication of the amplifier status, the Power LED will light when the amplifier is receiving proper power, ground and remote voltages and the IC monitoring sequence indicates the amp is functional.
-
Page 4: Protection Circuitry
Included with this amplifier is a dashboard bass remote control. PROTECTION CIRCUITRY: Rockville amplifiers incorporate many outstanding protection circuits to help protect the amplifier from being damaged during operating conditions. Thermal Protection: When the amplifier reaches an unsafe operating temperature of 80 degrees celsius the amplifier will turn off. -
Page 5: Installation Basics
AUDIO PREAMP INPUT The RVA600.1 features RCA pre amp inputs. Run RCA cables from your sound source to the inputs of the amplifier. We suggest the use of high quality shielded RCA patch cords to help reduce and eliminate unwanted electrical noise to your system. Be sure to run the RCA cables on the opposite side of the vehicle that you used to carry the power and ground leads of the amplifier. -
Page 6: Adjusting The System
Installation Basics ADJUSTING THE SYSTEM Once the system is operational, the first thing to do, is set all crossover points to approximate settings. In the case of the basic sub woofer system Low Pass filter crossover at 100 Hz or so. Set the Bass Equalizer controls to 0 dB ( Flat Switch Position.) Now you should set the amplifiers input sensitivity adjustment. The knob accessible on the side of the amplifier marked GAIN adjusts the input sensitivity from 6 Volts to 0.2 Volts. -
Page 7: Mounting And Wiring
Mounting and Wiring MOUNTING THE AMPLIFIERS: Choose a convenient mounting location with unobstructed airflow. The RVA600.1 features four mounting tabs located at the amplifiers four corners. Using the supplied screws and grommets, gently mount the amplifier into position. Do not over tighten the... - Page 8 Mounting and Wiring The RVA600.1 amplifier is supplied with a built-in fuse, never replace the fuse that the amp came with, with one of a larger value. We suggest you construct a Red wiring harness with 2 additional fuses. One fuse should be located near the car battery. This fuse near the battery offers protection against damage from short circuits to the car chassis between the battery and the amplifier.
- Page 9 Woofer Configuration The RVA600.1 is a 4 ohm mono block Class AB amplifier. The final impedance load should not fall below 4 ohm. Multiple woofers can be wired to this amplifier as long as the final impedance is no lower...
- Page 10 High Level Input Many factory radios do not have preamp RCA outputs thus the RVA600.1 features High Level inputs. High Level inputs, also referred to as speaker level inputs, allow you to connect to the factory speaker wires. They are called High Level inputs because they convert the high voltage running through factory speaker wires to one the amplifier can handle.
-
Page 11: Specifications
Specifications • 4-Ohm Mono-Block Class A/B • Power Output: 200 Watts RMS Monoblock at 4 Ohms and 1% THD+N • High Speed MosFET Power Supply with 50V Rail • Signal to Noise Ratio: 97 dB • BiPolar Audio Transistor Output Section •... - Page 12 Features and specifications subject to change and or improvement without notice. Though we tried our best to ensure that this manual is free and clear of errors please don’t hold us responsible for printing errors. Copyright 2013 www.Rockvillestore.com...


Need help?
Do you have a question about the RVA600.1 and is the answer not in the manual?
Questions and answers