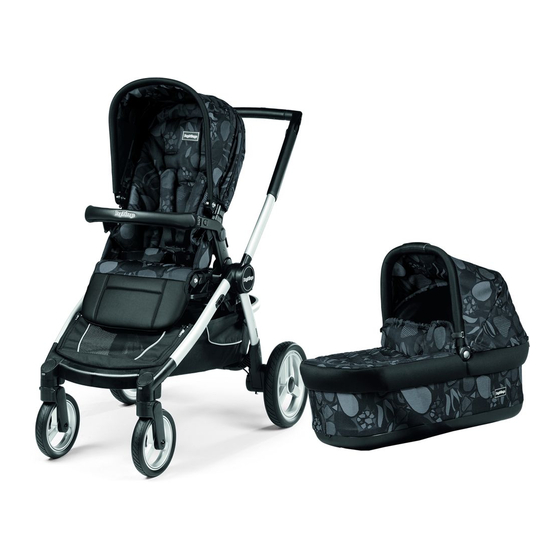
Peg-Perego TEAM Instructions For Use Manual
Hide thumbs
Also See for TEAM:
- Instructions for use manual (21 pages) ,
- Instructions for use manual (28 pages)
Table of Contents
Advertisement
Available languages
Available languages
Advertisement
Table of Contents

Summary of Contents for Peg-Perego TEAM
- Page 1 U.S.A./CANADA EN Instructions for use ES Instrucciones de uso FR Notice d’emploi...
- Page 2 click click click...
- Page 4 click...
- Page 12 1) SAPI0650NERO SPST10095SGP 10) SPST10075DN 15) SAPI10041• 2) SPST10049N 6) SPST10096DN SPST10075SN 16) SPST7323KN 3) ITCBT00NA• SPST10096SN 11) SPST10074NPEG 17) SAPI10042• 4) SPST10090DN 7) SPST7935N 12) SPST10056NS 18) SPST10061N SPST10090SN 8) SPST10097N 13) ERSHTMNA-SH01RT01 5) SPST10095DGP 9) SAPI10098NGP 14) SPST10041N...
- Page 13 1 BCASPU00• 5 MUCI5P22N 2 ASPI0211L31N 6 BSPSPU00• 3 BSASPU00• 7 CFRPPR00--NER 4 SAPI7549N 8 ITSE0300N EN Spare parts available in different colours to be specified when ordering. ES Repuestos disponibles en otros colores que se especificarán en el pedido. FR Pièces de rechange disponibles en plusieurs couleurs à...
- Page 14 EN_English MANUFACTURER MAY CAUSE THE UNIT TO BECOME UNSTABLE. WARNING Thank you for choosing a Peg-Pérego product. AVOID WARNING SERIOUS INJURY FROM FALLING OR SLIDING OUT. ALWAYS USE COMPLETE _ CAREFULLY READ INSTRUCTIONS 5 POINT SEAT BELT IN COMBINATION AND KEEP FOR FUTURE USE. WITH THE SEAT UNIT.
- Page 15 (fig_c). Assistance Service. 11 All the wheels can be removed to further _ Chassis Team: basket, 2 rear wheels and 2 reduce dimensions. front wheels. To remove the front wheels: press the button as illustrated and remove the wheel (fig_a).
- Page 16 To remove the hood: pull out the attachments 16 Information about the production date can and unbutton. be found on the Chassis Team . 24 To extend the hood, unfasten the Velcro strap _ The product name, production date and serial on the rear (fig_a) and let the hood open number of the chassis.
-
Page 17: Cleaning And Maintenance
ES_Español Peg Perego accessories are designed as a useful, practical means of simplifying the lives of parents. Discover all your product’s Le agradecemos haber elegido un producto accessories on www.pegperego.com Peg-Pérego. ADVERTENCIA CLEANING AND MAINTENANCE PRODUCT MAINTENANCE: protect from the weather: water, rain, or snow;... - Page 18 CONCEBIDA PARA SOPORTAR PESOS. embalaje y contactar al Servicio de Asistencia _ ASEGURARSE DE QUE LA en caso de reclamación. _ Chasis Team: cesta, 2 ruedas traseras y 2 SILLA DE PASEO ESTÉ ABIERTA ruedas delanteras CORRECTAMENTE Y BLOQUEADA EN LA POSICIÓN CORRECTA PARA SU...
- Page 19 9 DESMONTAJE DE LA CESTA: despegue y NÚMEROS DE SERIE extraiga los dos velcros situados bajo la 16 Chasis Team , incluye información relativa a la peana anterior del chasis (fig_a). Baje las fecha de producción del mismo. cremalleras (fig_4a), saque las aletas laterales _ Nombre del producto, fecha de producción y...
-
Page 20: Limpieza Y Mantenimiento
INSTRUCCIONES DE USO en coincidencia con los símbolos (fig_a) y presionar hacia abajo con ambas manos 17 BARRA FRONTAL: Para enganchar la barra hasta el encastre (fig_b). Para asegurar el frontal, acompañar los ganchos en los brazos enganche correcto, sujetar la silla por la barra de la silla y empujar hacia la silla hasta el frontal y tirar hacia arriba. - Page 21 FR_Français LIMPIEZA DEL PROTECTOR DE LLUVIA: lavar con una esponja con agua y jabón, sin usar detergentes. Merci d’avoir choisi un produit Peg-Pérego. LIMPIEZA DE LAS PARTES DE TEJIDO: MISE EN GARDE Cepillar las partes de tejido para protegerlas del polvo. •...
- Page 22 EST CORRECTEMENT OUVERTE réclamation, veuillez contacter le Service EST BLOQUÉE DANS LA POSITION d’assistance. CONVENANT À SON UTILISATION. _ Châssis Team: panier, 2 roues arrière et 2 roues avant. _ CONTRÔLER QUE LE SIÈGE ENFANT OU LE LANDAU EST CORRECTEMENT INSTRUCTIONS D’UTILISATION ACCROCHÉ...
- Page 23 16 Des informations relatives à la date de chariot (fig_a). production figurent sur Châssis Team: Baisser les fermetures à glissière (fig_4a), enlever _ Nom du produit, date de production et numéro les ailettes latérales des boutons (fig_b) et de châssis.
- Page 24 l'installation et le retrait de l'enfant. sur les deux boutons situés sur les accoudoirs 18 DOSSIER : pour régler le dossier soulever la du siège (fig_a), puis sur les deux leviers poignée (fig_a) et l'incliner dans la position situés en-dessous (fig_b) en tirant le siège ver souhaitée (fig_b).
- Page 25 • ne pas repasser ; • ne pas laver à sec ; • ne pas utiliser de solvants pour enlever les taches ; • ne pas sécher dans un sèche-linge à tambour rotatif. PEG-PÉREGO S.p.A. Peg-Pérego se réserve le droit de procéder à...
- Page 26 - 26 -...
- Page 27 - 27 -...
- Page 28 PEG PEREGO S.p.A. VIA DE GASPERI 50 20862 ARCORE MB ITALIA tel. 0039 039 60881 fax 0039 039 615869/616454 Servizio Post Vendita - After Sale: tel. 0039 039 6088213 fax: 0039 039 3309992 Conforms to ASTM F833 PEG PEREGO U.S.A. Inc. Safety Standards 3625 INDEPENDENCE DRIVE FORT WAYNE INDIANA 46808 phone 260 482 8191 fax 260 484 2940...


Need help?
Do you have a question about the TEAM and is the answer not in the manual?
Questions and answers