Table of Contents
Advertisement
Quick Links
Advertisement
Table of Contents

Related Manuals for VOKERA BeSMART


Summary of Contents for VOKERA BeSMART
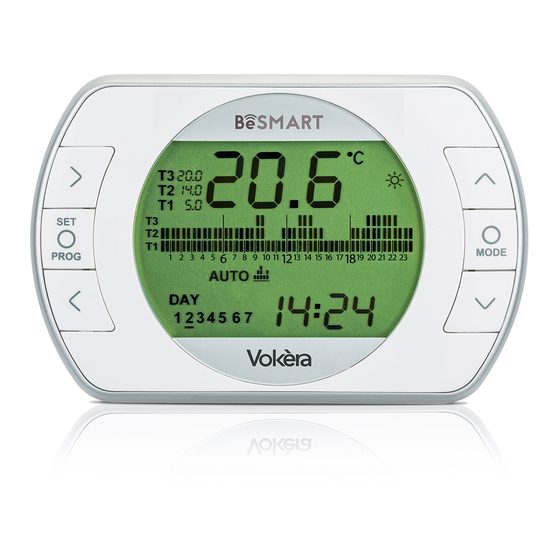
- Page 1 SMART ermosTaTo hermosTaT...
- Page 2 INSTALLAZIONE INSTALLATION BeSMART: cablato in ON/OFF / Wi- BeSMART WiFi Box red ON/OFF WiFi Box: NON cablato (solo alimen- PROG MODE WiFi WiFi RESET BeSMART tato) / Wireless (only main supply) internet server In questa configurazione l’installa- zione OTBus non è realizzabile. / In...
- Page 3 1,5m • Il termostato BeSMART può essere • The BeSMART thermostat installato anche cablato in sostitu- also be used to replace an existing zione di un qualsiasi termostato già...
- Page 4 Separare il BeSMART dalla sua base. Separate the BeSMART from the wall plate. Fissare la base del BeSMART alla pa- Fix the wall plate to the wall using the rete o alla scatola elettrica utilizzando supplied screws (screw head inside le viti a corredo (testa della vite dentro proper location).
- Page 5 If using as a hard-wired control; biente di caldaia o l’alimentazione connect the respective wiring to the dell’eventuale valvola di zona al mor- relevant terminals on the BeSMART control. setto TA del BeSMART. ON/OFF Per i collegamenti elettrici e le...
- Page 6 Inserire le batterie con la corretta Insert the batteries, observing polarità come indicato in figura. the correct polarity as indicated. Montare il BeSMART sulla sua base Re-attach the BeSMART thermostat semplicemente premendo legger- to the wall plate by aligning and mente sullo stesso.
- Page 7 BeSMART). installation manual. In caso di segnale WiFi debole o as- In case of low or null WiFi signal sente presso la caldaia, si consiglia and with boiler RF receiver or WiFi l’installazione dell’accessorio WiFi Ex-...
- Page 8 Separare il BeSMART dalla sua base. Separate the BeSMART from the wall plate. Fissare la base del BeSMART alla pa- Fix the wall plate to the wall using the rete o alla scatola elettrica utilizzando supplied screws (screw head inside le viti a corredo (testa della vite dentro proper location).
- Page 9 Inserire le batterie con la corretta Insert the batteries, observing polarità come indicato in figura. the correct polarity as indicated. Montare il BeSMART sulla sua base Re-attach the BeSMART thermostat semplicemente premendo legger- to the wall plate by aligning and mente sullo stesso.
- Page 10 BeSMART). installation manual. In caso di segnale WiFi debole o as- In case of low or null WiFi signal and sente presso la caldaia, si consiglia with boiler RF receiver or WiFi Ex- l’installazione dell’accessorio WiFi Ex-...
- Page 11 Collegare la spina USB del cavo pre- Insert the other end of the USB cable cedentemente collegato alla caldaia into the OUTPUTS/BOILER socket of nell’uscita OUTPUTS/BOILER del WiFi the WiFi Box. Box. Alimentare il WiFi Box tramite l’appo- Using the mini USB cable and power sito cavo e alimentatore forniti a cor- adaptor (supplied);...
- Page 12 INSTALLATION AND CONFIGURATION DELLA APP PER SMARTPHONE OF SMARTPHONE APP Scaricare installare Download and install the BeSMART BeSMART sul proprio Smartphone o APP on your Smartphone or tablet. tablet. Create a user account following the Creare un account utente seguendo steps indicated on the APP.
- Page 13 Place the item da abbinare (vedi libretto istruzioni that is to be coupled, into the ‘coupling’ BeSMART). Terminato l’accoppia- mode (see BeSMART instruction mento automaticamente il sistema si manual). When the coupling process riporta alla normalità. has been completed, the system will automatically return to the normal operating condition.
- Page 14 Associare la password del proprio Use the password key of your ‘WiFi’ modem di casa al WiFi Box sceglien- router to link the WiFi Box to your home do una delle seguenti modalità. network using one of the methods indicated below. Smartphone o tablet devono es- Smartphones or tablets must be sere connessi alla rete WiFi a cui...
- Page 15 ALLARMI E STATI DI FUNZIONAMENTO ALARMS AND WORKING STATUS Lista segnalazioni LEDs del WiFi Box e relativa spiegazio- Explanation of status LEDs displayed on WiFi Box. Stato Status verde rosso green Relè = chiuso Relè = bridged (solo per collegamento ON/OFF) (sonly with ON/OFF installation) Relè...
- Page 16 Alarm codes indicated on the BeSMART display and Lista allarmi BeSMART e relativa azione consigliata. suggested corrective actions. Allarme Descrizione Alarm Description Sensore temperatura danneggiato irre- Temperature sensor broken. parabilmente (vedere libretto istruzioni (not reparable - see BeSMART Instruction BeSMART).
- Page 20 BeSMART è un brand RIELLO GROUP BeSMART is a RIELLO GROUP brand Via Ing. Pilade Riello, 7 37045 Legnago - Italy Ulteriori informazioni e richiesta di assistenza al seguente sito: Further information and request assistance at the following website: www.besmart-home.com...
Need help?
Do you have a question about the BeSMART and is the answer not in the manual?
Questions and answers