Table of Contents
Advertisement
Quick Links
Advertisement
Table of Contents

Subscribe to Our Youtube Channel
Related Manuals for Crosscall SPIDER-X3G


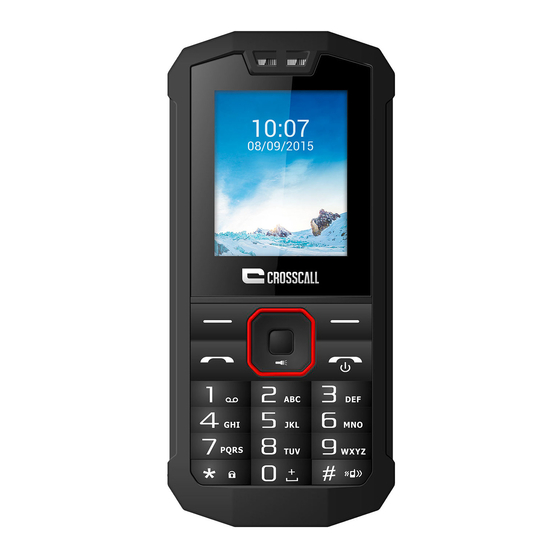
Summary of Contents for Crosscall SPIDER-X3G
- Page 2 Thank you for purchasing this mobile phone Please read all safety precautions and this manual carefully before using your device to ensure safe and proper use. Content, images and screenshots used in this manual may differ in appearance from the actual product.
-
Page 3: Table Of Contents
Table of Contents 1. Security ..................4 1.1 Safety precaution………………………………………………………………..4 2. Getting Started ................6 2.1. Batteries ................6 2.1.1. Installing and uninstalling the battery ....... 6 2.1.2. Charging the battery ..........6 2.1.3. Using the battery ............ 6 2.1.4. Battery level indicator .......... - Page 4 7.4. Calculator ................12 7.5. Recorder ................13 7.6. World clock ................ 13 7.7. Timer ................. 13 7.8. Unit conversion ..............13 7.9. Memo ................13 7.10. E book ................13 7.11. Bluetooth ................13 8. My files ..................13 9.
-
Page 5: Security
1. Security Emergency call In any country, you can dial 112 (or other emergency call number) for emergency help. Note: Based on the nature of cellular networking, the success of the emergency call cannot be − guaranteed. Read Before Proceeding 1.1. - Page 6 During testing, the maximum Specific Absorption Rate (SAR) recorded for this model was 0,859W/kg. Compliance This device complies with essential recommandation and other relevant requirements contained in the 1999/5/CE. The full text of the déclaration of conformity of your phone is available on the website: www.crosscall.com 0700...
-
Page 7: Getting Started
2. Getting Started 2.1. Batteries The battery is included in the package. It is not fully charged out of factory but it may still be able to power on your phone. Please completely use up the power of the battery and then charge it for at least 12 hours with your phone turned off. -
Page 8: Sim Card
2.2.1. SIM card Please insert available Subscriber Identity Module (SIM) card into your phone before using it. SIM card is supplied by your network carrier. All the information related to network connection is recorded on the SIM card, so are the contact information such as names, phone numbers and SMSs that you set to store on the SIM. -
Page 9: Standby Screen And Icons
top of the screen. You phone is now in Standby mode, ready for making and receiving calls. 2.3. Standby screen and Icons This phone provides a Standby screen. Through the instruction and various icons on the screen, you can have the operating information needed. The Standby screen provides various function short-cuts via. -
Page 10: Dial
3.2.1. Direct dial Press any number key to enter the Dial screen. Domestic call Press number key to entering the phone number(add area code when calling long distance), and then press the dial key Send to make the phone call. Note: In single card mode, both Send will dial out to the one card. -
Page 11: Main Menu
Hold: The current call is on hold and both you and the person you are calling will not hear each other. When the call is on hold, you may pick it up again or end the call through the Options menu. End call: End the current call. -
Page 12: Inbox
Set slide time: Set slide time: Text layout : Text above, Text down 5.2. Inbox The Inbox lists the received SMS and MMS. You have the following options: Reply, Delete, Delete all, Cal, Lock, Move to Phone/SIM, Copy to Phone/SIM, Mark, Sort, Add sender to, Delete repeated numbers, Add to blacklist. -
Page 13: Message Capacity
5.11. Message capacity This screen shows the storage status of SMS and the free space of your SIM card and your phone. 6. Internet You may browse internet. Make sure you have enabled GPRS or EDGE network. Dorado and Opera Mini to choose Options: History: Browse the web History: Offline pages: The saved a web page... -
Page 14: Recorder
7.5. World clock Add or remove time zone of the city, Set the daylight saving system 7.6. Timer You can Set the timer 7.7. Unit conversion Weight length and kg - pound kg - ounce conversion 7.8. Memo Memo application 7.9. -
Page 15: Display
English and other Shortcut settings: You can set up and down or so, the right software keyboard shortcuts Auto power on/off: You can set Power on display, Power off display, Auto on/off. Power management: The battery percentage Browser selection: You can choose ASK every time ,Dorado, Opera Mini Restore factory settings: Restore you phone to the factory or default settings through this option. -
Page 16: Connections
9.6. Connections Network account: Choose SIM card account on the Internet GPRS Service: You can choose On or Off Data roaming : Open or close data roaming Data connection settings : You can choose Connect when needed,Always connect,Power saving mode Network selection: You can choose Auto select or Manual select 10. -
Page 17: Contact
Import/Export: Copy the selected entry to SIM card or phone. Import and export contact to the phone or memory card Send vCard: Send vCard by SMS, MMS, Email, Bluetooth. Others : Speed dial ,Memory status Search: Search the contact has been stored 11.2. -
Page 18: Camera
Taking pictures in dim lighting may result in poor picture quality. − After entering the Camera, the Camera Preview screen will appear with the status icons. Press Center to take the picture. 13.1.1 Camera settings include: Image viewer : View image has been saved Settings :... -
Page 19: Image
13.2.2 Press the or so navigation options menu : Shoot mode : DC mode,DV mode Size : 352*288,320*240,176*144,160*128,128*96 Brightness : Camera Brightness adjustment Contrast : Camera Contrast adjustment Effect : Normal,B&W,Bule,Green,Yellow,Red,Sepia,Negative 13.3. Image View the saved images and into the camera 13.4. -
Page 20: Usb Mode
14. USB mode While your phone is connected by USB, you may use your phone as storage device. Note: While using the above functions, the phone application will be disabled. − When our phone is connected by USB but there is no further setting, the phone will switch into −... -
Page 21: Care And Maintenance
Enter PUK code After three consecutive incorrect PIN code entries, the code is blocked, and you need the PUK code to unblock it. Contact your service provider. After seven consecutive incorrect PUK code entries, the SIM card cannot be used any more. Please contact your service provider to buy a new SIM card. 15.3.
Need help?
Do you have a question about the SPIDER-X3G and is the answer not in the manual?
Questions and answers