Table of Contents
Advertisement
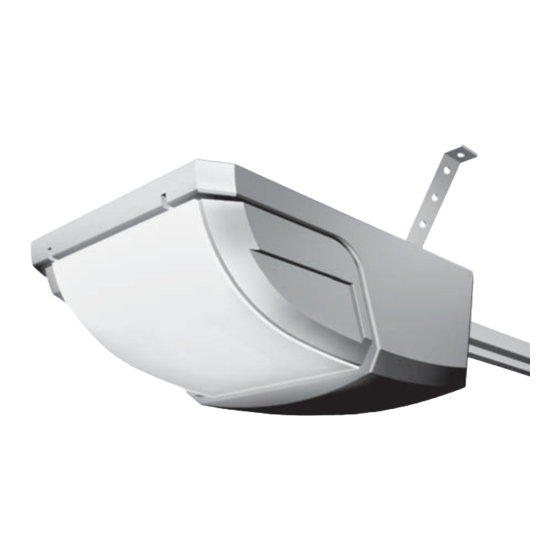
Instructions – Garage Door Operator Model GPD60, GPD65
en
Instrucciones – Abridor de la puerta de garaje, Modelo GPD60, GPD65
es
Istruzioni
it
pt
Instruções – Operador automático de porta, Modelo GPD60, GPD65
Chamberlain GmbH
Alfred-Nobel-Str. 4
D66793 Saarwellingen
www.chamberlain.de
– Apriporta per garage Modello GPD60, GPD65
GPD60
2
2
13.5m
13.5
7,4m
110kg
110kg
60kg
2
Max. m
/kg
GPD65
2
2
13.5m
13.5
10m
110kg
110kg
80kg
2
Max. m
/kg
Advertisement
Table of Contents


Need help?
Do you have a question about the GPD60 and is the answer not in the manual?
Questions and answers