Sign In
Upload
Download
Table of Contents
Contents
Add to my manuals
Delete from my manuals
Share
URL of this page:
HTML Link:
Bookmark this page
Add
Manual will be automatically added to "My Manuals"
Print this page
×
Bookmark added
×
Added to my manuals
Manuals
Brands
Megger Manuals
Measuring Instruments
frax 99
User manual
Megger frax 99 User Manual
Sweep frequency response analyzer
Hide thumbs
1
2
Table Of Contents
3
4
5
6
7
8
9
10
11
12
13
14
15
16
17
18
19
20
21
22
23
24
25
26
27
28
29
30
31
32
33
34
35
36
37
38
39
40
41
42
43
44
45
46
47
48
49
50
51
52
53
54
55
56
57
58
59
60
61
62
63
64
65
66
67
68
69
70
71
72
73
74
75
76
77
78
79
80
81
82
83
84
85
86
87
88
page
of
88
Go
/
88
Contents
Table of Contents
Bookmarks
Table of Contents
Table of Contents
1 Frax
Safety First
FRAX Technical Specifications
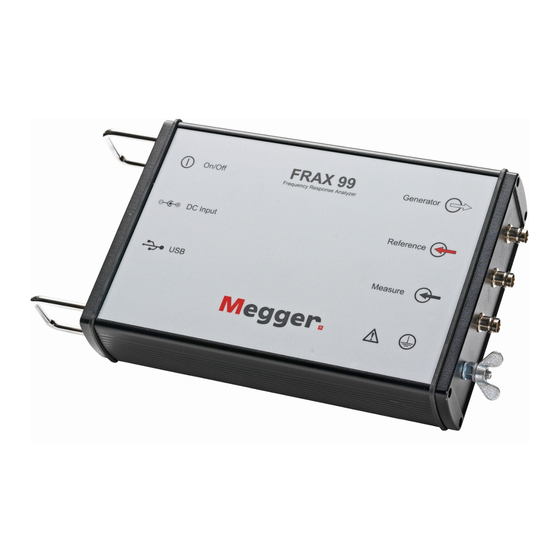
Instrument Panels
Bluetooth Communication (Only FRAX-101)
Built-In Battery Pack and Charger
Sweep Frequency Response
Calibration
Disposal
2 Quick Start Tutorial
Saftey First
Preparatory Procedures
Start up FRAX and Establish Communication
Create a New Test
Test Lead Connection
Test System Verification
Start Measurement
Export Data
3 Installing FRAX Software
View Data
Already Installed
License Agreement
PC Requirements
Welcome Screen
Installation Location
Installation Progress
Shortcuts Screen
Installation Complete
4 FRAX Software
File Menu
Edit Menu
Configuration Menu
Windows Menu
Action Buttons
Legend
Views
5 Appendices
Appendix A: Calibration Instruction
Appendix B: Optional Active Probes
Appendix C: Adjusting Output Voltage
Appendix D: Sweep Name Settings
Appendix E: FRAX Cables and Clamps
Advertisement
Quick Links
1
Frax Technical Specifications
2
Calibration
3
Test Lead Connection
4
Appendix A: Calibration Instruction
Download this manual
FRAX User's Manual
Version 2.5
© 2011 Megger Sweden AB
Released in 2011-06-01
Table of
Contents
Previous
Page
Next
Page
1
2
3
4
5
Advertisement
Table of Contents
Need help?
Do you have a question about the frax 99 and is the answer not in the manual?
Ask a question
Questions and answers
Related Manuals for Megger frax 99
Measuring Instruments Megger frax 101 User Manual
Sweep frequency response analyzer (88 pages)
Measuring Instruments Megger frax 150 User Manual
Sweep frequency response analyzer (88 pages)
Measuring Instruments Megger FRAX Series User Manual
Sweep frequency analyser (69 pages)
Measuring Instruments Megger FCC3450 User Manual
3000a flexible clamp meter (25 pages)
Measuring Instruments Megger 210600 User Manual
Insulation & low resistance tester (6 pages)
Measuring Instruments Megger S1-1054/2 User Manual
10kv digital insulation tester (24 pages)
Measuring Instruments Megger DLRO10HD User Manual
10 a digital low resistance ohmmeter (18 pages)
Measuring Instruments Megger MFM 10 User Manual
Sheath fault location system (39 pages)
Measuring Instruments Megger TORKEL 910 User Manual
Battery load unit torkel 900-series (52 pages)
Measuring Instruments Megger MIT400/2 User Manual
Mit400/2 series insulation and continuity testers (45 pages)
Measuring Instruments Megger MOM2 User Manual
Micro-ohmmeter (48 pages)
Measuring Instruments Megger EGIL User Manual
Circuit breaker analyzer (72 pages)
Measuring Instruments Megger BT51 User Manual
Digital milliohmmeter (16 pages)
Measuring Instruments Megger BT51 User Manual
Digital milliohmmeter (48 pages)
Measuring Instruments Megger Baker DX User Manual
Static motor analyzer (157 pages)
Measuring Instruments Megger Three-Phase TTR Instruction Manual
Transformer turns ratio test set. ttr330 series (70 pages)
This manual is also suitable for:
Frax 101
Frax 150
Table of Contents
Print
Rename the bookmark
Delete bookmark?
Delete from my manuals?
Login
Sign In
OR
Sign in with Facebook
Sign in with Google
Upload manual
Upload from disk
Upload from URL


Need help?
Do you have a question about the frax 99 and is the answer not in the manual?
Questions and answers