Table of Contents
Advertisement
Quick Links
From MaxxAir Vent Corporation
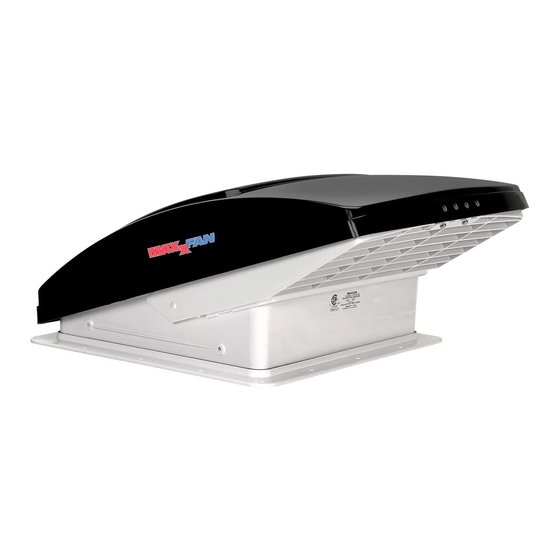
MaxxFan
NOTE
The MaxxFan installs into a standard RV roof opening of 14 by 14 inches.
To determine if your roof opening is correctly sized simply remove the interior ceiling garnish trim
ring of your existing roof vent and measure the ceiling opening or verify the opening is large enough
by sliding the MaxxFan interior Garnish trim ring into the opening.
Due to the rear exhaust louvers, the MaxxFan requires a roof that is clear of obstructions such as air
conditioners, storage boxes, etc. for at least 8 inches to the rear of the existing standard roof vent
flange outside rear edge.
The MaxxFan is designed for a minimum roof thickness of 1 1/8 inches to maximum of 6 1/2 inches.
If your roof thickness is less than 1 1/8 inches build additional thickness at the ceiling opening using
wood or other suitable material.
The MaxxFan requires a 12 Volt 5 amp service. Confirm that the circuit you intend to use will accom-
modate the additional service load. Use the proper gauge stranded wire for electrical connection.
Step 1
Remove the old existing roof vent and remove all old roof sealant for a minimum of 2" entirely around the
roof opening.
Place the MaxxFan Roof Receiving Flange into the roof opening and trace a pencil line around it to verify
the clean seal area that will be required. Note that the Roof Receiving Flange must be centered in the roof
opening with the metal clips facing the sides of the vehicle (not facing the front or rear of the vehicle).
TM
Installation Instructions
Model 5100 and 5200
MaxxAir – the leader in RV ventilation
Patent Pending
P/N 10-50201 - Rev. 5/01/04
Advertisement
Table of Contents

Subscribe to Our Youtube Channel
Related Manuals for Maxx air MaxxFan 5100


Summary of Contents for Maxx air MaxxFan 5100
- Page 1 From MaxxAir Vent Corporation MaxxAir – the leader in RV ventilation MaxxFan Installation Instructions Model 5100 and 5200 Patent Pending NOTE The MaxxFan installs into a standard RV roof opening of 14 by 14 inches. To determine if your roof opening is correctly sized simply remove the interior ceiling garnish trim ring of your existing roof vent and measure the ceiling opening or verify the opening is large enough by sliding the MaxxFan interior Garnish trim ring into the opening.
- Page 2 Step 2 Apply factory recommended roof sealant to the area traced with the pencil. Apply roof sealant carefully so that no gaps are present that may allow water to enter. Step 3 Fasten the Roof Receiving Flange to the roof with the screws provided.
- Page 3 Step 7 The interior Garnish Trim Ring must be trimmed to fit your particular RV roof thickness. To accomplish this, measure the distance from the vehicle ceiling surface to each corner of the MaxxFan Control Plate. Most RV roofs have some slope so measuring each corner is necessary.
- Page 4 MaxxFan Two Year Limited Warranty Model 5100 and 5200 MaxxAir Vent Corp. warrants this product to be free of manufacturing defects for a period of two years from the original date of purchase. This guarantee does not include failure due to accidents, acts of God, misuse or improper installation.
Need help?
Do you have a question about the MaxxFan 5100 and is the answer not in the manual?
Questions and answers