Advertisement
Quick Links
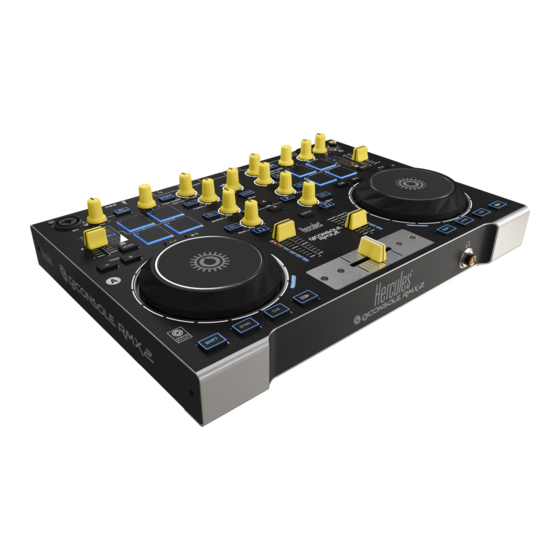
Professional Package Edition
2
GETTING STARTED WITH DJCONSOLE RMX
US
UK
2
AND TRAkTOR LE
InStaLLatIOn
1
2
7
1
2
5
3
4
6
1- Channels 1-2 (mix
5- Channels 3-4
output) balance
(headphones output)
2- Volume on channels
control
1-2 (Main) and 1-2 (Booth)
6- Select input type
3- Lock/unlock right
7- Main panel
and left channel volume
4- Mute on/off
More information (forum, tutorials, videos...) available at
www.HERCULESDJMIXROOM.com
• Insert the DJConsole Rmx2 Premium
installation CD-ROM into your computer's drive.
• Run the installer program.
• Follow the instructions.
• When prompted to do so, remove
the DJConsole Rmx2 Premium installation
CD-ROM and insert the Traktor LE 2 installation
CD-ROM into your computer's drive.
• Run the Traktor LE 2 installer program.
• Follow the instructions.
Traktor LE 2 is installed on your system.
8
9
10
8- Set jog wheels (enable/
disable and set
sensitivity)
9- Adjust talkover
attenuation
10- Configure crossfader
1/18
US
UK
Advertisement

Subscribe to Our Youtube Channel
Related Manuals for Hercules RMX2


Summary of Contents for Hercules RMX2
- Page 1 InStaLLatIOn • Insert the DJConsole Rmx2 Premium installation CD-ROM into your computer’s drive. • Run the installer program. • Follow the instructions. • When prompted to do so, remove the DJConsole Rmx2 Premium installation CD-ROM and insert the Traktor LE 2 installation CD-ROM into your computer’s drive.
- Page 2 CUStOMIzatIOn COnnECtIOnS To customize the look of your DJConsole Rmx2 Premium, you can: 1) Add a black overlay (included) on the controller’s top face. - Remove the caps from the 14 rotary buttons and the 5 faders. - Place the black overlay on the controller’s top face.
-
Page 3: Connecting Headphones And Speakers
1 - COnnECtInG HEaDPHOnES 2 - COnnECtInG aUDIO SOURCES anD SPEaKERS The mixing of external sources (turntables, CD players or mobile players) requires a not included professional DJ program (such as Traktor Pro...). FRonT/ToP PanEL: hEaDPhonES When connecting headphones, make sure that the volume level is suitable for listening with headphones: before putting the headphones on your ears, start playing a music track, and turn down the volume if it seems that the sound coming from the headphones is too loud. - Page 4 - Once you have entered your email address and password, click Log in. - Select hercules for the manufacturer. - Select DJ Rmx2 LE for the model, which is The activation process is complete. the map for the DJConsole Rmx2 Premium You can now set up Traktor LE 2.
- Page 5 1) First off, set all faders and rotary buttons on the DJConsole Rmx2 Premium to their central positions (the default position for all gradual controls in Traktor). 2) Set the mixer mode to Int. Mixer Cover mode, unless you will be connecting an external mixer (you can control the mixer mode on the DJConsole Rmx2 Premium by pressing the button labeled VInYL).
- Page 6 4 - PREVIEWInG a tRaCK Browsing through tracks Press and hold down the right arrow button on the controller to browse quickly through tracks. Previewing lets you prepare the next track to be played (following the track that you are currently playing for your audience). You will use previewing to beatmatch the Control 1 Control 2 Command...
-
Page 7: Mixing Tracks
5 - MIXInG tRaCKS 4.4 Adjust the volume level on your headphones using the Vol -/+ knob. 5.5 Before the end of the track being played, start playing the track loaded on deck B. Mixing tracks means to link up songs, one after another, without any gaps or silences between them. - Page 8 6 - EFFECtS: 6.2 Effect controls on the DJConsole Rmx2 Premium REVERB, DELay OR FLanGER Effects are real-time alterations of the sound. Reverb is a duplication of the sound, replayed once in the background with an ultra-small time difference compared to the original sound, making it sound richer.
- Page 9 7.2 Loop controls on the DJConsole Set the loop length Rmx2 Premium Pad 1 8.2 Filter controls on the DJConsole 8.3 Controlling the filter If a loop is active: exit the Rmx2 Premium loop.
- Page 10 9 - PLaCInG a CUE POInt a Cue point is a marker that you can place in a music track. It lets you start playback of the track from that point. Press the button to place a Cue point in the track loaded on deck A, for example. When you press the button, playback starts from the Cue point you have placed in the track.
Need help?
Do you have a question about the RMX2 and is the answer not in the manual?
Questions and answers