Epson TM-U220B User Manual
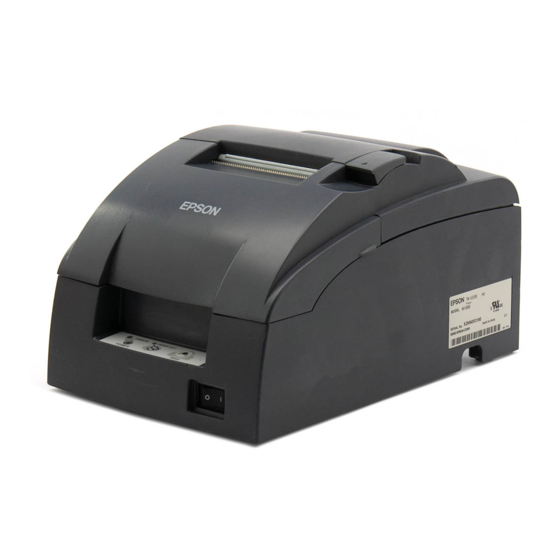
Ethernet kitchen printer
Hide thumbs
Also See for TM-U220B:
- Technical reference manual (164 pages) ,
- User manual (84 pages) ,
- Specifications (2 pages)

Subscribe to Our Youtube Channel
Related Manuals for Epson TM-U220B


Summary of Contents for Epson TM-U220B
-
Page 1: User Guide
2TouchPOS Installing Epson TM-U220B Ethernet Kitchen Printer User Guide ©2013 Xenios LLC 82 Saint Paul Street Rochester, NY 14604 Phone 585.325.5242 • Fax 585.325.6989... - Page 2 Contents About this Document ............................3 Epson TMU220B Ethernet Kitchen Printer..................... 4 Installing Epson T-20 into Windows .............. Error! Bookmark not defined. Configuring Kitchen Printer in 2TouchPOS ....................8 Xenios LLC @ 2013 Page 2...
- Page 3 About this Document This document was written for 2TouchPOS version 3.03.4900. Xenios LLC @ 2013 Page 3...
- Page 4 Epson TMU220B Ethernet Kitchen Printer 1. Click on Windows Start button. 2. Click on Devices and Printers 3. Click on Add Printer, Add a local printer and next 4. Click in the circle for Create a new port. Click on down arrow, a pull down menu will appear, select Standard TCP/IP Port.
- Page 5 5. Hostname or IP address enter 192.168.192.168. Click next. 6. Windows will being installing printer. 7. Additional port information required screen pops up, make sure the Device Type is Generic Network Card. Click Next. Xenios LLC @ 2013 Page 5...
- Page 6 8. Install the printer driver screen, under manufacturer select “Generic” and under Printers select “Generic/Text Only”. Click Next. 9. Click Next. Xenios LLC @ 2013 Page 6...
- Page 7 10. Rename Printer from Generic / Text Only to NetKitchen168. Net illustrates it’s a network printer. Kitchen illustrates it’s a kitchen printer and 168 is the last three digits of the IP address. Click Next. 11. Make sure Share this printer so that others on oyur network can find and use it is marked. Click Next. Xenios LLC @ 2013 Page 7...
- Page 8 12. Print a text page. Click Finish. Configuring Kitchen Printer in 2TouchPOS Configuring Kitchen Printer in 2TouchPOS 1. From an empty speed screen, touch “ From an empty speed screen, touch “Options”, “Admin”, “System Settings”, & “ & “Printer” buttons. 2.
- Page 9 4. Select Printer, USB Thermal printer, then touch “Select” button. 5. To select a Printer Model, click on pull down arrow and select printer name. 6. Touch “Test Print” and save button. Xenios LLC @ 2013 Page 9...
Need help?
Do you have a question about the TM-U220B and is the answer not in the manual?
Questions and answers