Advertisement
Quick Links
Advertisement

Related Manuals for PetChatz HD


Summary of Contents for PetChatz HD
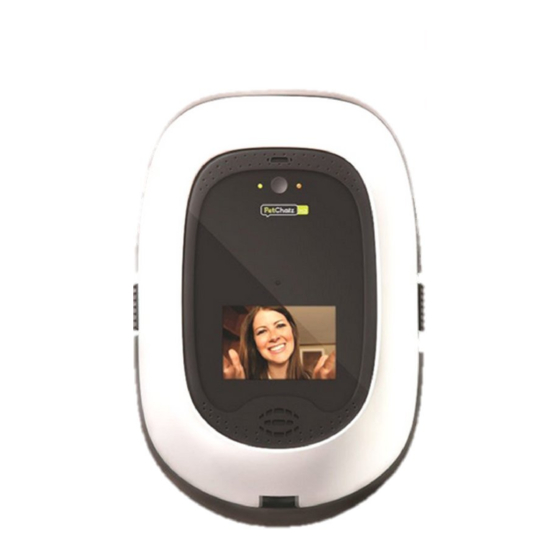
- Page 1 PetChatz.com...
-
Page 2: Tools Required For Installation
Wi-Fi signal strength is good or excellent. The signal strength will display on your PetChatz screen PET-SAFE SCENT after connecting to your network. RELEASE Browser Recommendations • PetChatz setup and use works best with Google Chrome and Mozilla Firefox browsers. TREAT CHUTE... - Page 3 ® Mounting bracket (1) and mounting bracket screws (3) Note: Mounting bracket and mounting bracket screws come attached to the PetChatz unit. USB power supply plug (1). Wall mount installation hardware: 2” wood screws (3), drywall anchor (1) and drywall anchor screw (1) Note: Located under white cover.
- Page 4 If you’re mounting electrical outlet). o Lift side latches upward PetChatz unit and remove the onto a kennel door, simultaneously. mounting bracket. The mount- please view page 12 o Slide cover toward you.
- Page 5 Mount the Wall Bracket PetChatz ® cannot guarantee unit and pet safety if these installation instructions are not followed. Place mounting bracket over Using a pencil, mark the screw Screw the drywall anchor in the With wall mount bracket in the your electrical outlet.
- Page 6 • Turn on the power switch on the bottom front Once the wood screws are in right side of the unit (Figure C). The PetChatz place, secure the drywall screw logo will display briefly on the screen. Note: into the drywall anchor.
-
Page 7: Connect To Your Wireless Network
We recommend threading the zip tie through the two outer openings for greater stability. The first time the PetChatz unit is powered on, the unit will automatically boot into “Configuration Mode” allowing Secure the zip ties. for immediate network configuration. - Page 8 PetChatz ® unit by pressing and holding the manual treat button for • Once you are logged into your PetChatz account, you have the ability 3 seconds. to add new PetChatz units, add pet profile information, and connect to PetChatz units.
-
Page 9: Replace The Cover
PetChatz unit. Periodically, two treats may be dispensed or none at all • Gently push the white cover into position over the PetChatz unit. when the treat dispense button is depressed. Simply depress the treat dispense button again to ensure a •... - Page 10 PetChatz unit. Other scents may be used on the scent pad. • Gently push the white cover into position over the PetChatz unit. We recommend consistent, calming scents not • If properly installed, a click should be heard for each side (left and right).
- Page 11 “Silent button to return to the scent fan will turn Sign into your Select the PetChatz unit you would like to call. The Mode”. Your pet will “Chat Mode”. on dispensing scent. PetChatz account.
-
Page 12: General Hints
(as shown in Figure A). • A treat will be immediately dispensed Some decorative wall plates may need to be removed for the proper from the PetChatz unit and appear from mounting of PetChatz ® . Removing wall plates requires some attention the treat chute. - Page 13 For more information and troubleshooting guide, go to support.PetChatz.com. support@petchatz.com (855-444-6544)
Need help?
Do you have a question about the HD and is the answer not in the manual?
Questions and answers