Advertisement
PetChatz® Quick Start Guide
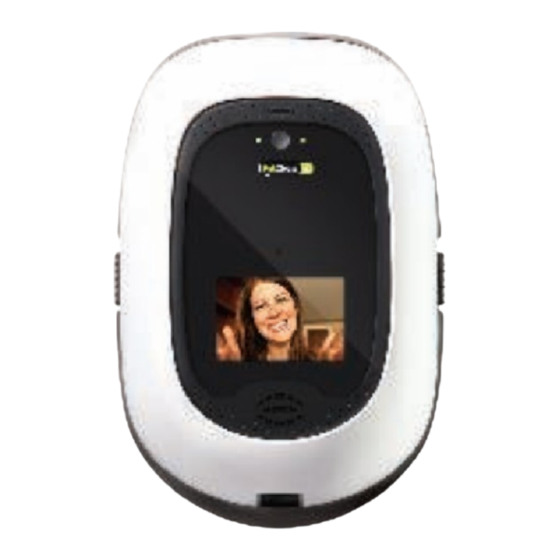
Unpack Your PetChatz
A
Power on PetChatz
Make sure your wireless internet speed meets the minimum wireless requirements. Wireless requirements are located on the back of this guide.
STEP 1
Set mounting bracket aside.
STEP 2
Plug in your PetChatz unit near your router and have access to a laptop or
mobile device.
STEP 3
Turn on your PetChatz (power switch located under white cover on lower right).
STEP 4
Locate the
Treat
Connect to a Wireless Network
Check for a WPS Button on your router. Common places
you may find the WPS Button are shown to the right.
YES (orange path)
STEP 1
Using the
Treat Button
select
Wireless – WPS Push Button
the PetChatz unit screen.
STEP 2
Within 60 seconds of selecting
Wireless – WPS Push Button, push the
WPS button on your router. PetChatz
will search for your wireless network.
STEP 3
If the connection is successful, you will
see a 4-digit sync code displayed on
the PetChatz unit screen.
If the connection fails, please use the
SUCCESS!
PetChatz is now
connected to your
wireless network.
Register & Add Your PetChatz Unit
STEP 1
COMPUTER:
Using a Google Chrome web browser, go to chat.petchatz.com.
MOBILE:
Download and/or open the PetChatz application on your mobile device.
STEP 2
Enter your email address and choose a password* then click "Register." Read and accept the
terms and conditions.
From the menu (
STEP 3
Choose a name for your PetChatz, enter the 4-digit sync code displaying on your PetChatz
screen and click "Submit."
STEP 4
PetChatz may update to latest software (this may take up to 30 minutes). Once complete,
and you see this in the PetChatz app (
B
D
C
E
Button. This is the controller for the setup menu.
Treat Button = Controller
Push to Scroll
Push & Hold to Select
Does your router have a
as the controller,
on
purple
path.
4-DIGIT
SYNC CODE
*Use these login credentials to access your PetChatz unit on all wireless devices.
) select "PetChatz® Units" then "Add a PetChatz® Unit."
) you will be ready to chat!
A. PetChatz® unit (1)
B. Mounting bracket (1)
C. USB power supply cord and plug (1)
G
D. Wall mount installation hardware:
F
E. Treat hopper (1)
F. PetChatz Treatz® cup empty (1) and PetChatz Treatz
pouch not shown (1)
H
G. PetChatz Scentz® Essential Oil Drops sample (1 vial)
H. PetChatz Scentz pads (1 pack)
NOTE!
WIRELESS
NETWORK
CONFIGURATION
WPS
Button?
STEP 1
Using the
Treat Button
Interface
on the PetChatz screen. This will enable a temporary
wireless network called "PetChatzSetup."
STEP 2
COMPUTER:
Click on your wireless icon (
to the temporary wireless network "PetChatzSetup."
iOS:
Go to Settings > Wi-Fi, and connect to the temporary
wireless network "PetChatzSetup."
ANDROID:
In your Settings, turn off your Cellular Data.
Then swipe down on your top menu to access your Network
Settings and connect to the temporary wireless network
"PetChatzSetup."
NOTE!
May take up to a minute to connect.
STEP 3
Once connected, open a web browser (we recommend
Google Chrome) and go to http://setup.petchatz.com.
STEP 4
Enter your wireless network name and security key (password)
and click "Save." Your credentials are case sensitive.
STEP 5
If the connection is successful, you will see a 4-digit sync code
displayed on the PetChatz unit screen.
- mounting bracket screws (3)
- 2" wood screws (2)
- drywall anchors (4)
- drywall anchor screws (4)
Parts D & E are located under the white cover.
You should now see wireless
network configuration options
on the PetChatz screen.
NO (purple path)
as the controller, select
Wireless – Web
), and connect
Mount Your PetChatz
For mounting instructions and
how-to videos, go to
petchatz.com/support.
NOTE!
Power to the outlet
needs to be disconnected
prior to mounting your unit.
NOTE!
PawCall users: insert
the Bluetooth USB Dongle
Adapter before mounting.
rev. 06/2019
Advertisement
Table of Contents

Subscribe to Our Youtube Channel
Summary of Contents for PetChatz PetChatz
- Page 1 Make sure your wireless internet speed meets the minimum wireless requirements. Wireless requirements are located on the back of this guide. STEP 1 Set mounting bracket aside. STEP 2 Plug in your PetChatz unit near your router and have access to a laptop or mobile device. STEP 3 Turn on your PetChatz (power switch located under white cover on lower right).
- Page 2 *These are the minimum speed requirements; note that slower speeds may affect audio and video quality. To start a chat session: To check your internet speed where PetChatz is located and COMPUTER: Using a Google Chrome web when chatting remotely, open any browser and go to browser, go to chat.petchatz.com.


Need help?
Do you have a question about the PetChatz and is the answer not in the manual?
Questions and answers