Table of Contents
Advertisement
Quick Links
See also:
User Manual
Advertisement
Table of Contents

Summary of Contents for Gen2wave rp1600
- Page 1 V1.2 RP1600 Quick Manual Gen2Wave Co., Ltd. #7 floor, Point town B/D, 187-4, Gumi-dong, Bundang-gu, Seongnam-si, Gyeonggi-do, 463-870, Rep. of Korea Tel. +82-31-607-7537 Fax. +82-31-608-7537 Homepage : www.gen2wave.com Email : tcs@gen2wave.com...
- Page 2 ● Package RP1600 Battery Adapter / AC Cord Cradle USB Cable / Screen Protector / Stylus Pen, String Quick Manual Note Items in the box may be changed according to the purchase order.
-
Page 3: Device Features
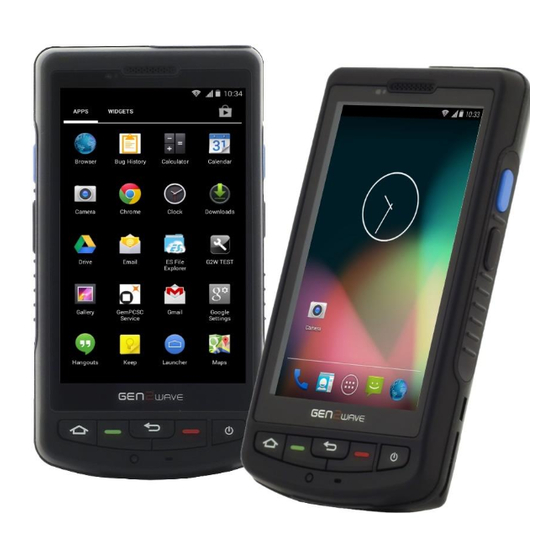
● Device Features A. 1D or 2D Imager Scanner B. Receiver C. Scanner Button D. Volume Up / Down Buttons E. Camera Button F. LCD / Touch G. Home Button H. Call Button I. Reset Button J. Back Button K. Menu Button L. -
Page 4: Battery Installation
- Card Installation A. SIM Card Slot - Slide the SIM Card toward the top of the RP1600 like direction of an arrow A. B. SAM Card Slot (optional) - Slide the SAM Card toward the bottom of the RP1600 like the direction of an arrow B. - Page 5 - Green LED : Fully Charged ** If the LED is off when the device or the spare battery was mounted. Make sure that RP1600 is inserted correctly in the cradle or RP1600 is connected to a power source. C. DC Jack D.
- Page 6 ● How to use functions - Scanner 1D Scanner : The laser beam should cut across the barcode from left to right to get a successful read. Success Fail 2D Imager : The laser aimer should be on the center of the barcode to get a successful read.
- Page 7 ● How to use functions - IC Card The contact (A) of the IC Card should toward the device and then slide the IC Card into the IC Card slot.
-
Page 8: Soft Reset
Path : Settings > Backup & reset > Factory data reset > Reset phone > Erase everything Caution Factory Reset : Erase all data and restore default settings Note Not all features are available for all RP1600. (Features may vary based on the released option of a RP1600)


Need help?
Do you have a question about the rp1600 and is the answer not in the manual?
Questions and answers