Table of Contents
Advertisement
Quick Links
Advertisement
Table of Contents

Related Manuals for Aztech ABM6630


Summary of Contents for Aztech ABM6630
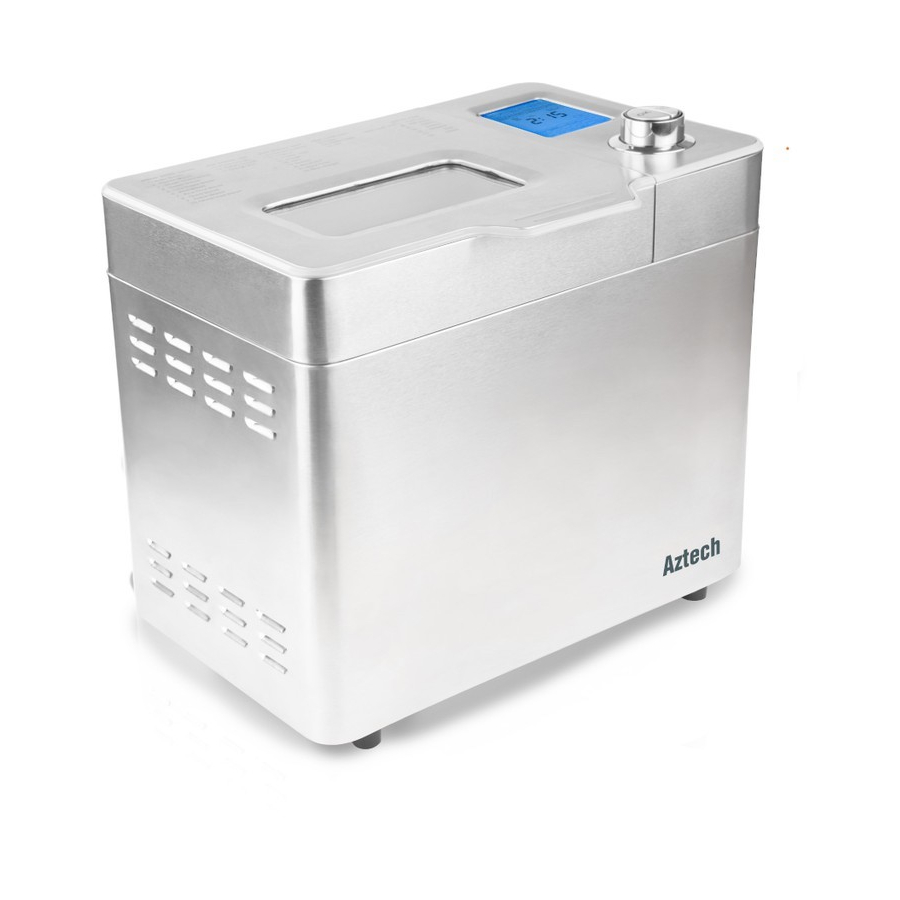
- Page 1 ABM6630 Bread Maker USER MANUAL PLEASE KEEP THIS USER MANUAL FOR FUTURE USE.
-
Page 2: Table Of Contents
Should damages be found on the appliance, its power cord and/or its other components – do not use the appliance and immediately bring it to the Aztech Service Center for repair or replacement. • Do not, in any kind of manner, disassemble, dismantle, and/or perform appliance repair on your own and/or replace its components using non-Aztech approved components and/or attachments. - Page 3 Do not immerse or expose the Bread Maker and/or its power cord to water or any kind of liquid substance. • Your Aztech Bread Maker is not intended for people with reduced physical, sensory or mental capabilities, and/or lack of experience or knowledge. Constant supervision (from a person responsible for their safety) should be provided if such individuals would be using, cleaning, or operating, the appliance.
-
Page 4: Package Contents
PACKAGE CONTENTS • ABM6630 Bread Maker • Measuring Spoon • Kneading Blade • Easy Start Guide • Hook • User Manual • Measuring Cup • Warranty Policy APPLIANCE OVERVIEW BREAD MAKER COMPONENTS 1. Lid 2. Bread Barrel 3. LCD 4. Control Panel 5. - Page 5 KNOWING THE CONTROL PANEL 1. Inner / Outer Circle Kneading Indicator 2. Rise 1 (Upper Arrow) / Rise 2 (Lower Arrow) 3. Baking Indicator 4. Loaf Size Indicator 5. Ingredient Adding Indicator 6. Set / Display Working Time Indicator 7. Set / Display Delay Time Indicator 8.
- Page 6 7. Rice Flour Bread. Similar to Basic bread with a better flavor. 8. Quick. A faster loaf baking option compared to Basic program. However, loaves baked in this setting is usually smaller with a denser texture. 9. Italian Bread. Loaves baked in this setting are usually smaller and denser. 10.
- Page 7 Screen shows “ERR” after you have pressed START/STOP button. Indicates that • the temperature sensor has been disconnected. Please check the sensor carefully by Authorized expert. Immediately bring your appliance to the Aztech Service Center for repair or replacement.
-
Page 8: Before Use
BEFORE USE Clean all the parts and/or components according to the Cleaning and • Maintenance section of this user manual. Dry each as required. Allow the Bread Maker to operate using the Basic function with an empty Bread • Barrel for about 10 minutes. Allow it to cool down and clean each component once again accordingly then dry. -
Page 9: Additional Information
12. Once the process has been completed 10 audible beeps sound will be heard. Touch START/STOP button for approximately three(3) seconds to stop the process and take out the bread. While wearing mitts, open the lid, and firmly grasp the bread barrel handle. Turn the Bread Barrel counter clockwise and gently remove the bread barrel out of the Bread Maker. -
Page 10: Bread Maker Recipe
Place the measuring cup in a warm place for about 10 minutes. Do not • stir the water. The froth should be up to 1 cup. Otherwise the yeast is dead or inactive. • 9. Salt. Is necessary to improve bread flavor and crust color, however, this ingredient can also restrain the yeast from rising. - Page 11 3. WHOLE WHEAT BREAD 500G Bread 750G Bread 1000G Bread Ingredients Weight Weight Weight Water 135g 170g 200g Sugar Salt Powdered Milk Butter H. Flour 180g 200g 260g Yeast W. Wheat 100g 120g 4. SWEET BREAD 500G Bread 750G Bread 1000G Bread Ingredients Weight...
- Page 12 6. RICE BREAD 500G Bread 750G Bread 1000G Bread Ingredients Weight Weight Weight Water 125g 150g 180g Sugar Salt Powdered Milk Butter H. Flour 250g 290g 350g Yeast Rice 100g 7. RICE FLOUR BREAD 500G Bread 750G Bread 1000G Bread Ingredients Weight Weight...
-
Page 13: Cleaning And Maintenance
9. ITALIAN BREAD 500G Bread 750G Bread 1000G Bread Ingredients Weight Weight Weight Water 135g 220g 260g Sugar Salt Powdered Milk Butter H. Flour 310g 370g 440g Yeast Cinnamon Raisins 10. CAKE 500G Bread 750G Bread 1000G Bread Ingredients Weight Weight Weight Water... -
Page 14: Troubleshooting
TROUBLESHOOTING BREAD MAKER TROUBLESHOOTING PROBLEMS SOLUTIONS Ingredients might be stuck inside the compartment or on the Smoke comes out of the outside of the Bread Barrel. Simply unplug the appliance and baking compartment or clean the Bread Barrel’s external surface and the bread maker’s out of the vents compartment. - Page 15 Take the bread out of the Bread Barrel immediately after baking and leave it on the grid to cool for at least 15 minutes before slicing. Reduce the amount of yeast or of all the ingredient doses by 1/4. K. Do not grease the Bread Barrel. Add a tablespoon of wheat gluten to the dough.
- Page 16 Copyright © 2016 Aztech Technologies Pte Ltd (CRN:199800635M ). All rights reserved.
Need help?
Do you have a question about the ABM6630 and is the answer not in the manual?
Questions and answers