Table of Contents
Advertisement
Advertisement
Table of Contents

Summary of Contents for Parasound Zpre2
-
Page 2: Important Safety Instructions
20. Wall or Ceiling Mounting — Mount the product to a wall or ceiling only as recommended. 21. Heat — The product should be situated away from heat sources such as radiators, heat registers, stoves, and other products (including amplifiers) that produce heat. www.parasound.com... -
Page 3: Table Of Contents
TABLE OF CONTENTS Introduction Introduction Introduction ........... . -
Page 4: Introduction
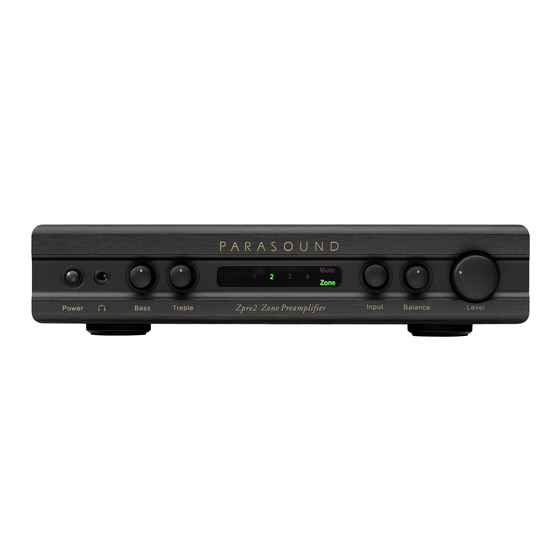
Congratulations and thank you for your purchase of this precision Parasound audio component. The Parasound Zpre2 Preamplifier is the second generation of one of the world’s most popular and proven preamplifiers. It has been designed for a wide variety of applications, including multi-room, multi-zone installations, desktop audio, PC-Mac audio, bedroom or den systems. -
Page 5: Rack Mounting
Rack Mounting The Zpre2 occupies only half the width of a single rack space in a standard 19" equipment rack. For rack mounting, you can fasten it to another Parasound Z Custom model by using the Parasound SBS (Side-by-Side) mounting kit. You can also mount a single Zpre2 in the rack with the accessory Zblank panel. -
Page 6: Rear Panel Connections And Controls
Make sure there is no strain or tension on any wires that could cause them to pull loose. Audio In Jacks The Zpre2 has input jacks for up to four audio sources. These are identical line level inputs, however the In 1-Priority jacks have a special automatic select function which will affect which source you decide to connect to them. - Page 7 Auto position When the Auto - Man switch is set to its Auto position, the Zpre2 is turned on and off with an external +9 V to + 12 V voltage from your controller or preamplifier. When the external voltage ceases the Zpre2 will turn off immediately.
- Page 8 – (negative). The Zpre2 trigger current draw is a negligible 15 mA. Out Trigger Jack This jack is live whenever the Zpre2 is turned on. This enables the Zpre2 to turn a companion amplifier (or other component) on and off automatically. The triggered component must be equipped with a 12V trigger circuit.
-
Page 9: Front Panel Controls And Display
FRONT PANEL CONTROLS AND DISPLAY Power Button Press the Power button once to turn the Zpre2 on, press it again to turn it off. Note: Note: The Power button is inoperative when the rear panel Auto On switch is set to Auto. -
Page 10: Remote Control Functions
AAA alkaline batteries in the handset and insert them according to the + and – polarity markings in the battery compartment. The PTZ-1 Off, On, Mute Volume, In 1-4 buttons, Zpre2 Pre Set and Z 1-4 IR Zone # buttons are for the Zpre2. The tuner buttons control the matching Parasound Ztuner. - Page 11 To reprogram the remote press you must press two buttons at the same time; press both the Zpre2 Pre Set button and the desired IR Zone # button for a few seconds. When the new IR zone code is successfully programmed Zone will flash green when you press any remote button.
- Page 12 - Make sure the gain of the power amp is not set too low. - Are you trying to use Zpre2 with a turntable? It does not have a built-in phono preamplifier stage. You will need a phono preamp such as the matching Parasound Zphono.
-
Page 13: Warranty Repair
WARRANTY REPAIR Call your Parasound dealer first. If the dealer can’t help you with your problem we encourage you to call Parasound’s Technical Service Department, toll-free at 1-866-770-8324, Monday - Friday, 8am - 4pm Pacific time. We can suggest other diagnostic tests you can easily perform. -
Page 14: Specifications
Z Custom units side-by-side in a standard 19” equipment rack. Zblank: 9 blank panel, required ⁄ ” ⁄ ⁄ ⁄ ⁄ ⁄ ⁄ ⁄ ” to mount a single Zpre2 unit; Zblank kit includes one SBS. Specifications and features subject to change or improvement without notice. - Page 15 NOTES Notes:...
- Page 16 Rev 0.92 © Parasound Products, Inc. 2005...


Need help?
Do you have a question about the Zpre2 and is the answer not in the manual?
Questions and answers