Asko T754HP Operating Instructions Manual
Hide thumbs
Also See for T754HP:
- Operating instructions manual (28 pages) ,
- Installation instructions manual (56 pages)
Table of Contents
Advertisement
Dear Customer,
Thank you for choosing this quality product from ASKO.
We hope it will meet your expectations and fulfi ll your needs for many years
to come. Scandinavian design combines clean lines, everyday functionality,
and high quality. These are key characteristics of all our products and the
reason they are greatly appreciated throughout the world.
To ensure that you get the most out of your new machine, we recommend
that you read the operating instructions before using the machine. The
operating instructions also contain information on how to avoid damaging
the environment.
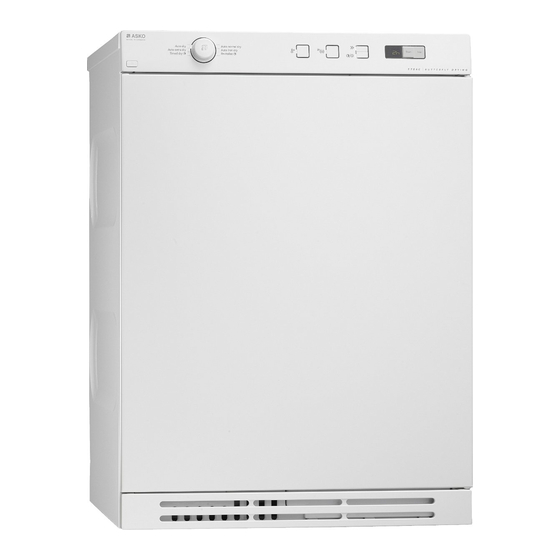
Operating Instructions
Tumble dryer
ASKO T754HP
WARNING: Read the instructions before using the machine.
Advertisement
Table of Contents


Need help?
Do you have a question about the T754HP and is the answer not in the manual?
Questions and answers
T754 dryer wont start. Lights are on, filters clean, water empty
The Asko T754HP dryer may not start despite the lights being on, filters being clean, and the water container being empty due to the following possible reasons:
1. The door is not properly closed.
2. The Delayed Start option is selected. To cancel it, press the Stop button for three seconds.
3. The main fuses have blown.
4. The plug is not properly connected.
Checking and addressing these issues should help resolve the problem.
This answer is automatically generated