Sign In
Upload
Download
Table of Contents
Contents
Add to my manuals
Delete from my manuals
Share
URL of this page:
HTML Link:
Bookmark this page
Add
Manual will be automatically added to "My Manuals"
Print this page
×
Bookmark added
×
Added to my manuals
Manuals
Brands
AB IPBox Manuals
Receiver
900hd
User manual
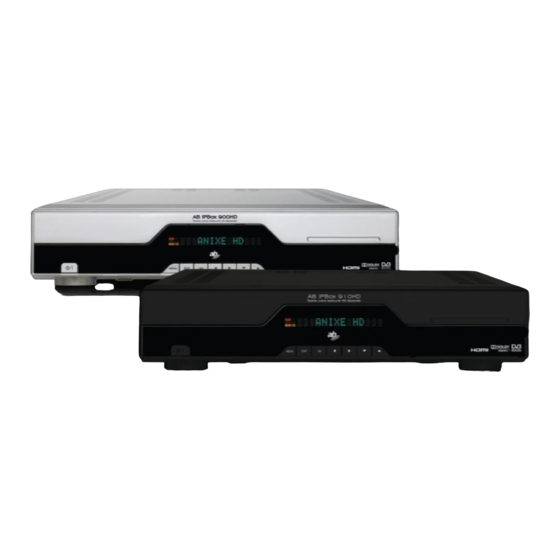
AB IPBox 900hd User Manual
Hide thumbs
1
2
3
4
5
Table Of Contents
6
7
8
9
10
11
12
13
14
15
16
17
18
19
20
21
22
23
24
25
26
27
28
29
30
31
32
33
34
35
36
37
38
39
40
41
42
43
44
45
46
47
48
49
50
51
52
53
54
55
56
57
58
59
60
61
62
63
64
65
66
67
68
page
of
68
Go
/
68
Contents
Table of Contents
Troubleshooting
Bookmarks
Table of Contents
Introduction
How to Move the Cursor
How to Select an Option
How to Use the Virtual Keyboard
1 Safety Information
2 How to Use this Manual
3 Before You Begin
Table of Contents
4 The Contents of the Box
5 Remote Control Unit (Universal Type)
Programming the Remote Control for Your TV Set
Using Automatic Code Search
Using Direct Entry Method
Locking the Volume Control
Unlocking the Volume Control
6 Front Panel Control
7 Rear Panel Connections
8 Installation
Connection with Satellite Dish
Connection with Terrestrial Antenna or Cable Network
Tuner Module into the Main Board
9 Before Setting
Menu Information
Basic Key Control
10 Get Started for the First Time
Switch Your TV and STB on
Selecting Language and Adjusting the Local Time
Menu Tree
11 Hot Buttons
12 SELECT YOUR TV SYSTEM (1080I, 720P, SD-PAL, SD-NTSC)
13 Ip Setup
14 Restore Factory Setting
15 Mount Manager
16 Pvr Operation
18 Information
19 Software Upgrade
20 Glossary of Terms
21 Trouble Shooting
22 Product Specifition
23 Tv Brand Code List
Advertisement
Quick Links
1
Remote Control Unit (Universal Type)
2
19 Software Upgrade
3
Tv Brand Code List
Download this manual
Table of
Contents
Previous
Page
Next
Page
1
2
3
4
5
Advertisement
Table of Contents
Need help?
Do you have a question about the 900hd and is the answer not in the manual?
Ask a question
Questions and answers
Related Manuals for AB IPBox 900hd
Receiver AB IPBox 9900HD User Manual
Digital hdtv receiver with linux operating system (68 pages)
Receiver AB IPBox 99HD User Manual
Digital hdtv receiver with linux operating system (68 pages)
Receiver AB IPBox 9000HD User Manual
Linux based digital hdtv receiver dvb-s2/dvb-s/dvb-c/dvb-t as second tuner (68 pages)
Receiver AB IPBox 910hd User Manual
(68 pages)
Receiver AB IPBox 9I HD User Manual
Digital satellite receiver (52 pages)
Receiver AB IPBox Prismcube Ruby Easy Setup Manual
(17 pages)
Receiver AB IPBox TWO User Manual
Linux satellite receiver (49 pages)
Receiver AB IPBox 55HD User Manual
Digital hdtv receiver with linux operating system (68 pages)
This manual is also suitable for:
910hd
Table of Contents
Print
Rename the bookmark
Delete bookmark?
Delete from my manuals?
Login
Sign In
OR
Sign in with Facebook
Sign in with Google
Upload manual
Upload from disk
Upload from URL


Need help?
Do you have a question about the 900hd and is the answer not in the manual?
Questions and answers