Advertisement
Table of Contents
Quick-Start inStallation Guide
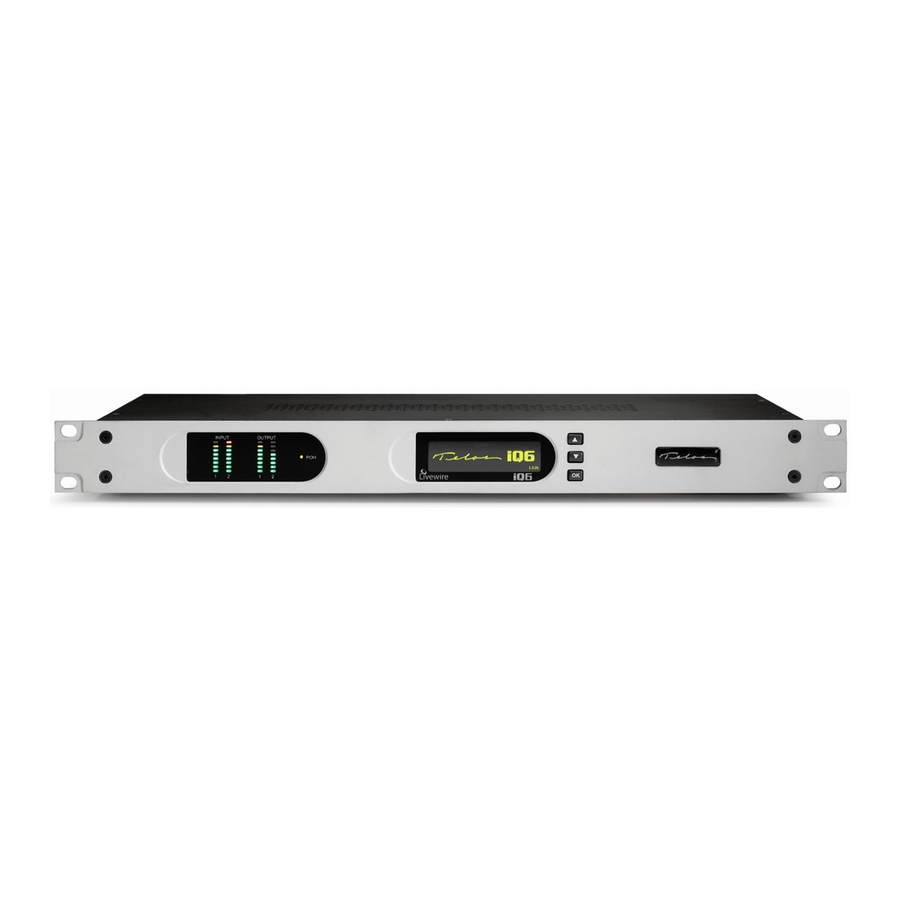
teloS iQ6 telco GateWaY
teloS HX6 talkSHoW SYStem
tHank You For PurcHaSinG tHe teloS iQ6 telco GateWaY
or HX6 talkSHoW SYStem
We have made these Telos Systems easy to set up and configure. This quick-start guide will take you through
the basic steps to configure your new iQ6 or Hx6 to start delivering no hassle caller audio to your show in no time.
Before we get started, let's make sure you have what you need.
REQUIRED EQUIPMENT, CABLES, AND ACCESSORIES:
There are a few additional items required for a successful installation. Check the list below and make sure
you have what you need.
Included items:
• Telos iQ6 Telco Gateway or
Hx6 Talkshow System
• AC Power cable
• Ethernet cable
• Rack mount hardware
Items you need to supply:
• Configured Ethernet switch and a PC connected to your network
or a standalone PC. If configuring with a standalone PC, an
Ethernet cable is required.
• For Hx6 audio set up only: The appropriate number and type
of balanced audio line cables needed to connect the system
to your console.
Advertisement
Table of Contents

Subscribe to Our Youtube Channel
Related Manuals for Telos IQ6 TELCO


Summary of Contents for Telos IQ6 TELCO
- Page 1 Quick-Start inStallation Guide teloS iQ6 telco GateWaY teloS HX6 talkSHoW SYStem tHank You For PurcHaSinG tHe teloS iQ6 telco GateWaY or HX6 talkSHoW SYStem We have made these Telos Systems easy to set up and configure. This quick-start guide will take you through the basic steps to configure your new iQ6 or Hx6 to start delivering no hassle caller audio to your show in no time. Before we get started, let’s make sure you have what you need. REQUIRED EQUIPMENT, CABLES, AND ACCESSORIES: There are a few additional items required for a successful installation. Check the list below and make sure you have what you need. Included items: Items you need to supply: • Telos iQ6 Telco Gateway or...
-
Page 2: Initial Setup
initial Set uP iQ6 - Rear Hx6 - Rear PHYSical connectionS 1. Install your iQ6 or Hx6 in a 1 RU high space on a standard 19” rack. 2. Connect up to 6 RJ-11 cables from your POTS TELCO system to the “TELCO INTERFACE” ports (A). 3. Connect the iQ6/Hx6 to AC Mains (B). on-board telco Set uP 1. From the status screen (C), press any of the three keys to the right of the LCD display to access configuration options. - Page 3 For HX6 (HX6 uSerS onlY) eStabliSH a miX minuS outPut on Your conSole 1. A mix minus is a mix of all of the sources the caller shall hear, minus the output of the Telos. This is necessary because the callers can already hear themselves over the phone line, so it is not necessary (and undesirable) to send the callers’ audio back to them via the hybrid. 2. D etermine your Mix Minus configuration, then proceed to the appropriate step below. SEPARATE - (Default) - each hybrid has its own independent input and output. to phone bus or Aux 1 and Aux 2 to line inputs for the two channels line outputs of your console designated for callers on your console a. Connect two cables to the Input (To Caller) XLR jacks (G). Connect the other end of the cables to...
- Page 4 SINGLE MONO OUT - mixing console only offers one output bus for phone mix minus and one input channel for callers. to phone bus line output to line input for the channel designated of your console for callers on your console a. Connect one cable to the Input (To Caller) 1 XLR jack (G). Connect the other end of the cable to the phone bus line output of your console. b. Connect one cable to the Output (From Caller) 1 XLR jack (H). Connect the other end of the cable to the line input for the caller channel on your console. makinG Your oWn cableS? If it is necessary to make your own cables to patch the system into your console, please refer to the illustration below for proper configuration. Telos recommends connecting your Hx6 to professional-grade audio equipment with balanced audio connections. If your Hx6 must connect to semi-pro "unbalanced" audio inputs or outputs, we recommend using a two-way, external balanced / unbalanced line level converter. Common models include the "Matchbox", "ProMatch", and "CleanBox Pro", as well as other model names.
-
Page 5: Network Configuration
I/O capability will be disabled (this is the default setting in the Hx6) and the Ethernet jack is used only to communicate with any VSet6's or PCs running call For more details about the Telos iQ6, or to download screening software. As no Livewire Audio over IP is used the full manual please visit: in non-Livewire settings, a simple, unmanaged Ethernet https:/ /www.telosalliance.com/Telos/iQ6... - Page 6 Livewire/100BT port on the back of the iQ6/Hx6. Connect the other end of the Ethernet cable to the Ethernet port on a standalone PC. 2. Open a web browser and type the assigned IP address in the URL field (L). 3. The Telos control center will launch for your system. From the Home screen (M), click “Livewire Configuration” (N). 4. A screen will appear (O), prompting you for authentication. When prompted, enter user name "user", password is left blank.
-
Page 7: Client Configuration
client conFiGuration iQ6 & HX6 uSerS The iQ6 and Hx6 support up to twelve client connections using any combinations of the systems below. For Axia iQ Console and VSet 6, please refer to their respective manuals for setup instructions. If you are configuring XScreen, please refer to the XScreen Quick Setup in this guide. Axia iQ Console VSet6 XScreen not uSinG XScreen? Your SetuP iS comPlete! That’s it! Once your client has been configured according to the instructions in your manual, you are now ready to experience the iQ6/Hx6 for optimal caller quality. XScreen uSerS Continue to “XScreen Quick Setup". - Page 8 90-day free trial license for the Full version. After 90 days you can continue to use the full version with an annual subscription, or continue to use the Lite version free of charge. Your SetuP iS comPlete! That’s it! You are now ready to experience the Telos iQ6/Hx6 for optimal caller audio quality and XScreen for enhanced call control. © 2016 TLS Corp., All Rights Reserved. 1490-00090-001 — QUICK START GUIDE: iQ6/Hx6 C16/17017...
Need help?
Do you have a question about the IQ6 TELCO and is the answer not in the manual?
Questions and answers