Advertisement
WHR-1166D Router settings (For PCCW netvigator, HGC broadband PPPoE user)
Windows user can follow the Preparation for Buffalo Router
Setup Guideline first.
http://support.hornington.com/kb/question.php?ID=616
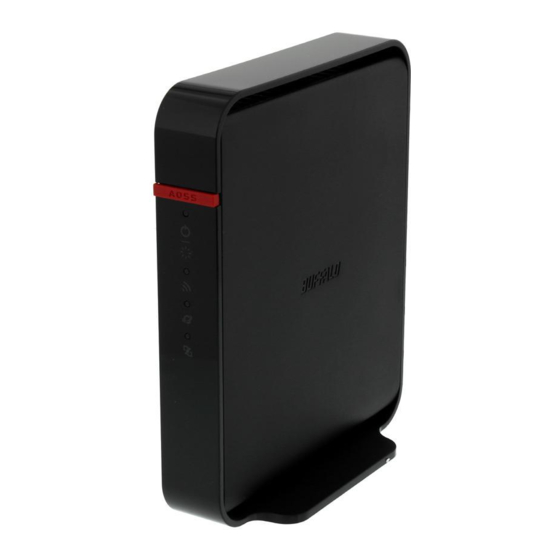
Hardware Setup of WHR-1166D Router:
1. Set Router switch to "ROUTER"。
2. Power on Buffalo Router and wait for 2 minutes. All LEDs will be lighting
on.
3. To reset the router, please insert "Reset" hole by a paper clip for about
10 seconds, and wait for 2 minute. All LEDs will be lighting on again.
4. Please connect your broadband service with a network cable (or from
cable modem) to the "Internet" port on the ROUTER. Then use another
network cable to connect "LAN1" port on the ROUTER to the Ethernet
adapter on your PC.
WHR-1166D PPPoE setup guide 1
Advertisement
Table of Contents

Related Manuals for Buffalo WHR-1166D


Summary of Contents for Buffalo WHR-1166D
- Page 1 “LAN1” port on the ROUTER to the Ethernet adapter on your PC. 2. Power on Buffalo Router and wait for 2 minutes. All LEDs will be lighting 3. To reset the router, please insert “Reset” hole by a paper clip for about 10 seconds, and wait for 2 minute.
- Page 2 WHR-1166D Router settings (For PCCW netvigator, HGC broadband PPPoE user) WHR-1166D Internet Connection Setup: (PPPoE): 5. Launch Web Browser, enter http://192.168.11.1 in address bar and then 7. Router will be detecting the internet type automatically. press “Enter”. Then type username as “admin” and input “password” at the password field.
- Page 3 WHR-1166D Router settings (For PCCW netvigator, HGC broadband PPPoE user) 11. Choose “Advanced Settings” in home page. 9. Wait for about 1 minute. If “check the internet connection” process is successful the following page will be displayed. Then click “Complete” back to home page.
- Page 4 WHR-1166D Router settings (For PCCW netvigator, HGC broadband PPPoE user) 13. Choose “Wireless” -> “WPS” 16. Setup wireless for ”2.4GHz” and “5GHz” signal - Behind “WPS”, Please uncheck the “Enable” checkbox. Behind “SSID1”, type a new wireless network name for the router.
Need help?
Do you have a question about the WHR-1166D and is the answer not in the manual?
Questions and answers