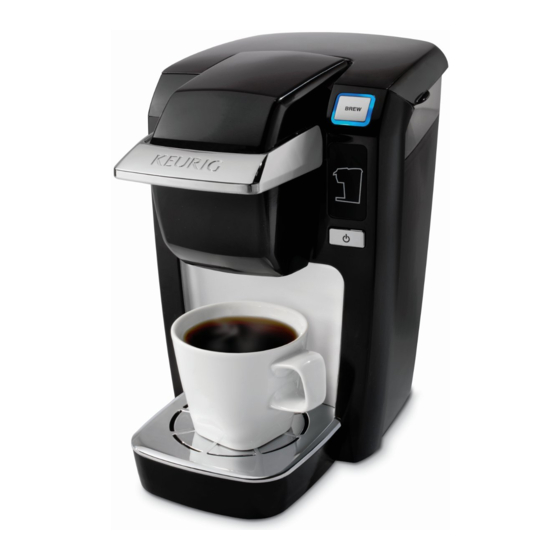
Keurig K10 MINI Plus Owner's Manual
Hide thumbs
Also See for K10 MINI Plus:
- User manual ,
- Owner's manual (40 pages) ,
- Owner's manual (20 pages)
Table of Contents
Advertisement
Advertisement
Table of Contents

Related Manuals for Keurig K10 MINI Plus


Summary of Contents for Keurig K10 MINI Plus
- Page 1 Owner’ s manual Keurig K-Cup K10 MINI Plus Brewer ® ™...
- Page 2 BIRTH DEFECTS OR OTHER REPRODUCTIVE HARM. with these instructions before it is used. Keurig Customer Service to report Consult a qualified electrician if CAUTION: Please always keep the brewer in its upright position to avoid...
-
Page 3: Table Of Contents
ContentS SeCtIon 1 Brewer Overview Water Level Guide KEURIG GOURMET SINGLE CUP HOME BREWING SYSTEM ® K10 MINI Plus Brewer — Using Your Brewer Handle SeCTion 1—Brewer overview ............K-Cup Pack Holder Assembly ® ..............SeCTion 2 —Helpful Hints... -
Page 4: Section 2 -Helpful Hints
90 ice on the Drip Tray, choose your favorite other Keurig ® brewers, the K10 MINI Plus does content of the water in your area, calcium Handle Indicator seconds. Press the Power Button to restart. If it shut... -
Page 5: Section 4 -Set-Up & Operation
SeCtIon 4 Set-Up & Operation For accurate measuring, do not fill if the Handle is up. In the down position it prevents water from entering the lower heating Initial Cleansing & First Brew compartment. 10 oz. CAUTION: Two sharp needles are used to puncture the K-Cup packs. - Page 6 SECTION 4 Set-Up & Operation (continued) Let water fully drain into brewer Do noT remove foil lid or puncture K-Cup ® pack. before lowering the Handle. 5 Sec 2 Min Lift the Handle. Water starts to drain Place mug on the Drip Tray. Insert the K-Cup ®...
-
Page 7: Section 5-Cleaning & Maintenance
SeCtIon 5 Cleaning & Maintenance Cleaning External Parts Cleaning the K-Cup Pack Holder Assembly ® Separate the Funnel from the K-Cup ® Pack Holder by pulling it until it To replace the Funnel, just snap it back into the K-Cup ®... -
Page 8: Cleaning The Cold Water Reservoir
SECTION 5 Cleaning & Maintenance (continued) Cleaning the Cold Water Reservoir Emptying the Internal Hot Water Tank De-Scaling Your Brewer (continued) Storage it is normal over time for discoloration, spotting or staining to appear in Brewer must be powered off but plugged in. FiLL, CLeAn AnD RinSe Empty the Internal Hot Water Tank and Cold Water Reservoir before storing. -
Page 9: Section 6-Troubleshooting
Should other issues arise with your brewer, please call re-set when power is restored. To re-set, simply lift and lower the Handle. Keurig Customer Service at 1.866.901.BReW (2739). • Check that the minimum water level of 6 oz. has been poured into the Cold Water Reservoir. -
Page 10: Section 7-Warranty
® in our system. Keurig will, at its option, repair or replace a defective brewer inappropriate power supply or acts of God. without charge upon its receipt of proof of the date of purchase. If a... - Page 11 P/N 60-202467-000 Rev A 08/12 To learn more about Keurig, visit www.keurig.com or call 1.866.901.BREW (2739) Keurig, Incorporated 55 Walkers Brook Drive Reading, MA 01867 For Household Use Only Keurig, Incorporated is a wholly-owned © 2012 Keurig, Incorporated subsidiary of Green Mountain Coffee Roasters, Inc.
Need help?
Do you have a question about the K10 MINI Plus and is the answer not in the manual?
Questions and answers