Table of Contents
Advertisement
Quick Links
Download this manual
See also:
User Manual
Advertisement
Table of Contents

Related Manuals for Planet ICA-HM125


Summary of Contents for Planet ICA-HM125
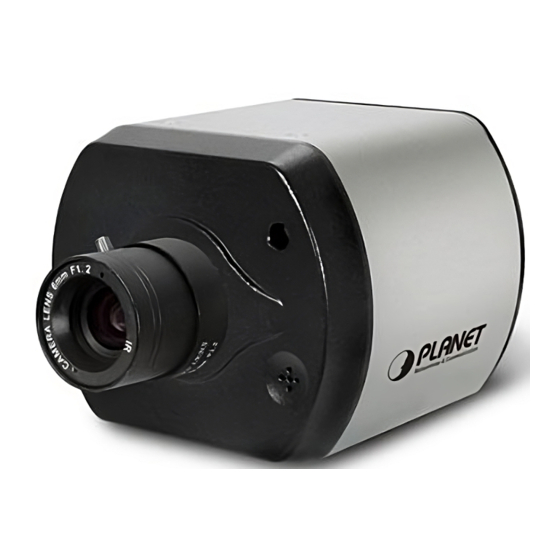
- Page 1 2 Mega-Pixel H.264 Box IP Camera ICA-HM125 Quick Installation Guide Version 1.0...
-
Page 2: Table Of Contents
1.1 Before Installation ................. 3 1.2 System Requirements ................3 Chapter 2. Physical Description and Installation ..........4 2.1 ICA-HM125 Package Content ..............4 2.2 ICA-HM125 Physical Details ..............4 2.3 ICA-HM125 Installation ................7 Chapter 3. Camera Windows Utility ..............8 3.1 Network Configuration ................ -
Page 3: Chapter 1. Introduction
H.264/M-JPEG stream video up to UXGA (1600 x 1200 pixels). The ICA-HM125 offers high flexibility to be applied in various kinds of IP surveillance environment as it has built-in ICR (IR-cut filter Removable) for day / night surveillance and is compatible with IEEE 802.3af PoE (Power over Ethernet) -
Page 4: Chapter 2. Physical Description And Installation
Chapter 2. Physical Description and Installation 2.1 ICA-HM125 Package Content IP Camera Unit x 1 Power Adapter x 1 Camera Mount Kit x 1 User’s Manual CD-ROM x 1 Quick Installation Guide x 1 If any of the above items are missing, please contact your dealer immediately. - Page 5 2. DC-Iris 5. COM/GPIO 3. Audio Out 4. Video Out 6. Power Jack 8. Reset Hole 7. LAN Socket 9. SD Card Slot Rear View 1. MIC in: The IP Camera has built-in an internal microphone. This microphone is hidden in the pinhole located on the front panel. 2. DC-Iris: The connector provides DC power can drive most DC-Iris lens for betterment of the image quality.
- Page 6 5. COM/GPIO: The 7 pin terminal block includes 2 input ports and 1 output ports. Terminal block for I/O connectors: Name Function Signal output Relay-ON Signal output relay Ground Signal Input 1 Signal Input 2 DC 12V Ground 6. Power Jack: The input power is DC 12V. 1.
-
Page 7: Ica-Hm125 Installation
2.3 ICA-HM125 Installation å é ê è ç Step 1. Prepare a PC with Ethernet link to the network Step 2. Connect an Ethernet cable Connect LAN port (RJ-45) of the IP Camera to a network switch. When this switch is a PoE device, you can ignore the next step. If there has an IEEE 802.3af PoE switch in your network, you can connect the IP Camera LAN cable to this PoE switch to obtain power. -
Page 8: Chapter 3. Camera Windows Utility
This chapter shows how to quick set up your IP Camera. The IP Camera is with the default settings. However to help you find the networked IP Camera quickly the Windows utility (PLANET IPInstaller) can search the IP Cameras in the network that shall help you to configure some basic setting before you start advanced management and monitoring. - Page 9 3. Double click the item to open the Property Page or click the menu bar View > Property. 4. After filling the desired settings in the properties, click on “Set” button to complete the configuration settings.
-
Page 10: Open The Web-Based Ui
3.2 Open the Web-based UI If IPInstaller finds IP Camera, please select the device you want to view and click the “Open Web” button. Then you could see the video from IP Camera directly. 1. To access the Web-based UI of the selected unit, run the View > Open Web on the menu bar. -
Page 11: Setup Activex To Use The Ip Camera
3. For the first installation, there will be a prompt to install the ActiveX control. 4. If the device has been configured correctly, the default Web browser will open to the home page of the selected device. 3.3 Setup ActiveX to use the IP Camera If not able to get the ActiveX download properly, user must temporarily lower your security settings to perform a one-time-only installation of the ActiveX component onto your workstation, as described below:... -
Page 12: Further Information
Further Information This guide is used to help you startup your IP Camera settings. It is also recommended to check the user manual in CD disk for more details of the system and user configuration.
Need help?
Do you have a question about the ICA-HM125 and is the answer not in the manual?
Questions and answers