Table of Contents
Advertisement
Quick Links
Advertisement
Table of Contents

Related Manuals for Xerox Phaser 3115


Summary of Contents for Xerox Phaser 3115
-
Page 2: Table Of Contents
ONTENTS Step 1: Unpacking ..........1.1 Selecting a Location ........1.2 Step 2: Understanding Your Printer ......1.3 Front View ........... 1.3 Rear View ............ 1.3 Understanding the Control Panel ....1.4 Step 3: Installing the Toner Cartridge ..... 1.5 Step 4: Loading Paper .......... -
Page 3: Step 1: Unpacking
Step 1 : Unpacking Remove the Printer and all accessories from the packing carton. Make sure that the printer has been packed with the following items: Toner Cartridge Power Cord USB Cable CD-ROM Setup Guide Notes: • If any items are missing or damaged, notify your dealer immediately. -
Page 4: Selecting A Location
Selecting a Location Select a level, stable place with adequate space for air circulation. Allow extra space for opening covers and tray. The area should be well-ventilated and away from direct sunlight or sources of heat, cold, and humidity. See the image below for clearance space. -
Page 5: Step 2: Understanding Your Printer
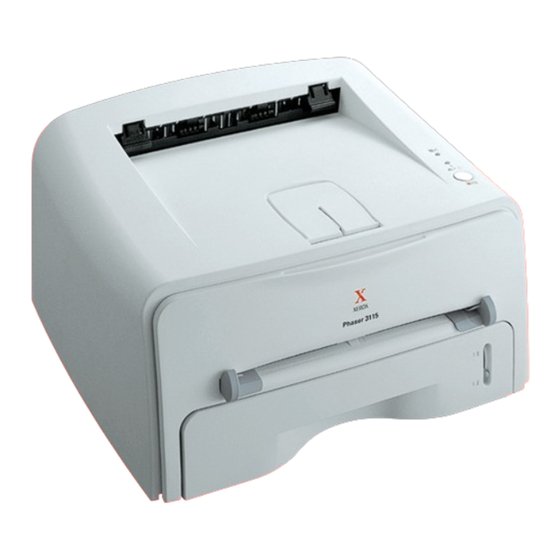
Step 2 : Understanding Your Printer Front View Top output tray (Face down) Output Support Control Panel Front Cover Toner cartridge Power switch Manual Feeder guide Tray Paper level indicator Manual Feeder Rear View Rear output tray (Face up) USB port Power receptacle 1. -
Page 6: Understanding The Control Panel
Understanding the Control Panel Button and LEDs Button or LED Description • If the LED lights green, the printer is ready to print. • If the LED lights red, the printer is experiencing an error, such as jammed paper, the open cover or the empty toner cartridge. For detailed information, refer to the User’s Guide of the printer. -
Page 7: Step 3: Installing The Toner Cartridge
Step 3: Installing the Toner Cartridge Grasp the front cover and pull it toward you to open. Note: Because the printer is very light, it may be moved when you use it; for example, when opening/closing the tray or installing/ removing the toner cartridge. - Page 8 Locate the cartridge slots inside the printer, one on each side. Grasp the handle and insert the cartridge in the printer until it snaps into place. Close the front cover. Make sure that the cover is securely closed. If the cover is not firmly closed, printing errors may occur when you print.
-
Page 9: Step 4: Loading Paper
Step 4: Loading Paper You can load approximately 250 sheets of paper in the tray. Pull the tray out of the printer. Note: Because the printer is very light, it may be moved when you use it; for example, when opening/closing the tray or installing/ removing the toner cartridge. - Page 10 Load paper with the print side facing down. Make sure that all four corners are flat in the tray. Pay attention to the paper limit mark on the left inside wall of the tray. Paper overloading may cause paper jams. Note: If you want to change the paper size in the tray, refer to User’s Guide.
-
Page 11: Step 5: Connecting A Printer Cable
Step 5: Connecting a Printer Cable To print from your computer, you need to connect your printer to your computer with a Universal Serial Bus (USB) cable. Using a USB Cable Note: Connecting the printer to the USB port of the computer requires a certified USB cable. -
Page 12: Step 6: Turning The Printer On
Step 6: Turning the Printer on Plug the power cord into the power receptacle on the back of the printer. Plug the other end into a properly grounded AC outlet, and turn on the power. To the AC outlet Step 7: Printing a Demo Page Print a demo page or a configuration sheet to make sure that the printer is operating correctly. -
Page 13: Step 8: Installing Printer Software In Windows
Step 8: Installing Printer software in Windows System Requirements Verify the following: • At least 32 MB (Windows 98/Me), 64 MB (Windows 2000), 128 MB (Windows XP) or more of RAM is installed on your PC. • There is at least 200 MB of free disk space on your PC. •... -
Page 14: In Windows 98/Me
In Windows 98/Me If you want to print using the USB interface in the Windows 98/ Me, you must first install the USB driver to add the USB port. To install the USB driver: Connect the printer to your computer using the USB cable and turn them on. -
Page 15: Step 9: Viewing The User's Guide
Step 9: Viewing the User’s Guide The Xerox Phaser 3115 User’s Guide, which is in the software CD-ROM, is in Adobe Acrobat PDF format. The manual will give you flexibility and convenience when you have to access information. You can view the manuals on-screen in different formats (viewing a single page, continuous single page or continuous facing page, zooming in up to 1600% and out up to 12.5%,... -
Page 16: Installing The Adobe Acrobat Reader
Note: If your ghostscript version is old, you may not see the pdf file. Then, install Acrobat Reader on your system, or try to read the User’s Guide on Windows system. Installing the Adobe Acrobat Reader Click the icon at the bottom of the screen. In the terminal screen appears, type in: [root@local /root]# cd /mnt/cdrom (the CD-ROM directory) [root@local cdrom]# manual/acrobat4/INSTALL...
Need help?
Do you have a question about the Phaser 3115 and is the answer not in the manual?
Questions and answers