Table of Contents
Advertisement
Quick Links
Advertisement
Table of Contents

Related Manuals for Simaudio 740P evolution series


Summary of Contents for Simaudio 740P evolution series
- Page 1 740P Evolution Series Dual-Mono Preamplifier Owner’s Manual...
- Page 2 740P Evolution Series...
-
Page 3: Important Safety Instructions
Owner’s Manual Important Safety Instructions Read these instructions. receptacles, and the point where they exit from the apparatus. Unplug mains cord during Keep these instructions. transportation. Heed all warnings. 11. Only use attachments and accessories specified by Follow all instructions. the manufacturer. - Page 4 740P Evolution Series Important Safety Instructions (cont’d) The lightning flash with the arrowhead symbol, within an equilateral triangle, is intended to alert the user to the presence of uninsulated “dangerous voltage” within the product’s enclosure that may be of sufficient magnitude to constitute a risk of electric shock to persons.
-
Page 5: Table Of Contents
Installation & Placement Front Panel Controls Software Setup Rear Panel Connections SimLink™ Operating the 740P Remote Control Operation Balanced Operation Specifications Quick Reference: Setup Menus Appendix www.simaudio.com Simaudio Ltd., 1345 Newton Road Boucherville, Québec J4B 5H2 CANADA Date Code: 20160406... -
Page 6: Introduction
4 stages of our newly developed M-LoVo MOON low voltage retaining all the sonic hallmarks on which Simaudio has DC regulation circuit; a highly sophisticated circuit made up made its reputation. -
Page 7: Unpacking
Owner’s Manual Unpacking The MOON 740P should be removed from its box with care. The following accessories should be included inside the box with your preamplifier: AC power cable FRM-3 remote control with three ‘AAA’ batteries SimLink™ cable with 1/8” mini plug terminations on each end This owner’s manual Warranty and product registration information (USA and Canada only) -
Page 8: Front Panel Controls
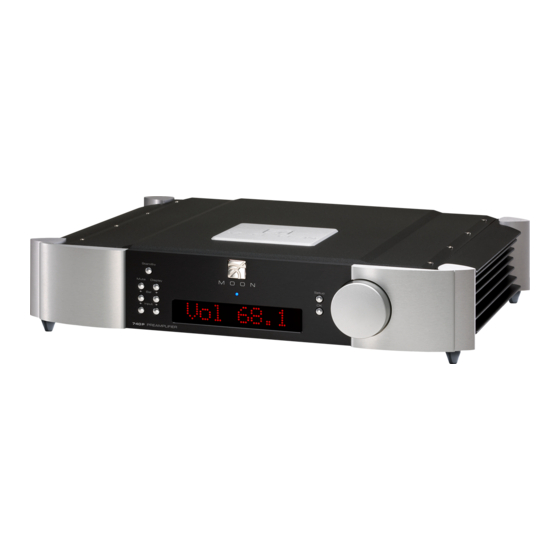
740P Evolution Series Front Panel Controls Figure 1: Front panel of MOON 740P Preamplifier The front panel will look similar to Figure 1 (above). The large display window normally indicates the current volume level and, whenever you change the input, it will briefly show the selected input label. The “Standby”... -
Page 9: Software Setup
Owner’s Manual The rotary “volume” control determines the gain setting, which ranges from ‘0.0dB’ (no output) to When you are in Setup mode, there are three (3) front ’80.0dB’ (full output). This control does not function like panel items used to program this preamplifier; The a typical volume: When you rotate the dial, either “Setup”... - Page 10 740P Evolution Series Press the “Setup” button and the label you’ve just clockwise and “BYPASS” will appear in the display. assigned to the B1 input will appear in the display. Press “OK”. At this point you can (i) continue configuring other 14.
- Page 11 Owner’s Manual controlling your entire MOON system using a hand-held When “CUSTOM” appears in the display press the Apple (iPad, iPhone, iPod Touch) device. “OK” button. The display will show “……………………………” . You don’t need to LABEL an input with “MiND” to Rotate the volume control clockwise to scroll achieve these aforementioned functions, but you must through the 26 letters of the English alphabet, first...
- Page 12 740P Evolution Series To disable the 12 Volt trigger, press “OK” and “B1 ? The MOON 740P is equipped with a rear mounted IR Y” appears in the display; rotate the volume control input for use with aftermarket wired infrared remote to alternate from “Y”...
- Page 13 Owner’s Manual Press “OK” and “SURE ? N” will appear in the display. You may either continue were we left off in the previous example by turning the volume control until “RESET” appears in the display OR enter into Rotate the volume control until “SURE ? Y” appears the “Setup”...
-
Page 14: Rear Panel Connections
740P Evolution Series Rear Panel Connections Figure 2: Rear panel of MOON 740P Preamplifier The rear panel of the MOON 740P dual-mono preamplifier will look similar to Figure 2 (above). There are two rows of connectors; the top row contains three (3) pairs of single-ended RCA inputs labeled S1, S2, and S3 on the left side;... -
Page 15: Simlink
Owner’s Manual SimLink™ functionality. Contact your retailer for further SimLink™ details. SimLink™ provides communication features between various MOON components. For example, if you were to connect the 650D to the 740P Preamplifier via the SimLink™, pressing the (play) button on the Operating the 740P 650D would cause the preamplifier automatically switch to it’s designated input for the CD Player. -
Page 16: Remote Control Operation
740P Evolution Series Remote Control Operation The MOON 740P Dual-Mono Preamplifier uses the ‘FRM-3’ full function, all aluminum backlit remote control (figure 3). It operates on the Philips RC-5 communication protocol and is can be used with other MOON components such as CD Players, DAC’s, Integrated Amplifiers, as well as other Preamplifiers. - Page 17 Owner’s Manual Backlight Function Button Mode (#2): The backlight is triggered ONLY by Your FRM-3 features a backlight capability that allows pressing any button on the remote’s keypad - the you to effortlessly operate this remote control in a internal motion detector is deactivated; The backlight darkened environment.
-
Page 18: Balanced Operation
740P Evolution Series Figure 5: Remote Operation with 12V Trigger In figure 5 we have a 740P Preamplifier and 860A amplifier connected together via their respective 12V triggers; The 12V trigger output on the 740P is connected to the 12V trigger input on the 860A (using a 1/8” mini-jack cable). -
Page 19: Specifications
Negative NOTE: If you require the RS-232 codes for your 740P, please visit the "Contact Us" page and complete the "Information request" form on our website at www.simaudio.com. Fuse Replacement: For the 120V version use a 0.2A slow blow (5 x 20mm size).
Need help?
Do you have a question about the 740P evolution series and is the answer not in the manual?
Questions and answers