Sign In
Upload
Download
Table of Contents
Contents
Add to my manuals
Delete from my manuals
Share
URL of this page:
HTML Link:
Bookmark this page
Add
Manual will be automatically added to "My Manuals"
Print this page
×
Bookmark added
×
Added to my manuals
Manuals
Brands
Dimplex Manuals
Air Conditioner
GDPAC12
Owner's manual
Dimplex GDPAC12 Owner's Manual
Hide thumbs
1
2
3
4
5
6
7
8
9
10
11
12
13
14
15
16
17
18
19
20
21
Table Of Contents
22
page
of
22
Go
/
22
Contents
Table of Contents
Troubleshooting
Bookmarks
Table of Contents
Table of Contents
Safety Instructions
Electrical Safety
Important Safety Instructions
Parts and Features
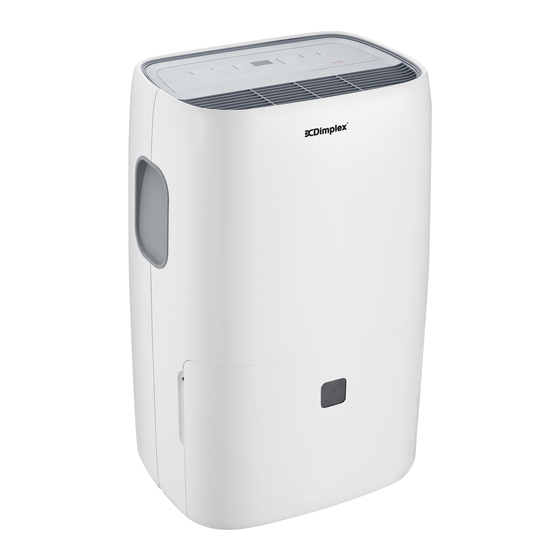
Product View
Key Parts and Components
Control Panel
Power on and off
Cool Mode
Dehumidify Mode
Fan Mode
Timer Mode
How to Program the Delayed Start up
How to Program the Delayed Shutdown
How to Use
Remote Control
Inserting and Replacing the Batteries
Using the Remote Control
Auto Mode
Sleep Mode
Window Slider Kit Installation
Set up and Use
Double-Hung/Sash/Sliding Casement Window Installation
Exhaust Hose Installation
Installation Instructions
Intermittent Drainage
Care and Cleaning
Emptying the Water Collection Tank
Start-End of Season Operations
Troubleshooting
Advertisement
Quick Links
1
Table of Contents
2
Electrical Safety
3
Parts and Features
4
Key Parts and Components
5
Emptying the Water Collection Tank
Download this manual
Table of
Contents
Previous
Page
Next
Page
1
2
3
4
5
Advertisement
Table of Contents
Need help?
Do you have a question about the GDPAC12 and is the answer not in the manual?
Ask a question
Questions and answers
Related Manuals for Dimplex GDPAC12
Air Conditioner Dimplex GD09I Owner's Manual
Split system air conditioner (27 pages)
Air Conditioner Dimplex GDC9RWA Instructions For Use Manual
Portable air conditioner (10 pages)
Air Conditioner Dimplex GDC10RWA Instructions For Use Manual
(17 pages)
Air Conditioner Dimplex GDC-AC9RW Instructions For Use Manual
Portable air conditioner (9 pages)
Air Conditioner Dimplex GDC-AC12RCW Service Manual
(26 pages)
Air Conditioner Dimplex GDC16RWA Instructions For Use Manual
(9 pages)
Air Conditioner Dimplex GDC16RWA Maintenance Guidance
Inverter portable air conditioner (13 pages)
Air Conditioner Dimplex GDC16RWA Maintenance Guidance
Inverter portable air conditioner (11 pages)
Air Conditioner Dimplex GDC-EC20RW Instruction Manual
20lair cooler (9 pages)
Air Conditioner Dimplex GDC9RCSSA User Manual
(6 pages)
Air Conditioner Dimplex GDC10CWB Instruction Manual
(9 pages)
Air Conditioner Dimplex GDC-SS24RCW Owner's Manual
(15 pages)
Air Conditioner Dimplex GD24I Owners Manual And Installation Manual
(29 pages)
Air Conditioner Dimplex GDPAC14 Owner's Manual
(22 pages)
Air Conditioner Dimplex GDPAC32RC Instruction Manual
(36 pages)
Air Conditioner Dimplex DAC 9001 Instruction Manual
Dimplex portable air conditioner instruction manual (13 pages)
This manual is also suitable for:
Gdpac14
Table of Contents
Print
Rename the bookmark
Delete bookmark?
Delete from my manuals?
Login
Sign In
OR
Sign in with Facebook
Sign in with Google
Upload manual
Upload from disk
Upload from URL


Need help?
Do you have a question about the GDPAC12 and is the answer not in the manual?
Questions and answers