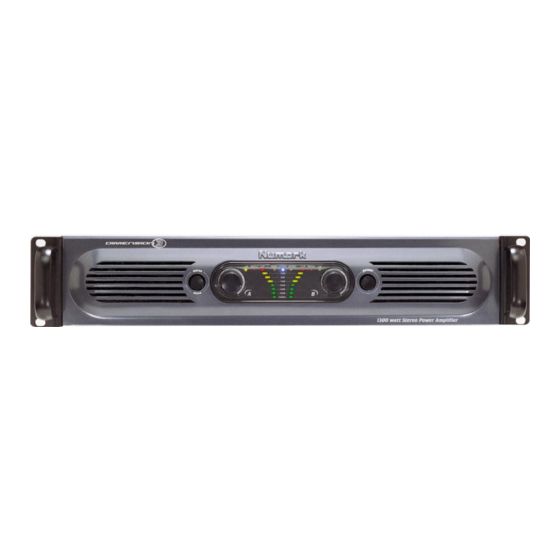
Numark DIMENSION 3 Operating Manual
Full powered stereo amplifiers
Hide thumbs
Also See for DIMENSION 3:
- Operating instructions manual (22 pages) ,
- Quick start manual (25 pages) ,
- Quick start manual (25 pages)
Advertisement
Advertisement
Table of Contents

Summary of Contents for Numark DIMENSION 3
- Page 1 Professional Disc Jockey Products DIMENSION 3 & DIMENSION 4 DIMENSION 3 & DIMENSION 4 DIMENSION 3 & DIMENSION 4 DIMENSION 3 & DIMENSION 4 FULL POWERED STEREO AMPLFIERS OPERATING MANUAL OPERATING MANUAL OPERATING MANUAL OPERATING MANUAL ©2001 Industries ® http://www.numark.com...
-
Page 2: Safety Instructions
2. Retain Instructions - The safety and operating instructions should be kept for future reference. 3. Heed Warnings - All warnings on this product and in these operating instructions should be followed. 4. Follow Instructions - All operating and other instructions should be followed. -
Page 3: Replacement Parts
For 220-volt use in USA, use NEMA style 220-volt plug. For other countries use proper plug for local outlet. PURCHASED FROM:_________________________ DATE OF PURCHASE:________________________ - The Leader in DJ Technology - 3 - DIMENSION 3 & 4 AMPLIFIERS replacement parts http://www.numark.com... - Page 4 Thank you for choosing a Thank you for choosing a clean power output and the Dimension 3 offers 1300 watts. These amplifiers have many unique DJ clean power output and the Dimension 3 offers 1300 watts. These amplifiers have many unique DJ clean power output and the Dimension 3 offers 1300 watts.
-
Page 5: Front Panel Diagram
2. Stereo/Mono Selector – This switch controls the input signal. this button will have no function. 3. Level controls- Rotate controls clockwise to increase volume. 4. Signal meter- Lights up as output wattage is increased. 5. Clip LED – Lights up when the unit volume exceeds maximum output and is enough to send a clipped signal to your speakers. -
Page 6: Rear Panel Diagram
8. Balanced Inputs- Connect a balanced signal through XLR input connectors. These should be used for all long cable runs. Please note: Pin 1 Ground, Pin 2 Positive (+), Pin 3 Negative (-). 9. Balanced (Thru) – for daisy- chain of additional amplifiers. Go from the thru output to the input of an additional amplifier. -
Page 7: Specifications
100 dB, unweighted 10A @ 120V AC 120V/60Hz or 220V/50Hz switchable 10Hz - 40 kHz, +/- 1 dB 3.5" H x 19" W x 15.9" D / 880mm x 483mm x 405mm 31 lbs. / 14kg. - The Leader in DJ Technology - 7 - DIMENSION 3 &... -
Page 8: Limited Product Warranty
What is covered and for how long? NUMARK INDUSTRIES LCC ("NUMARK") warrants to the original purchaser that NUMARK products; including but not limited to DJ mixers, amplifiers, CD players, CD Mix Stations, turntables, preamplifiers, beatkeepers, equalizers, microphones, headphones, cartridges, and all other accessories; are to be free from defects in material and workmanship under normal use and service for the period commencing upon the date of purchase from an authorized NUMARK dealer for a period of (1) Year.


Need help?
Do you have a question about the DIMENSION 3 and is the answer not in the manual?
Questions and answers