Table of Contents
Advertisement
SLV-SE740B/SE740D/SE740E/SE740G/SE740I/SE740N/
QQ
3 7 63 1515 0
SERVICE MANUAL
* The abbreviations of SE740, SE747, SE840 and SX740 contained in
this service manual are indicated when these models are common to
TE
L 13942296513
all their corresponding models as given below.
Abbreviated
SE740
model name
SE740B
All model
SE740D
names
SE740E
SLV-
SE740G
SE740I
SE740N
System
Channel coverage
SE740B/SE840B:
SECAM (L)
VHF F2 to F10
UHF F21 to F69
CATV B to Q
HYPER S21 to S41
PAL (B/G)
VHF E2 to E12
VHF italian channels A to H
UHF E21 to E69
CATV S01 to S05, S1 to S20
HYPER S21 to S41
SE740D/SE740E/SE747E/SE840D/SE840E/
SX740D/SX740E:
www
PAL (B/G)
VHF E2 to E12
VHF italian channels A to H
UHF E21 to E69
CATV S01 to S05, S1 to S20
.
HYPER S21 to S41
SE740G/SE840G:
PAL (I)
UHF B21 to B69
http://www.xiaoyu163.com
SE747E/SE840B/SE840D/SE840E/SE840G/
SE840N/SX740D/SX740E/SX740N
SE747
SE840
SE747E
SE840B
SE840D
SE840E
SE840G
SE840N
SE740I:
PAL (I)
VHF IA to IJ, SA10 to SA13
UHF B21 to B69
CATV S01 to S05, S1 to S20
HYPER S21 to S41
SE740N/SE840N/SX740N:
PAL (B/G, D/K)
VHF E2 to E12, R1 to R12
UHF E21 to E69, R21 to R69
CATV S1 to S41, S01 to S05
RF output signal
SE740D/SE740E/SE740G/SE740I/SE740N/
SE747E/SE840D/SE840E/SE840G/SE840N/
SX740D/SX740E/SX740N:
UHF channels 21 to 69
x
ao
u163
y
i
http://www.xiaoyu163.com
2 9
8
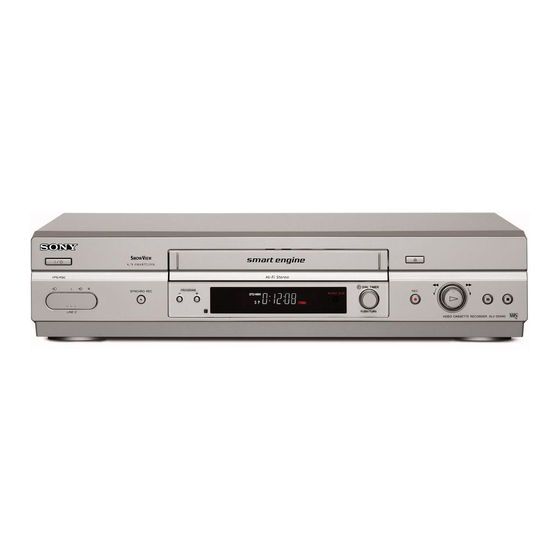
RMT-V406/V406A/V406B/V407A/V407B
SLV-SE740B/SE740D/SE740E/SE740I/SE740N/SE747E/
Photo: SLV-SE840B
RMT-V407B
Refer to the SERVICE MANUAL of VHS MECHANI-
Q Q
3
6 7
CAL ADJUSTMENT MANUAL VII for MECHANICAL
1 3
1 5
ADJUSTMENTS. (9-921-790-11)
SX740
SX740D
SX740E
SX740N
SPECIFICATIONS
VIDEO CASSETTE RECORDER
co
.
9 4
2 8
AEP Model
SE840B/SE840D/SE840E/SE840N/
SX740D/SX740E/SX740N
UK Model
SLV-SE740G/SE840G
TS-10 MECHANISM
0 5
8
2 9
9 4
2 8
Aerial out
75-ohm asymmetrical aerial socket
Tape speed
SE740D/SE740E/SE740G/SE740I/SE747E/
SE840D/SE840E/SE840G/SX740D/SX740E:
SP: PAL
23.39 mm/s (recording/playback)
NTSC 33.35 mm/s (playback only)
LP: PAL
11.70 mm/s (recording/playback)
NTSC 16.67 mm/s (playback only)
EP: NTSC 11.12 mm/s (playback only)
— Continued on next page —
m
9 9
9 9
Advertisement
Table of Contents


Need help?
Do you have a question about the SLV-SE740B and is the answer not in the manual?
Questions and answers
Tape doesn't play and auto ejects after a short time. I have removed the cover and can see that the right hand spool doesn't turn.
The Sony SLV-SE740B tape player may auto eject after a short time and the right-hand spool may not turn due to a problem with the holder clutch assembly or reel torque. If the torque specifications are not met, the device may detect a fault and stop operation. In such cases, the holder clutch assembly should be replaced and the torque rechecked.
This answer is automatically generated