Table of Contents
Advertisement
Quick Links
Advertisement
Table of Contents

Summary of Contents for Strongway STR866D
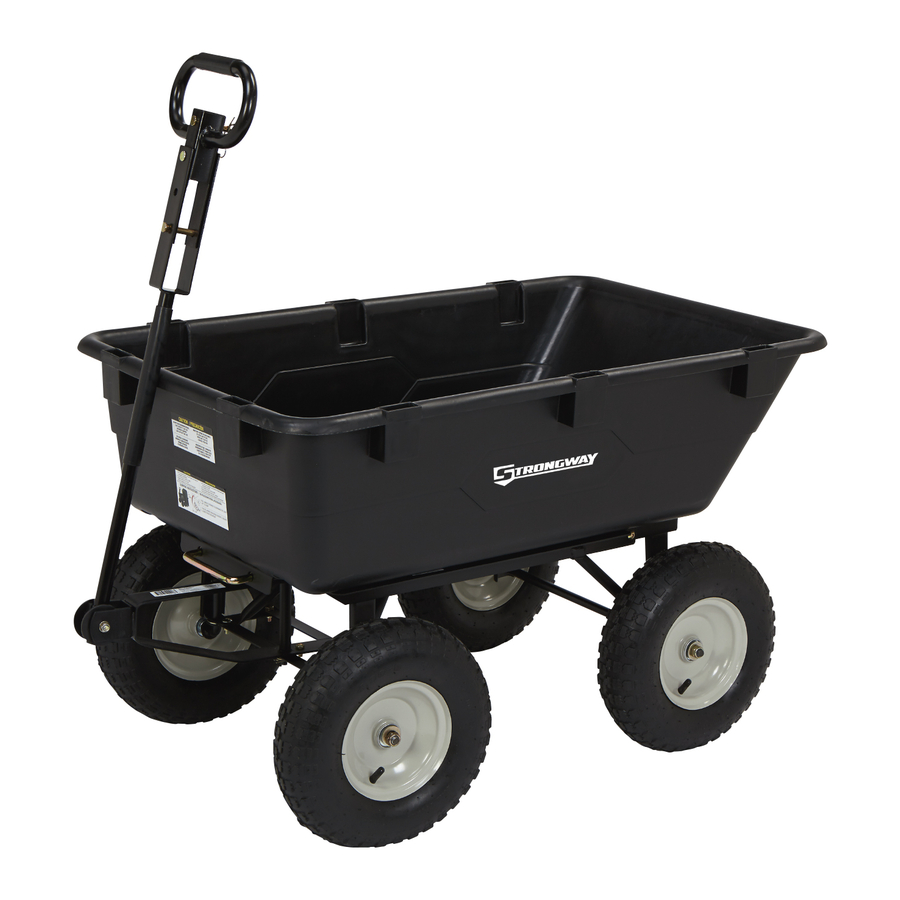
- Page 1 HEAVY-DUTY GARDEN DUMP CART OWNER’S MANUAL WARNING: Read carefully and understand all ASSEMBLY AND OPERATION INSTRUCTIONS before operating. Failure to follow the safety rules and other basic safety precautions may result in serious personal injury. Item# 46533...
-
Page 2: General Safety Rules
Thank you very much for choosing a Strongway product! For future reference, please complete the owner’s record below: Model: _______________ Purchase Date: _______________ Save the receipt, warranty and these instructions. It is important that you read the entire manual to become familiar with this product before you begin using it. -
Page 3: Important Safety Considerations
IMPORTANT SAFETY CONSIDERATIONS Do not exceed loading capacity. Maximum load capacity: 1,200 lbs. Maximum dumping load capacity: 500 lbs. Distribute load over the surface of the tray. Do not load items on the top edges of the tray. ... - Page 4 ASSEMBLY 1. Attach the front axle assembly (H) to the front frame (F) using four M8 x 20mm carriage bolts (CC), four M8 lock nuts (JJ), and four M8 washers (FF). Attach the outer ends of the steering linkage using two M6 x 20mm shoulder bolts (EE), M6 lock nuts (LL), and M6 washers (MM), as shown in Fig.
- Page 5 3. Slide the rear struts (C) onto the ends of the rear axle assembly (E), as shown in Fig. 2. Fig. 3 4. The rear axle assembly (E) attaches to the rear section of the rear frame (D). Double check the rear frame (D) placement before assembling to the tub.
- Page 6 5. Attach the rear axle assembly (E) with the rear struts (C) and the rear frame (D) to the tray (A) using five M8x25 carriage bolts (BB), one M8 x 20mm carriage bolt (CC), six M8 lock nuts (JJ), six M11 washers (GG), and six M8 washers (FF), as shown in Fig.
- Page 7 6. Attach the rear frame (D) to the front frame (F) using two internal button head bolts (DD), two M8 lock nuts (II), and two M8 washers (FF), as shown in Fig. 8. Fig. 8 Fig. 8 Hardware Used M8 x 20mm M8 Lock Nut Internal Button Head Bolt...
- Page 8 8. Attach the four wheels (I) by first placing the wheel spacers (HH) onto each axle, then the wheels (I) and M12 flat washers (II), and M12 lock nuts (KK), as shown in Fig. 10. Fig. 10 Hardware Used Wheel Spacer M12 Lock Nut M12 Flat Washer 9.
-
Page 9: Operation
OPERATION Distribute the load evenly over the surface of the tray. Do not load items on the top edges of the tray. USING THE SWIVEL HANDLE 1. Remove clips and cotter pins. 2. Rotate the handle and insert cotter pin. Secure by attaching the clip. 3. -
Page 10: Maintenance
MAINTENANCE • Maintain your cart. It is recommended that the general condition of any cart be examined before it is used. Keep your cart in good repair by adopting a program of conscientious repair and maintenance. Have necessary repairs made by qualified service personnel. Page of 12... - Page 11 DIAGRAM & REPLACEMENT PARTS LIST Part# Description Qty. Dump Lock Assembly Rear Strut Rear Frame Rear Axle Assembly Front Frame Front Strut Front Axle Assembly Tire Handle Hardware Kit For replacement parts and technical questions, please call 1-800-222-5381. Page of 12...
-
Page 12: Warranty
WARRANTY 1-year limited warranty Distributed by Northern Tool + Equipment Co., Inc. Burnsville, Minnesota 55306 NorthernTool.com Made in China Page of 12...


Need help?
Do you have a question about the STR866D and is the answer not in the manual?
Questions and answers