Ceado ES500 Instruction And Maintenance Manual
Hide thumbs
Also See for ES500:
- Instruction and maintenance manual (64 pages) ,
- Instruction and maintenance manual (18 pages) ,
- Instruction and maintenance manual (64 pages)
Table of Contents
Advertisement
Quick Links
Advertisement
Table of Contents

Related Manuals for Ceado ES500


Summary of Contents for Ceado ES500
- Page 1 CENTRIFUGA MANUALE D’USO E MANUTENZIONE JUICE EXTRACTOR INSTRUCTION AND MAINTENANCE MANUAL CENTRIFUGEUSE MANUEL D'UTILISATION OBST UND GEMÜSE ZENTRIFUGE BEDIENUNGS- UND WARTUNGSANLEITUNG LICUADORA MANUAL DE USO Y MANTENIMIENTO ES500 ES500S ES700 START START START...
-
Page 2: Juice Extractor
CENTRIFUGA Questo apparecchio è una centrifuga professionale per la preparazione di succhi di frutta e di verdura con eliminazione automatica delle scorie. Come tutti gli elettrodomestici deve essere utilizzato con particolare prudenza per evitare lesioni alle persone e danni all'apparecchio. Leggere perciò... - Page 3 OBST UND GEMÜSE ZENTRIFUGE Dieses Gerät ist eine Profizentrifuge mit automatischem Tresterauswurf und dient zur Zubereitung von Frucht- und Gemüsesäften. Wie alle anderen Hausgeräte muss man bei der Verwendung des Gerätes besonders vorsichtig sein, um Körperverletzungen zu vermeiden und das Gerät nicht zu beschädigen. Daher muss man die vorliegenden Anweisungen vor der Inbetriebnahme gründlich lesen und die Sicherheitsvorschriften befolgen.
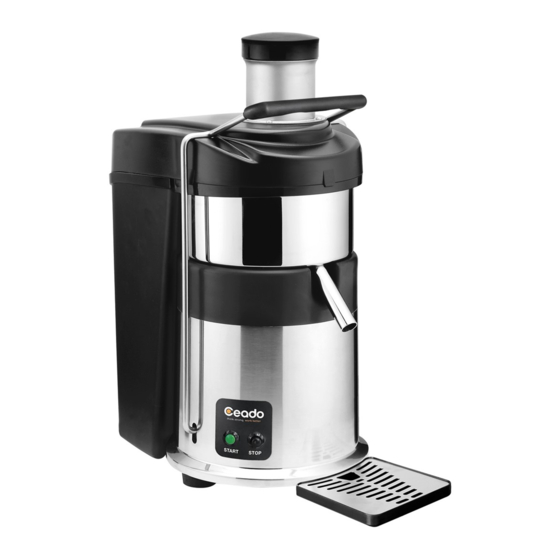
- Page 4 JUICE EXTRACTOR Main parts (Fig. 1 - Fig. 2) Motor housing Basket Bowl Pulp retainer Spout Grating disc Juicer cover Switch ON-OFF (I-O) Locking arm START button Food pusher STOP button Feed chute Motor shaft Pulp container Drive disc START Fig.
- Page 5 Model ES500 with feed chute ø 75 mm Model ES500S with feed chute ø 50 mm ø 50 mm ø 75 mm START START Fig. 4 Fig. 3 SAFETY RECOMMENDATIONS GENERAL INSTRUCTIONS Read the following instructions carefully before using the appliance.
- Page 6 11. Always unplug the appliance before performing any maintenance or cleaning and when it is not in use. 12. Never pull the appliance by the cord to move it. Never unplug it by pulling the cord or touching it with wet hands. If the power cord is damaged, it must be replaced by the manufacturer or by its tecnichal assistance service or, in any case, by someone having equivalent knowledge, so as to prevent any risk.
-
Page 7: Installation
INSTALLATION Comply with the safety recommendations indicated above and hereafter when installing the appliance . Make sure that the mains voltage is as indicated on the rating label of the appliance and that the electrical system is grounded and equipped with a switch. Install the appliance in a DRY, PROTECTED place, far from water sprays or splashes, heat sources, open flames and inflammable substances. - Page 8 Place a container under the spout of the bowl. Turn the appliance on by pushing the ON-OFF button in the “ON” position. Turn on the motor by pushing the START button. With the motor in action put fruit and/or vegetables in the feed chute. Use the food pusher to gradually push down the fruit and/or vegetables towards the spinning grating disc at the bottom of the feed chute without exerting excessive pressure (see Fig.
-
Page 9: Cleaning And Maintenance
Fig. 6 CLEANING AND MAINTENANCE Suggestions: to reduce the cleaning procedures to a minimum we suggest placing a biodegradable plastic bag inside the pulp container, folding the top of the bag over the edge of the pulp container (see Fig. 5). By using this method, once you have finished using the appliance, you can put the waste directly in a composting or waste bin. - Page 10 To disassemble these components, unhook the locking arm and remove in this order; food pusher, juicer cover, basket, pulp retainer, and bowl (Fig. 8). Reassemble in the reverse order taking care to place the juice spout in the appropriate slot of the motor housing, place the pulp retainer in its correct place with the internal edge facing up (Fig.
-
Page 11: Preparation Of Fruit And Vegetables
For a periodic deep-cleaning you can disassemble the parts of the basket by unscrewing the nut under the basket (Fig. 9). To disassemble the parts of the basket, hold the basket still with one hand and unscrew the nut with a pipe wrench number 13 (Fig. 9). Pull the screw out of the basket. Wash all of the parts in warm water with dish soap, removing any residues with the brush provided. - Page 12 Screw Grating disc Internal edge turned up Base Outer edge turned down Clutch disc Washer Fig. 9 Fig. 8...
-
Page 13: Troubleshooting
RECOMMENDATIONS FOR PROPER USE When you make juice from different types of ingredients with different consistencies it is a good idea to start with the softer ingredients and then subsequently use the harder ingredients. When you make juice from herbs or lettuce you should press them together to form compact balls, or mix them together with other ingredients to obtain a better result. - Page 14 Solution Problem Make sure the feed chute is empty. • Make sure it is plugged in. • Make sure the safety circuit breaker is closed. • Make sure the locking arm is correctly hooked onto the • juicer cover. The appliance does not turn Make sure the start button on the appliance is turned ON.
-
Page 15: Warranty
DISPOSAL Correct disposal of this product (waste electrical and electronic equipment) (Applicable in the European Union and other countries with separate collection systems in conformity with European Directive 2002/96/EC) This product has been made from high-quality parts and materials, which can be re-used and recycled.
Need help?
Do you have a question about the ES500 and is the answer not in the manual?
Questions and answers