Table of Contents

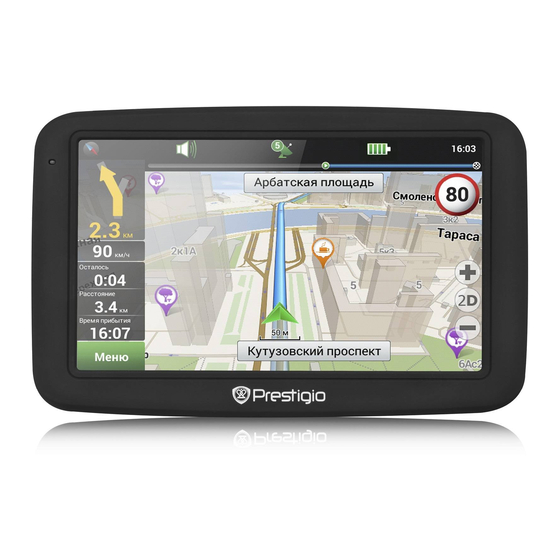
Summary of Contents for Prestigio GEOVISION 5055
- Page 1 GEOVISION 5055 Unboxing Getting started Maps & navigation Specifications Troubleshooting Safety You may find detailed warranty information at: www.prestigio.com/support/warranty-terms. © Copyright 2015 Prestigio. All rights reserved.
-
Page 2: Inside Your Package
Inside your package Your device at a glance 1. Power button 4. Mini USB port 2. Earphone jack 5. Reset button • Prestigio GPS • USB cable 3. SD card slot 6. Speaker • Mounting cradle • Quick start guide • Car charger... -
Page 3: Getting Started
Getting started Mount your device Congratulations on your purchase and welcome to Prestigio. To get the most from your product and enjoy all that Prestigio has to offer, please visit: http://www.prestigio.com/catalogue/Navigators For more details about your product, please visit: www.prestigio.com/support... -
Page 4: Charge The Battery
USB port of a computer. Press and hold the power button to turn on your device. To turn it off, press and hold the power button, and and then tap power icon on the pop-up screen. Menu Troubleshooting Back Next www.prestigio.com... -
Page 5: Maps & Navigation
Panoramic view "3D") and skins Menu Troubleshooting If there is no street name, the ("Night skin", "Day skin", "Auto"). direction will be displayed. Road lanes The sign displays road lanes with Back Next possible maneuvers. www.prestigio.com... - Page 6 – receiver is turned on, but there is no connection with satellites; yellow – bad connection; green – connection is established. The number in the icon indicates the number of satellites. Menu Troubleshooting Back Next www.prestigio.com...
- Page 7 3D map formats. 20 Point on Short tap on the map marks the the map point for further operations with it: Menu Troubleshooting saving as a waypoint, adding to the route or viewing the object’s data, Back Next and others. www.prestigio.com...
- Page 8 27 "Set finish" The button is active only when there is an existing route. Pressing the button continues the route up to the selected point making it the destination point of the route. Menu Troubleshooting Back Next www.prestigio.com...
- Page 9 [7]. Press "Go!". The program will automatically plan Fig.1 a route from a current location to the indicated address [8]. Now you can follow the route [9]. Fig.1 Fig.2 Fig.1 Fig.2 Fig.3 Menu Troubleshooting Fig.3 Fig.4 Back Next www.prestigio.com...
- Page 10 Troubleshooting bottom of the screen [2]. Press "Set start" in the "Properties" screen [3]. The GPS-receiver must be switched off. The point will be marked on the map Back Next as a starting point. Select a destination point on www.prestigio.com...
- Page 11 – traffic is rather dense, orange – traffic is heavy, red – there is a traffic jam [1]. To set the service select "Menu" → "Settings" → "Online Fig.1 services". Fig.1 Menu Troubleshooting Back Next www.prestigio.com...
-
Page 12: Specifications
Specifications MSB2531A Cortex A7, 800 MHz RAM 128 MB + 4 GB Flash Micro SDHC/SDXC ≤ 32GB 5” touch LCD, 480*272 1050 mAh 137.5*88.5*12.5 mm (H*W*D) 170 g Menu Troubleshooting Back Next www.prestigio.com... -
Page 13: Troubleshooting
Use the adaptor to supply power or charge the battery. There is no sound. Turn up the volume or turn on the sound output. There is no picture. Adjust the brightness of the LCD. Menu Troubleshooting The unit can’t receive satellite signals or can’t orient. Make sure to use the unit out of room; if in the Back Next www.prestigio.com... -
Page 14: Safety Instructions
Safety instructions • To reduce the risk of electric shock, do not remove the cover (or back). Only PRESTIGIO certified technicians are qualified to repair your device. • The manufacturer should not hold responsibility for the damage caused by any substitutions...


Need help?
Do you have a question about the GEOVISION 5055 and is the answer not in the manual?
Questions and answers